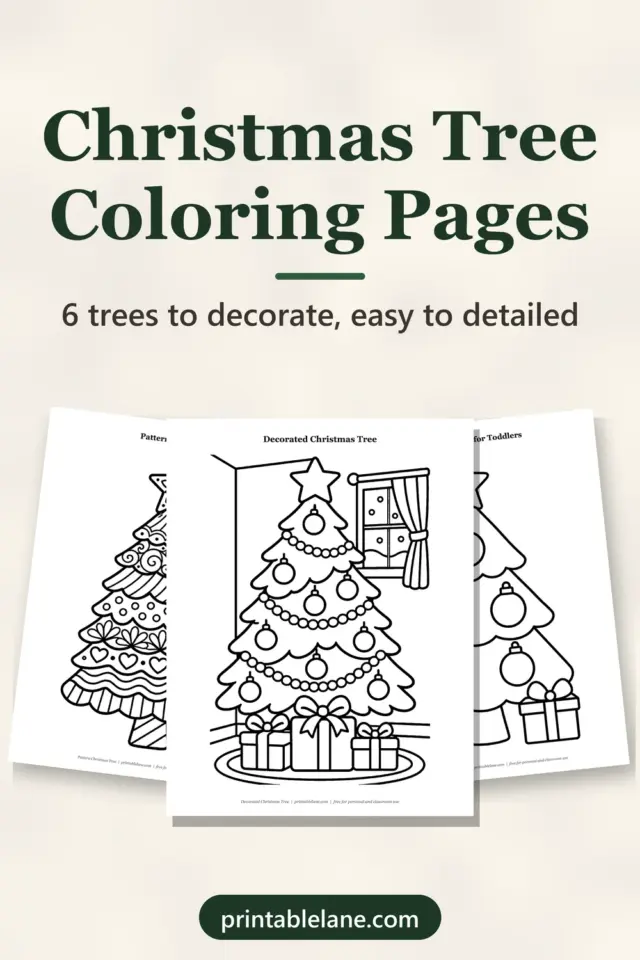
A Christmas tree is one of the first things kids want to draw in December, and it is easier than it looks. This guide shows how to draw a Christmas tree in six small steps: a star, three layers that get wider, a trunk with a pot, and then the fun part, the ornaments.
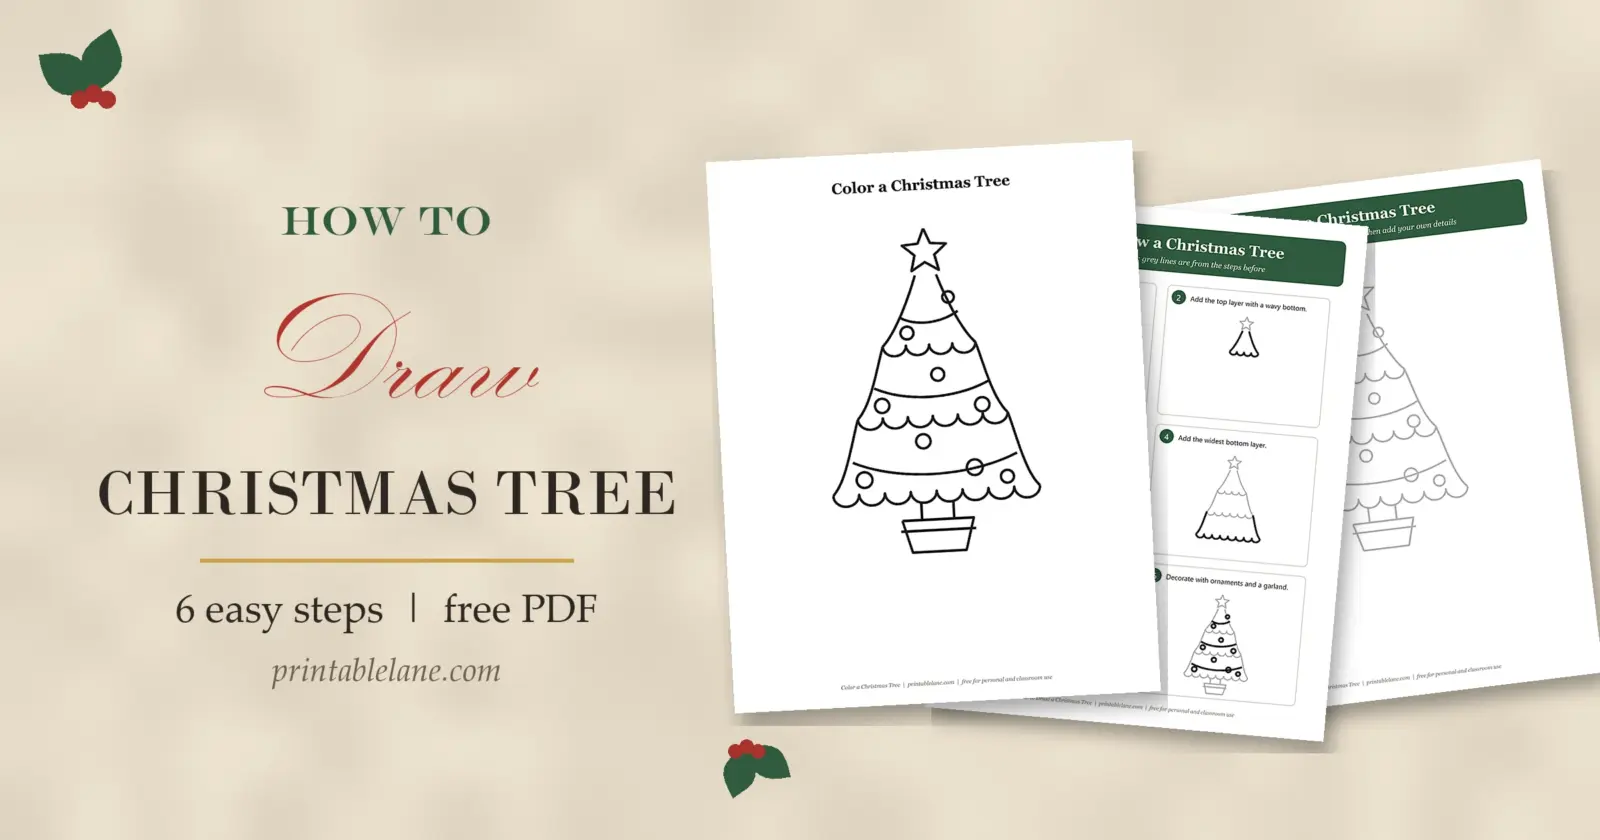
Everything is in a free printable PDF: a step-by-step sheet, a tracing page, a practice sheet with a grid and a big coloring page. It works for kids from about age 4, and older kids can add their own decorations at the end.

What’s in the PDF
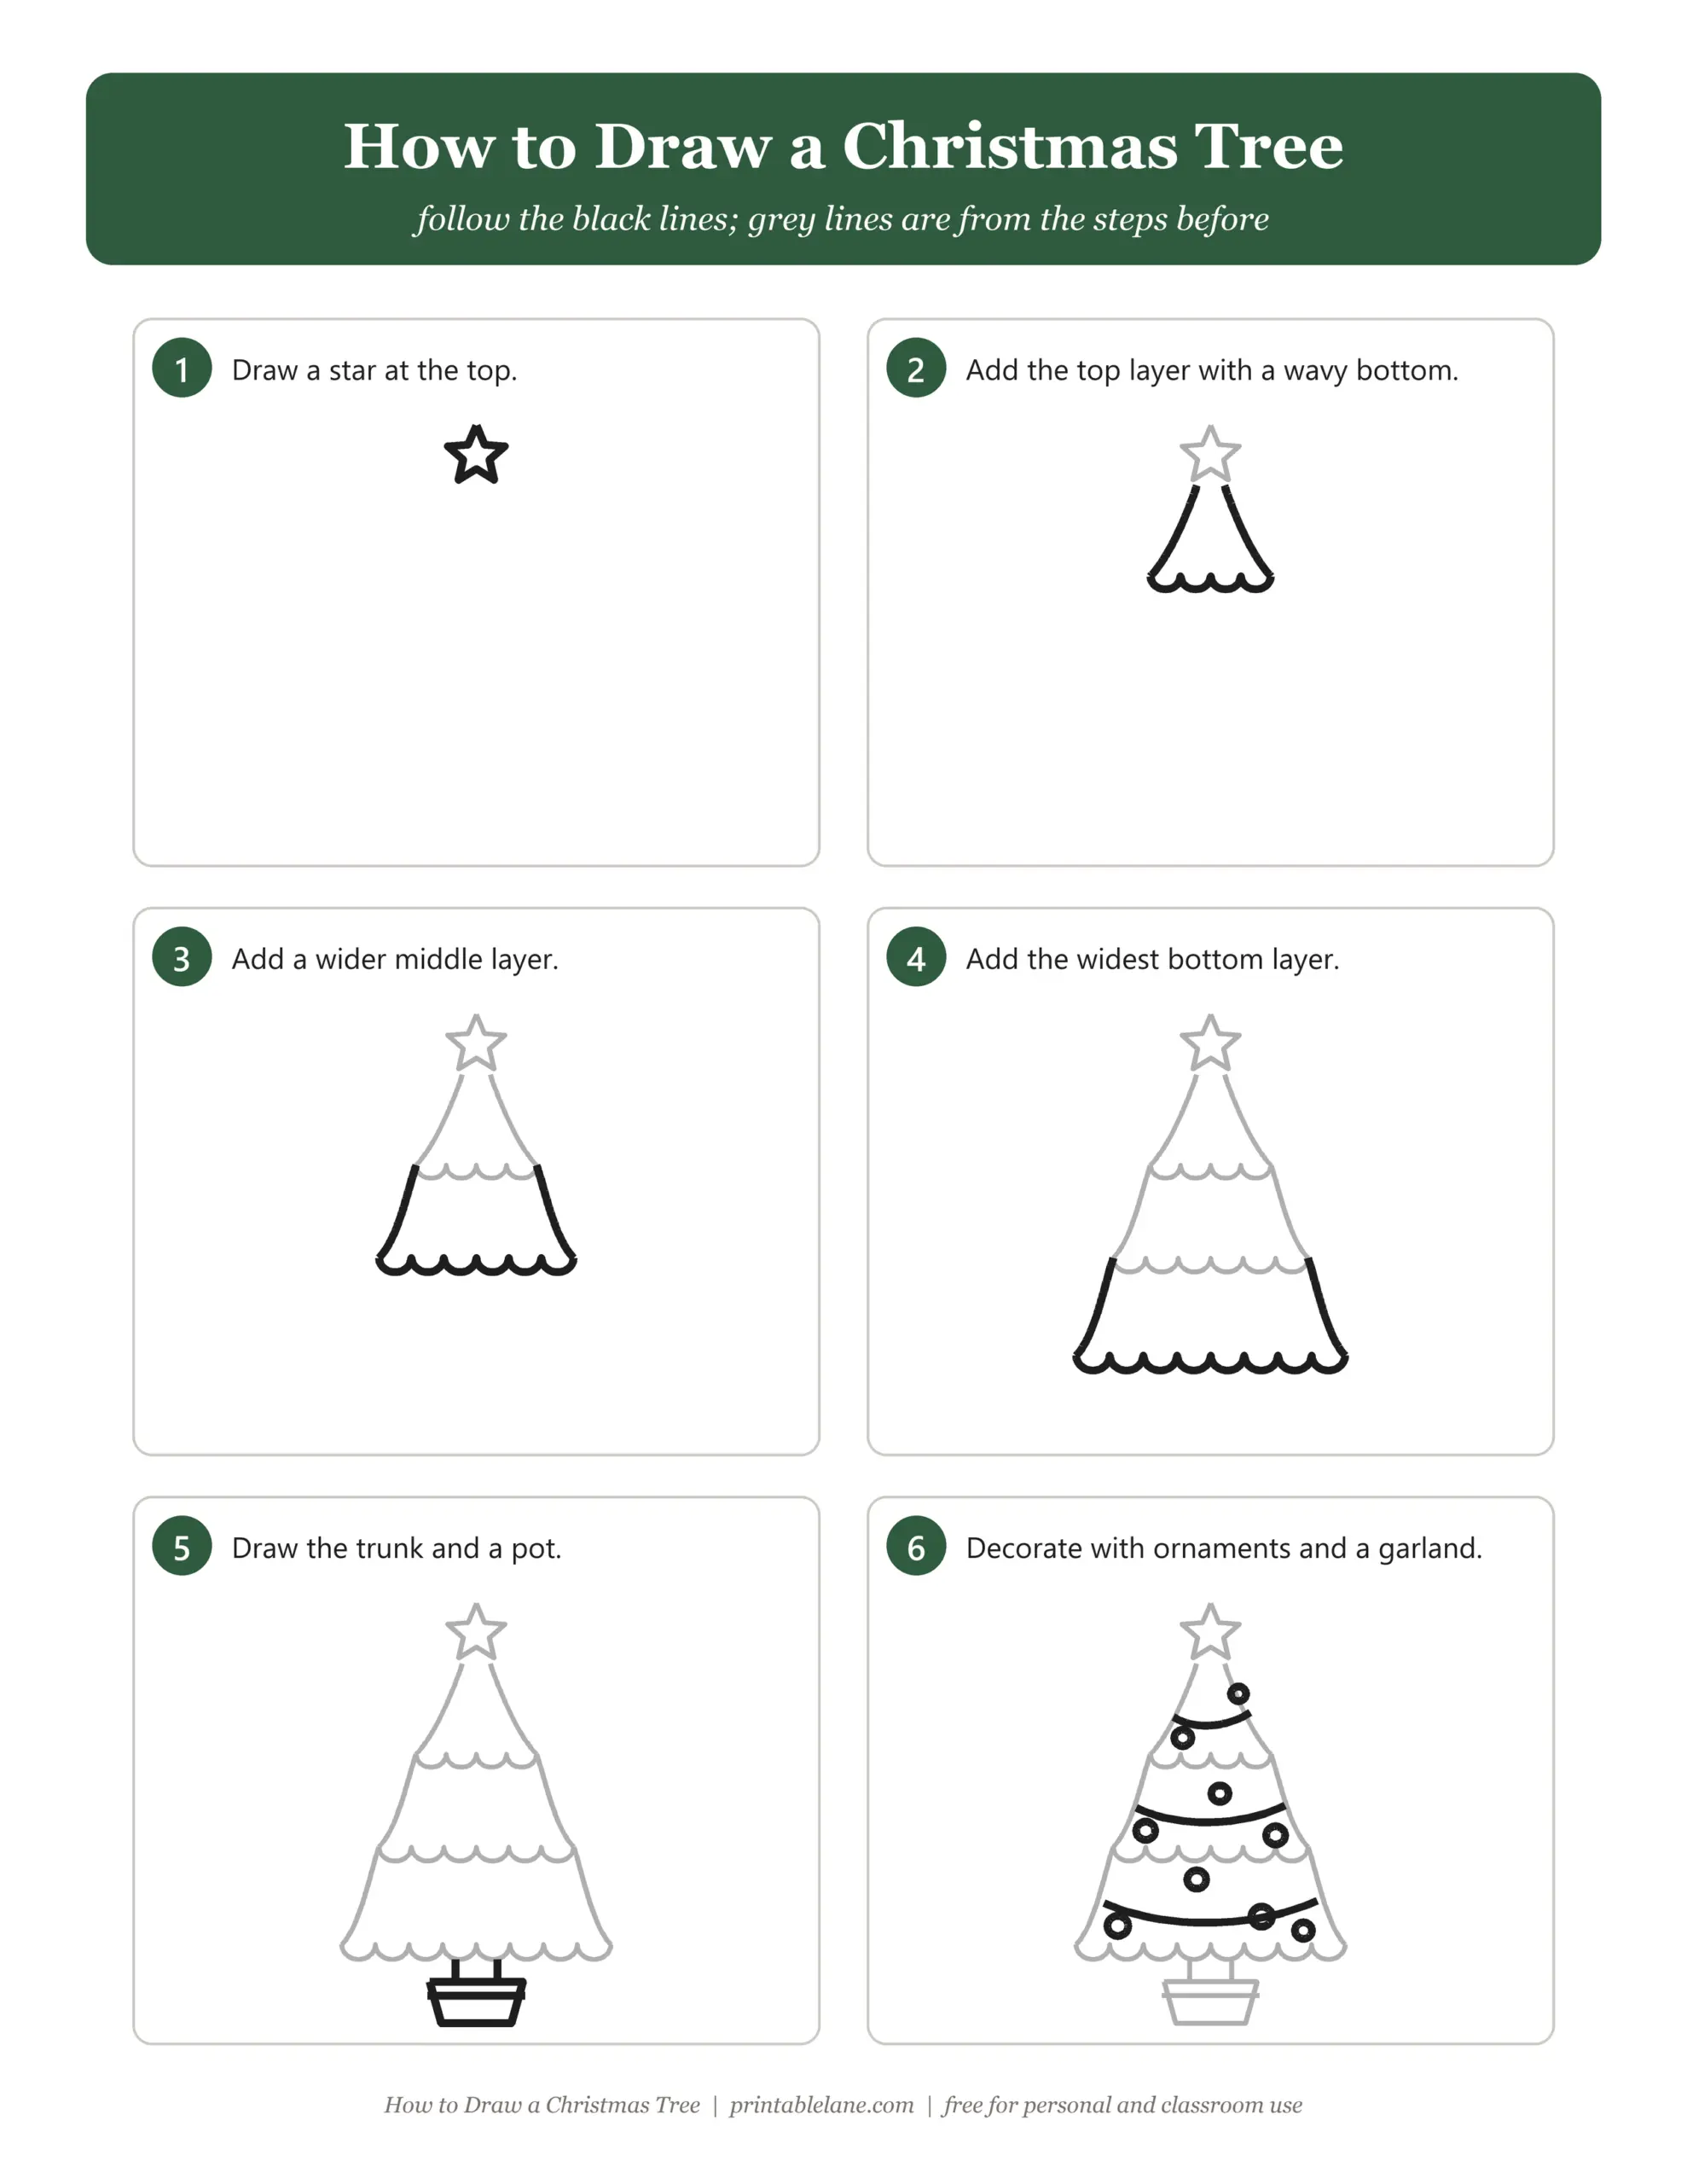
- Step-by-step sheet with 6 numbered steps; new lines are black, earlier lines are grey
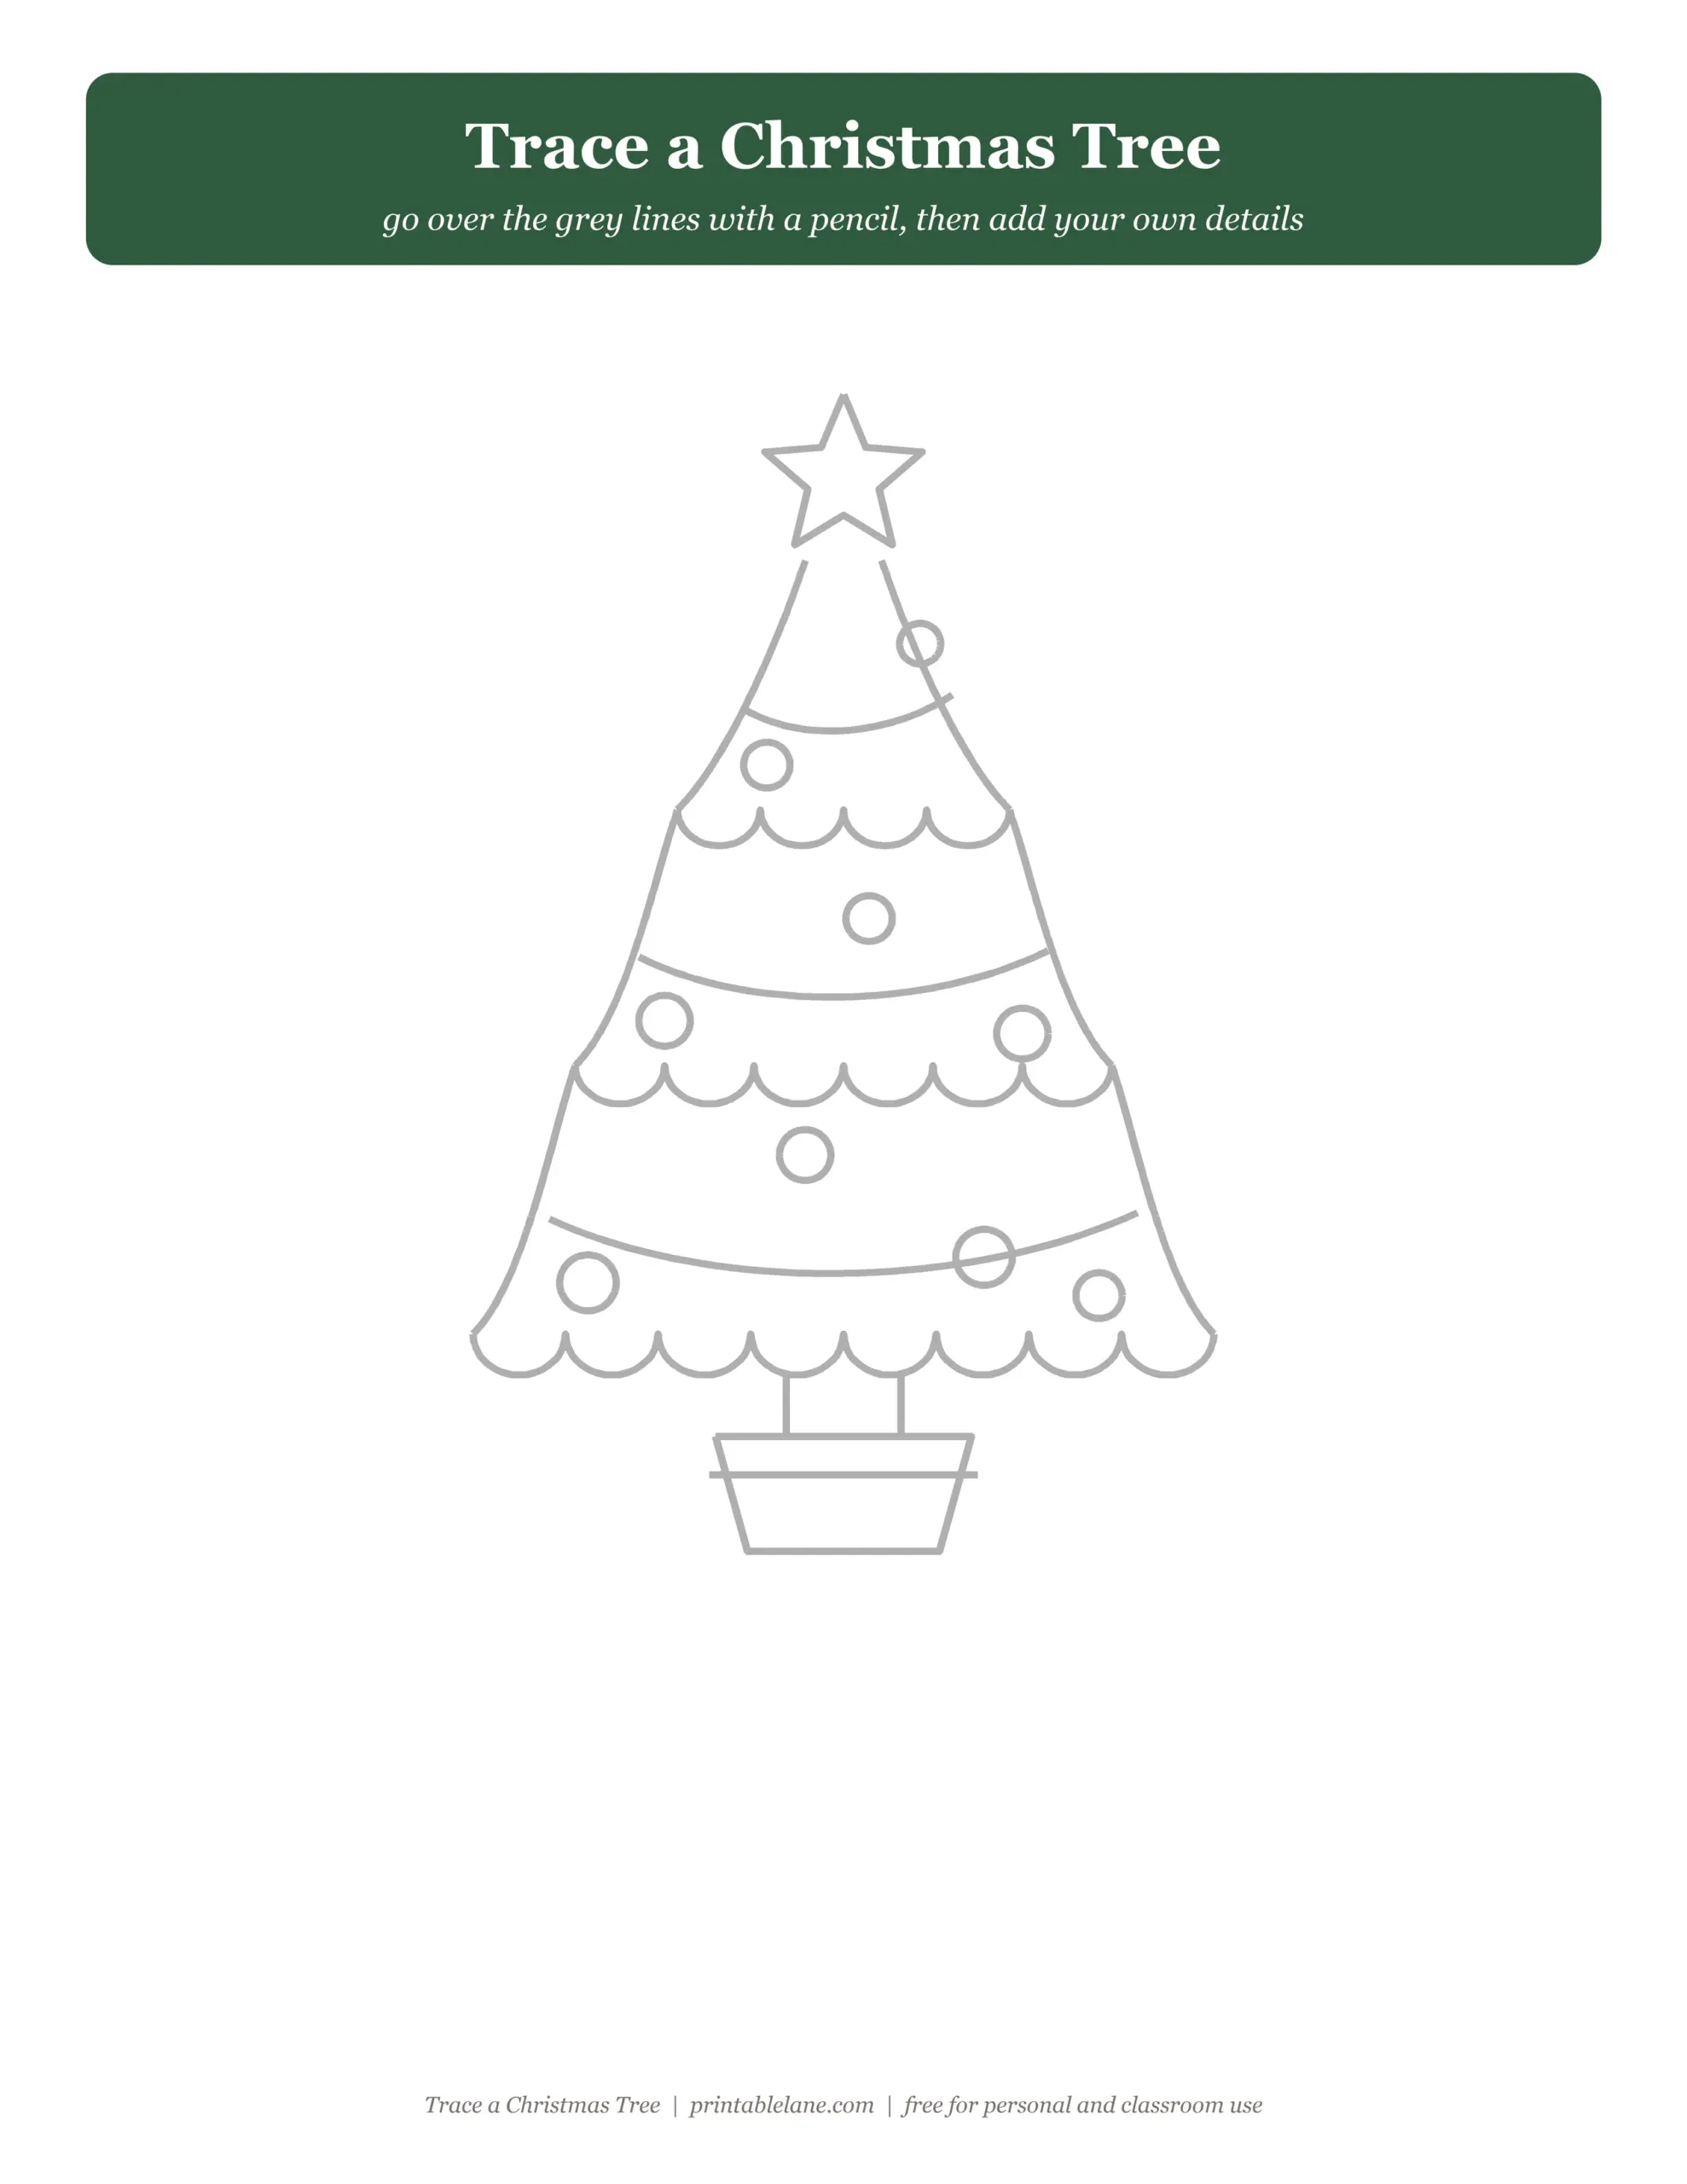
- Tracing page with a large tree in light grey to trace over
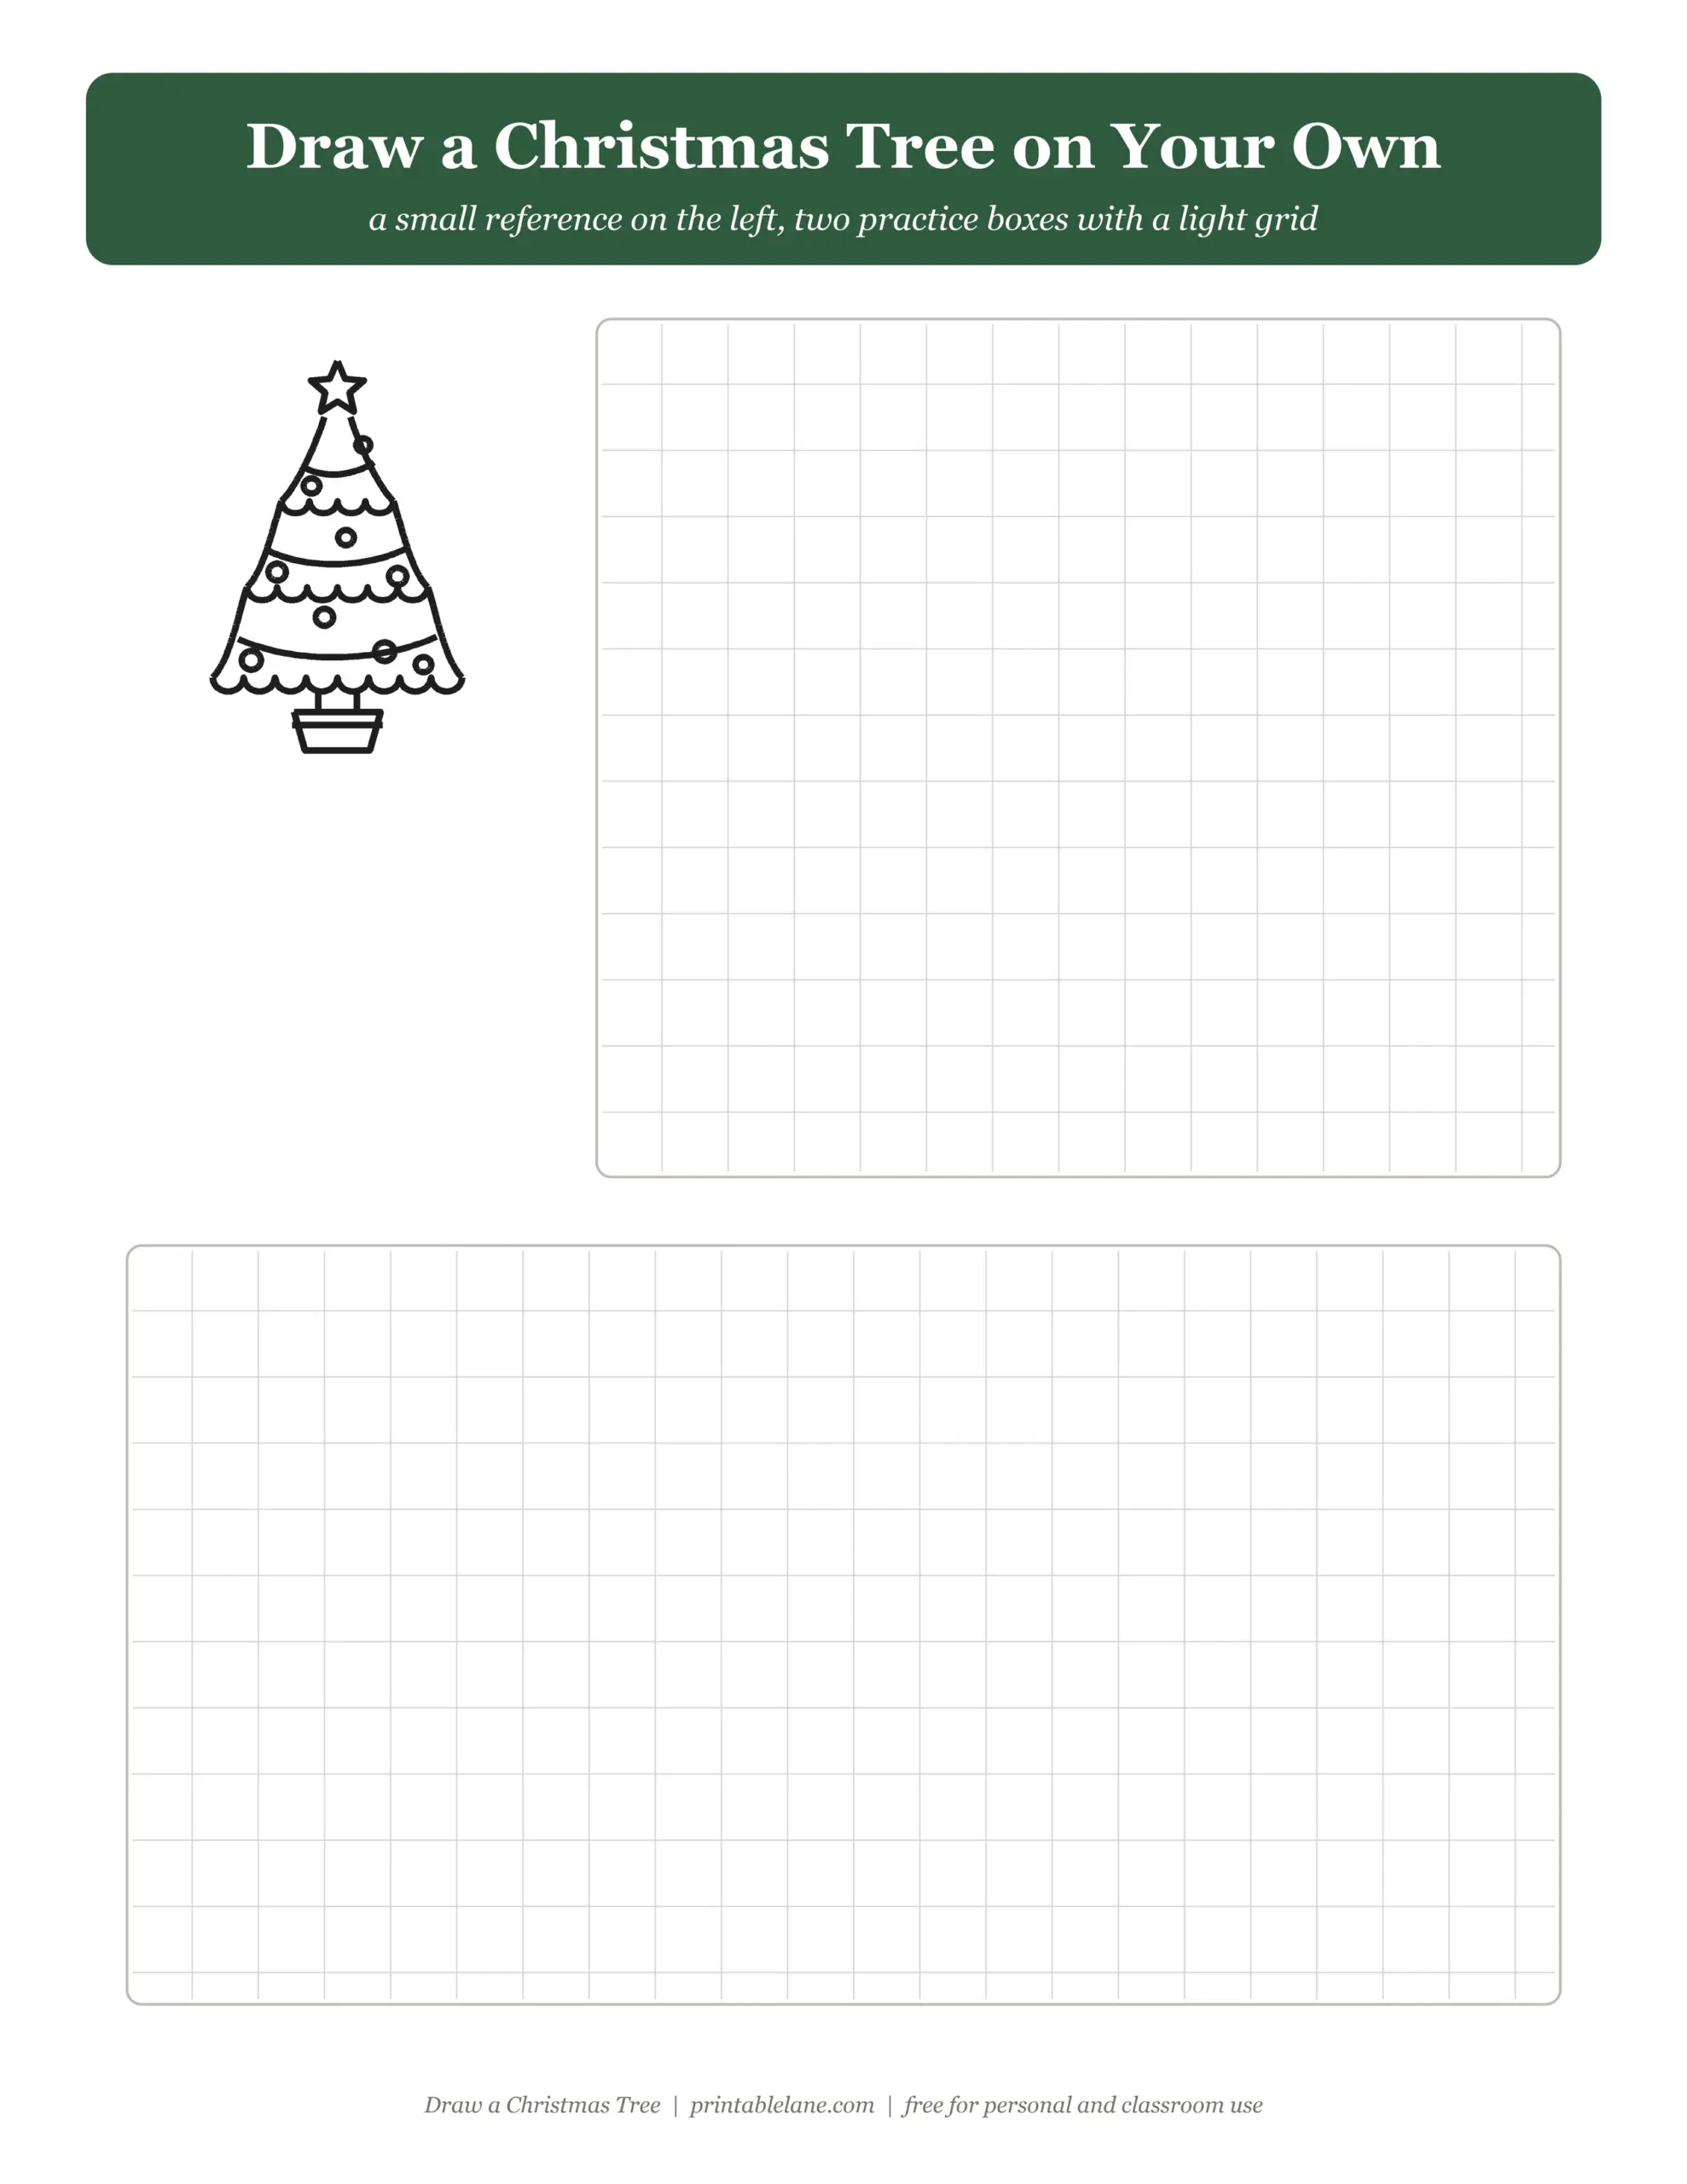
- Practice sheet with a small reference and two boxes with a light grid
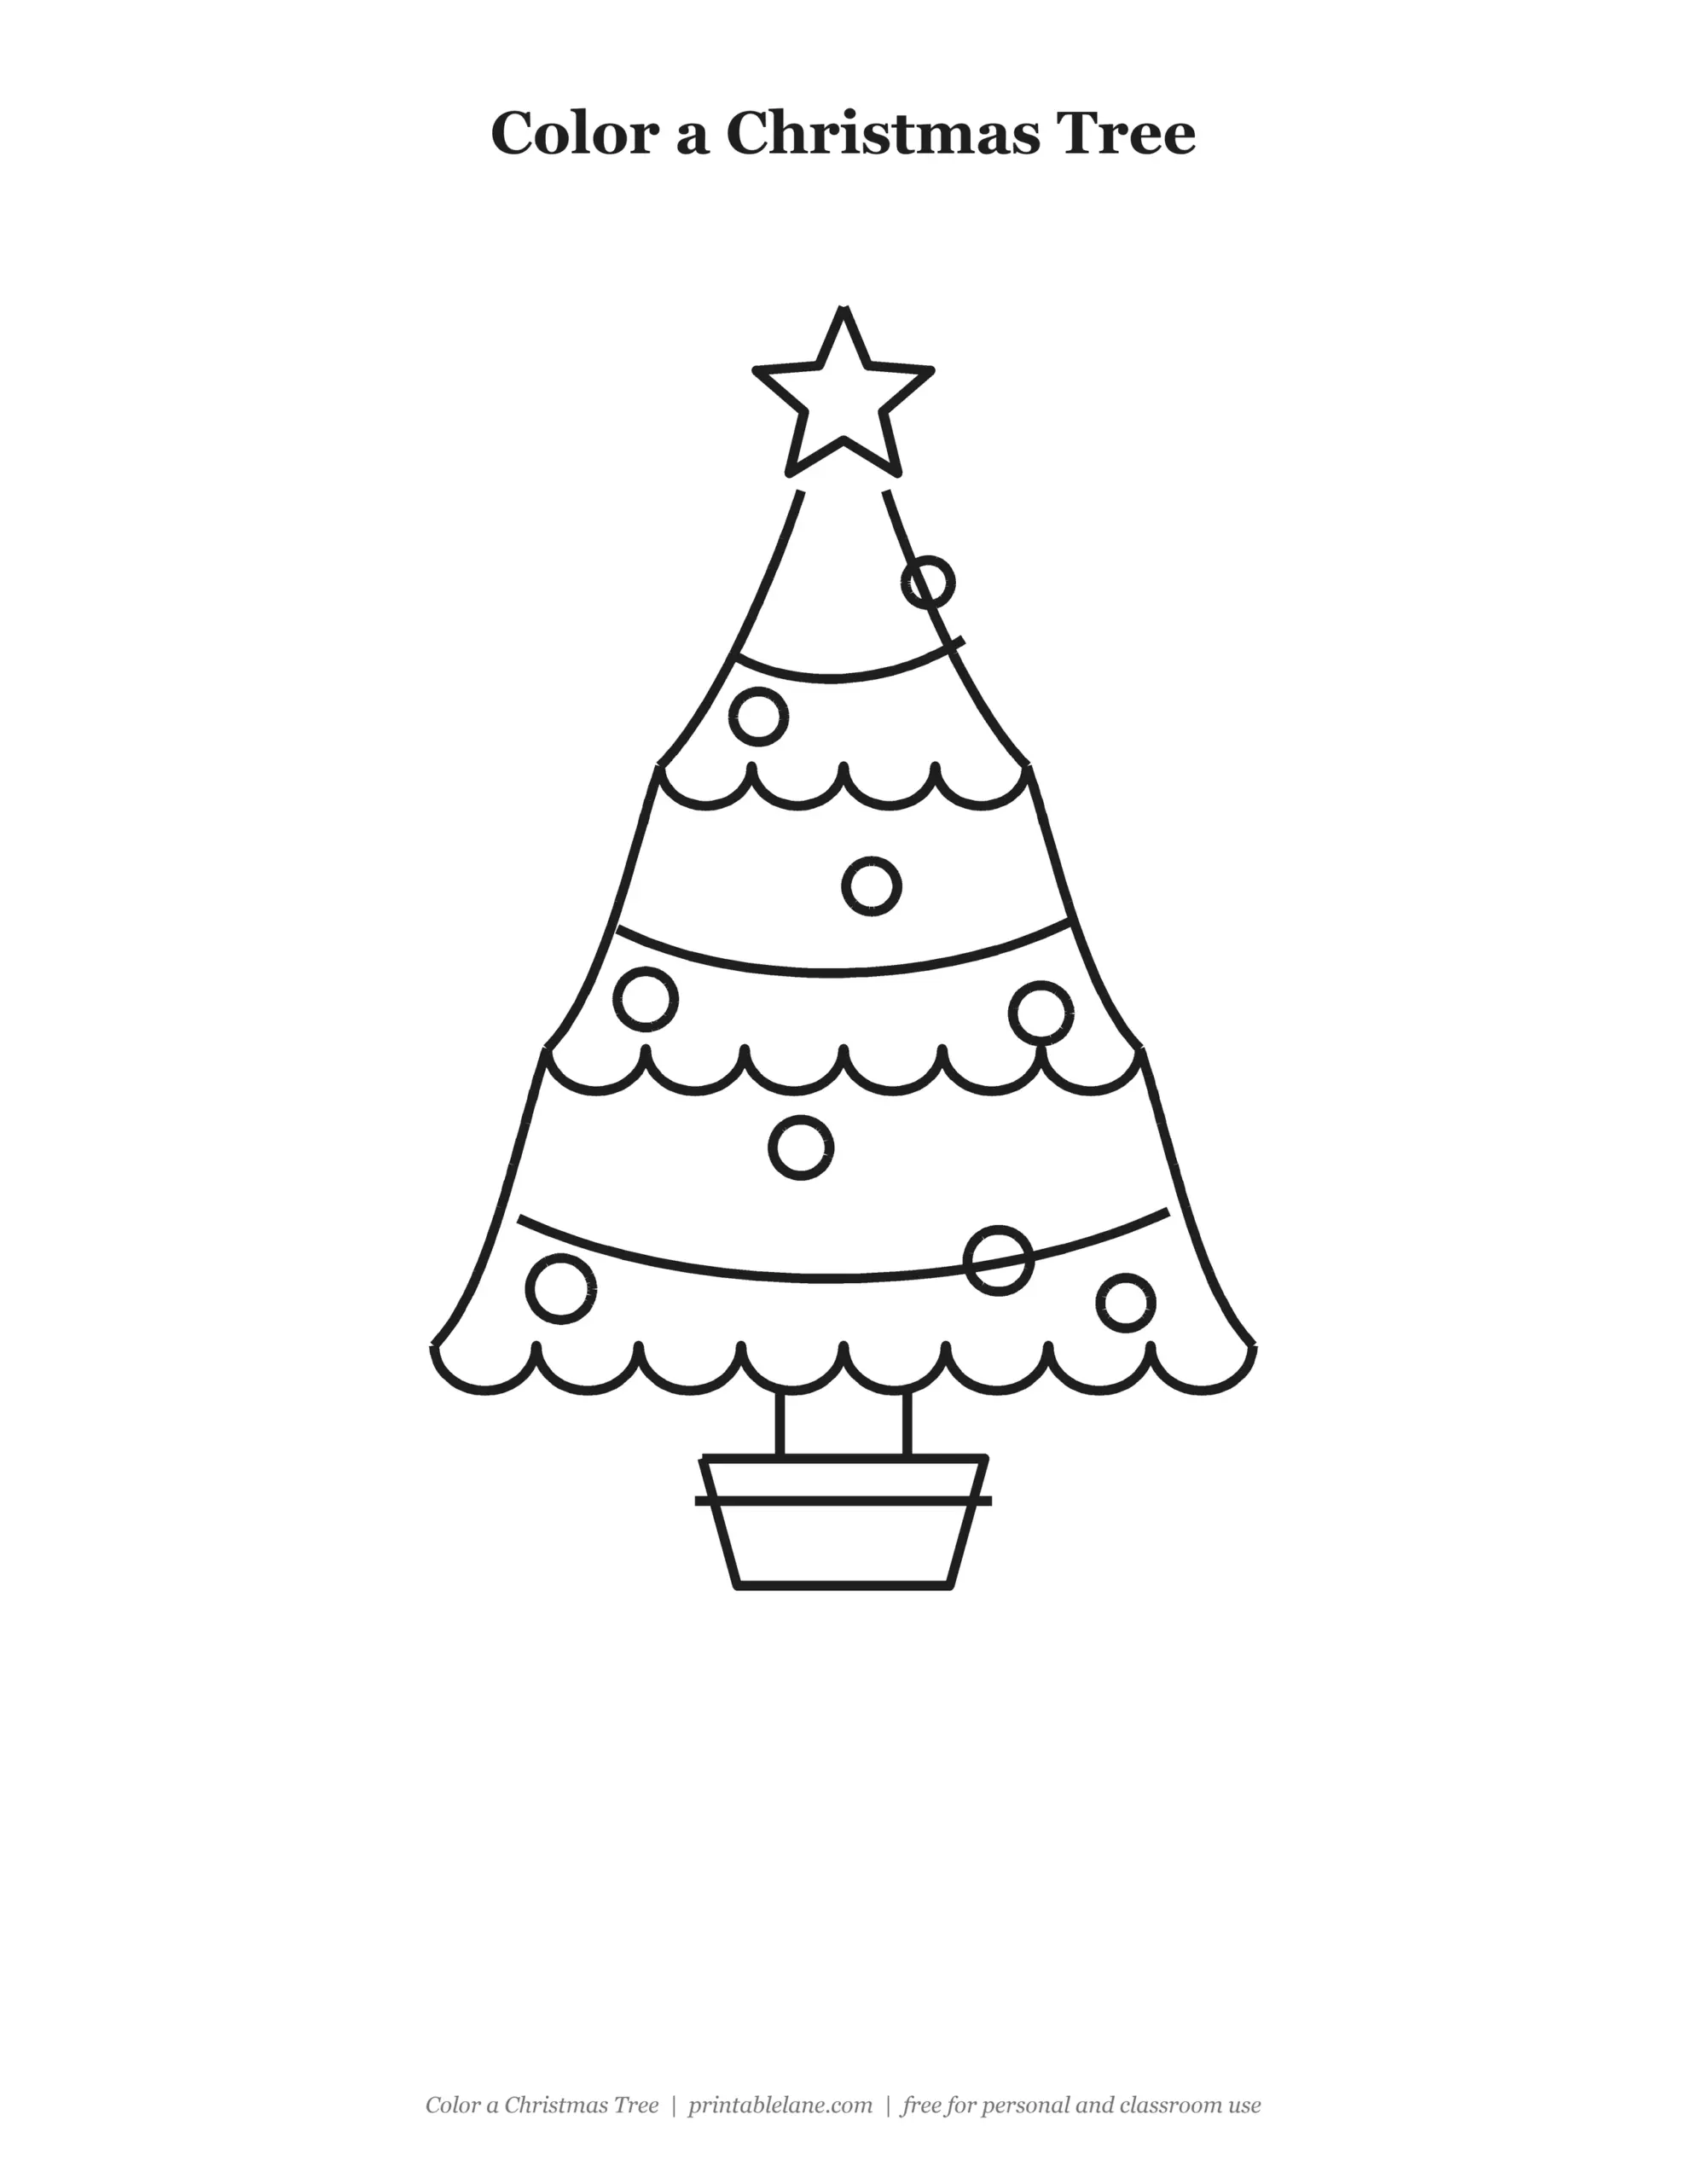
- Coloring page with the finished tree in bold outlines
How to draw a Christmas tree step by step

- Draw a star at the top. Start with a small five-pointed star near the top of the page. Leave plenty of space below it.
- Add the top layer. Draw two short curved lines going down and out from under the star, then join them with a wavy line of four bumps.
- Add a wider middle layer. Start at the corners of the first layer and draw longer curves going out, then close it with a wavy line of six bumps.
- Add the widest bottom layer. Do the same again, a little wider, with eight bumps along the bottom.
- Draw the trunk and a pot. Add two short lines under the tree for the trunk and a pot shape that is wider at the top.
- Decorate. Draw three curved lines across the tree for the garland and add round ornaments. Kids can add presents under the tree too.
The bumps along the bottom of each layer are what make it look like a real fir tree. If they come out uneven, that is fine; real branches are uneven too.
Trace it first
If drawing freehand feels hard, start with the tracing page. Go over the grey lines with a pencil, pressing lightly, and you will learn the shapes and the order without worrying about mistakes. Then try again on the practice sheet.

Practice on the grid
The practice sheet has a small finished tree for reference and two boxes with a faint grid. The grid helps with size and spacing: count how many squares tall the tree is in the reference, then draw it the same way.

Color the finished drawing
Classic is green with red and gold ornaments, but a white tree with blue ornaments or a pink tree looks great too. Crayons and colored pencils work best on regular printer paper; markers may bleed a little on thin paper.


Drawing tips for kids
- Use a pencil first and go over the final lines with a black marker.
- Draw lightly in steps 1 to 4 so it is easy to fix the shape.
- Make each layer a little wider than the one above it.
- Add a few dots around the tree for falling snow.
- Practice twice on the grid sheet before you draw it on a card.
Download the pages one by one
Prefer a single page? Click a link to open the full-size PNG, then print it or save it. The full PDF with all pages and a cover is in the download box.
- How to draw a Christmas tree: step-by-step sheet (PNG)
- a Christmas Tree tracing page (PNG)
- a Christmas Tree practice sheet with grid (PNG)
- a Christmas Tree coloring page (PNG)
Want more Christmas drawing and coloring? Try the Christmas coloring pages, the paper Christmas tree and ornament templates, or the printable Christmas cards where kids can glue their drawing inside.
FAQ
Is this Christmas tree drawing easy enough for preschoolers?
Yes, with a little help. Four-year-olds can usually trace it; five- and six-year-olds can follow the steps on their own. The tracing page is the best place to start.
What paper should I print it on?
Plain US Letter printer paper is fine. For the coloring page with markers, heavier paper or cardstock keeps the colors from bleeding through.
Can I use it in my classroom?
Yes. The pages are free for personal and classroom use, so you can print a copy for every student. Please link to this page instead of sharing the PDF file.