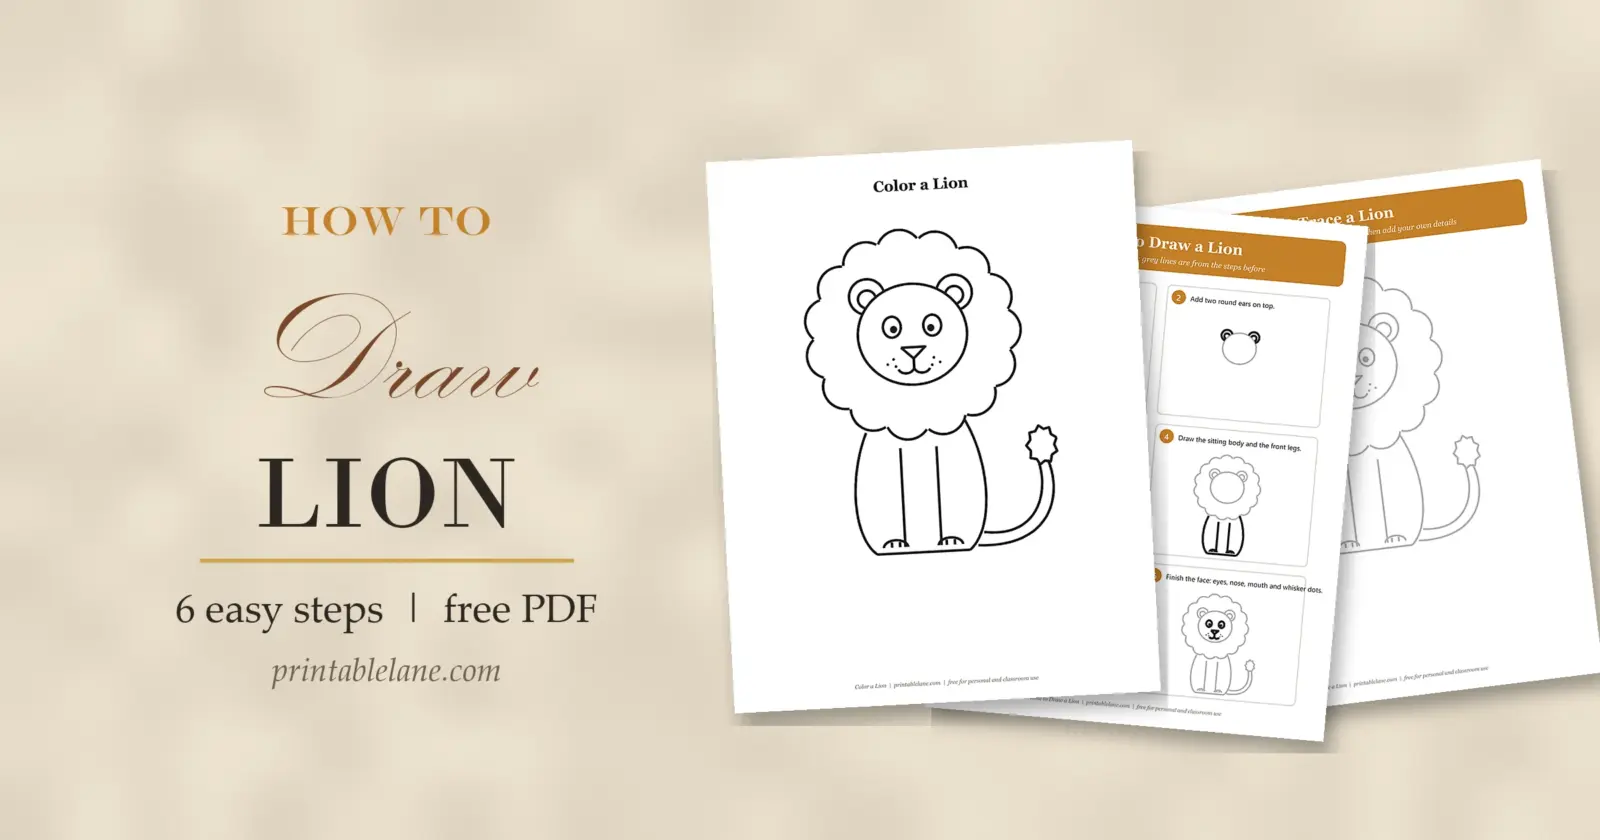
The king of the jungle is easier to draw than you think. This guide shows how to draw a lion sitting tall, starting with a simple circle and building up the fluffy mane one bump at a time.
The free PDF has a step-by-step sheet, a tracing page, a practice sheet with a grid and a coloring page. Once you can draw the mane, you can turn the same shape into a lion cub, a sleepy lion or a whole pride.

What’s in the PDF
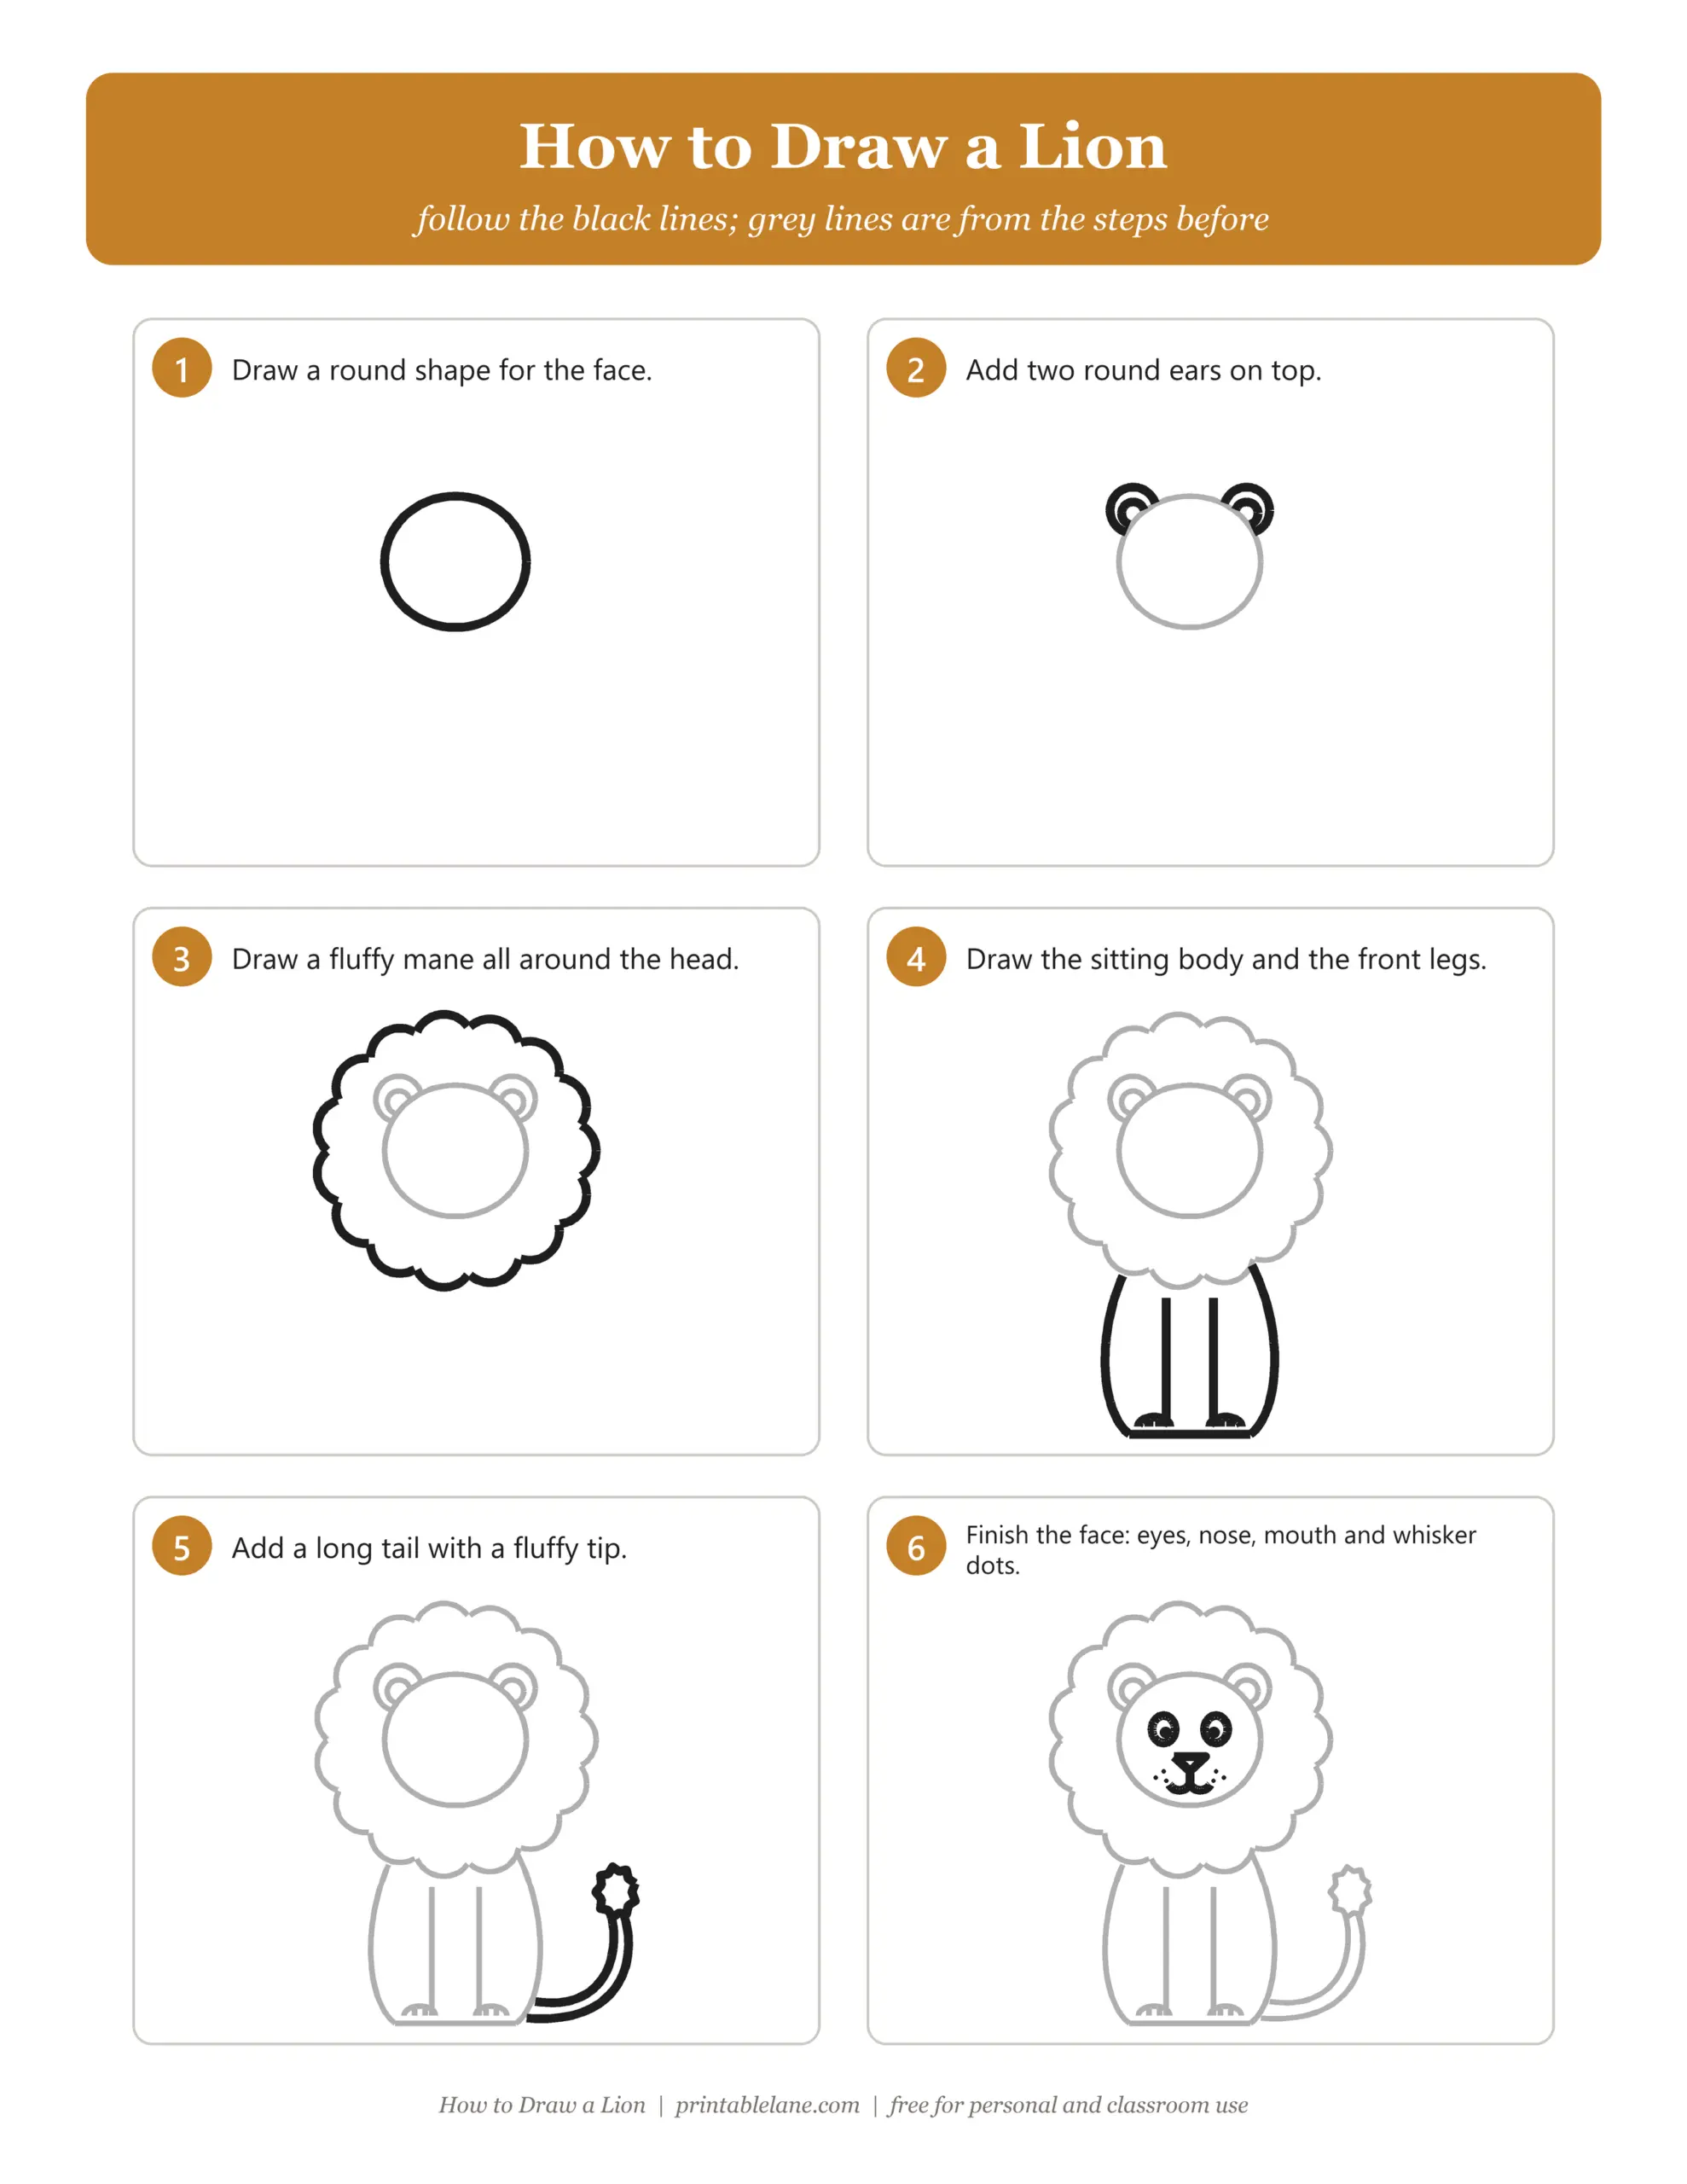
- Step-by-step sheet with 6 numbered steps; new lines are black, earlier lines are grey
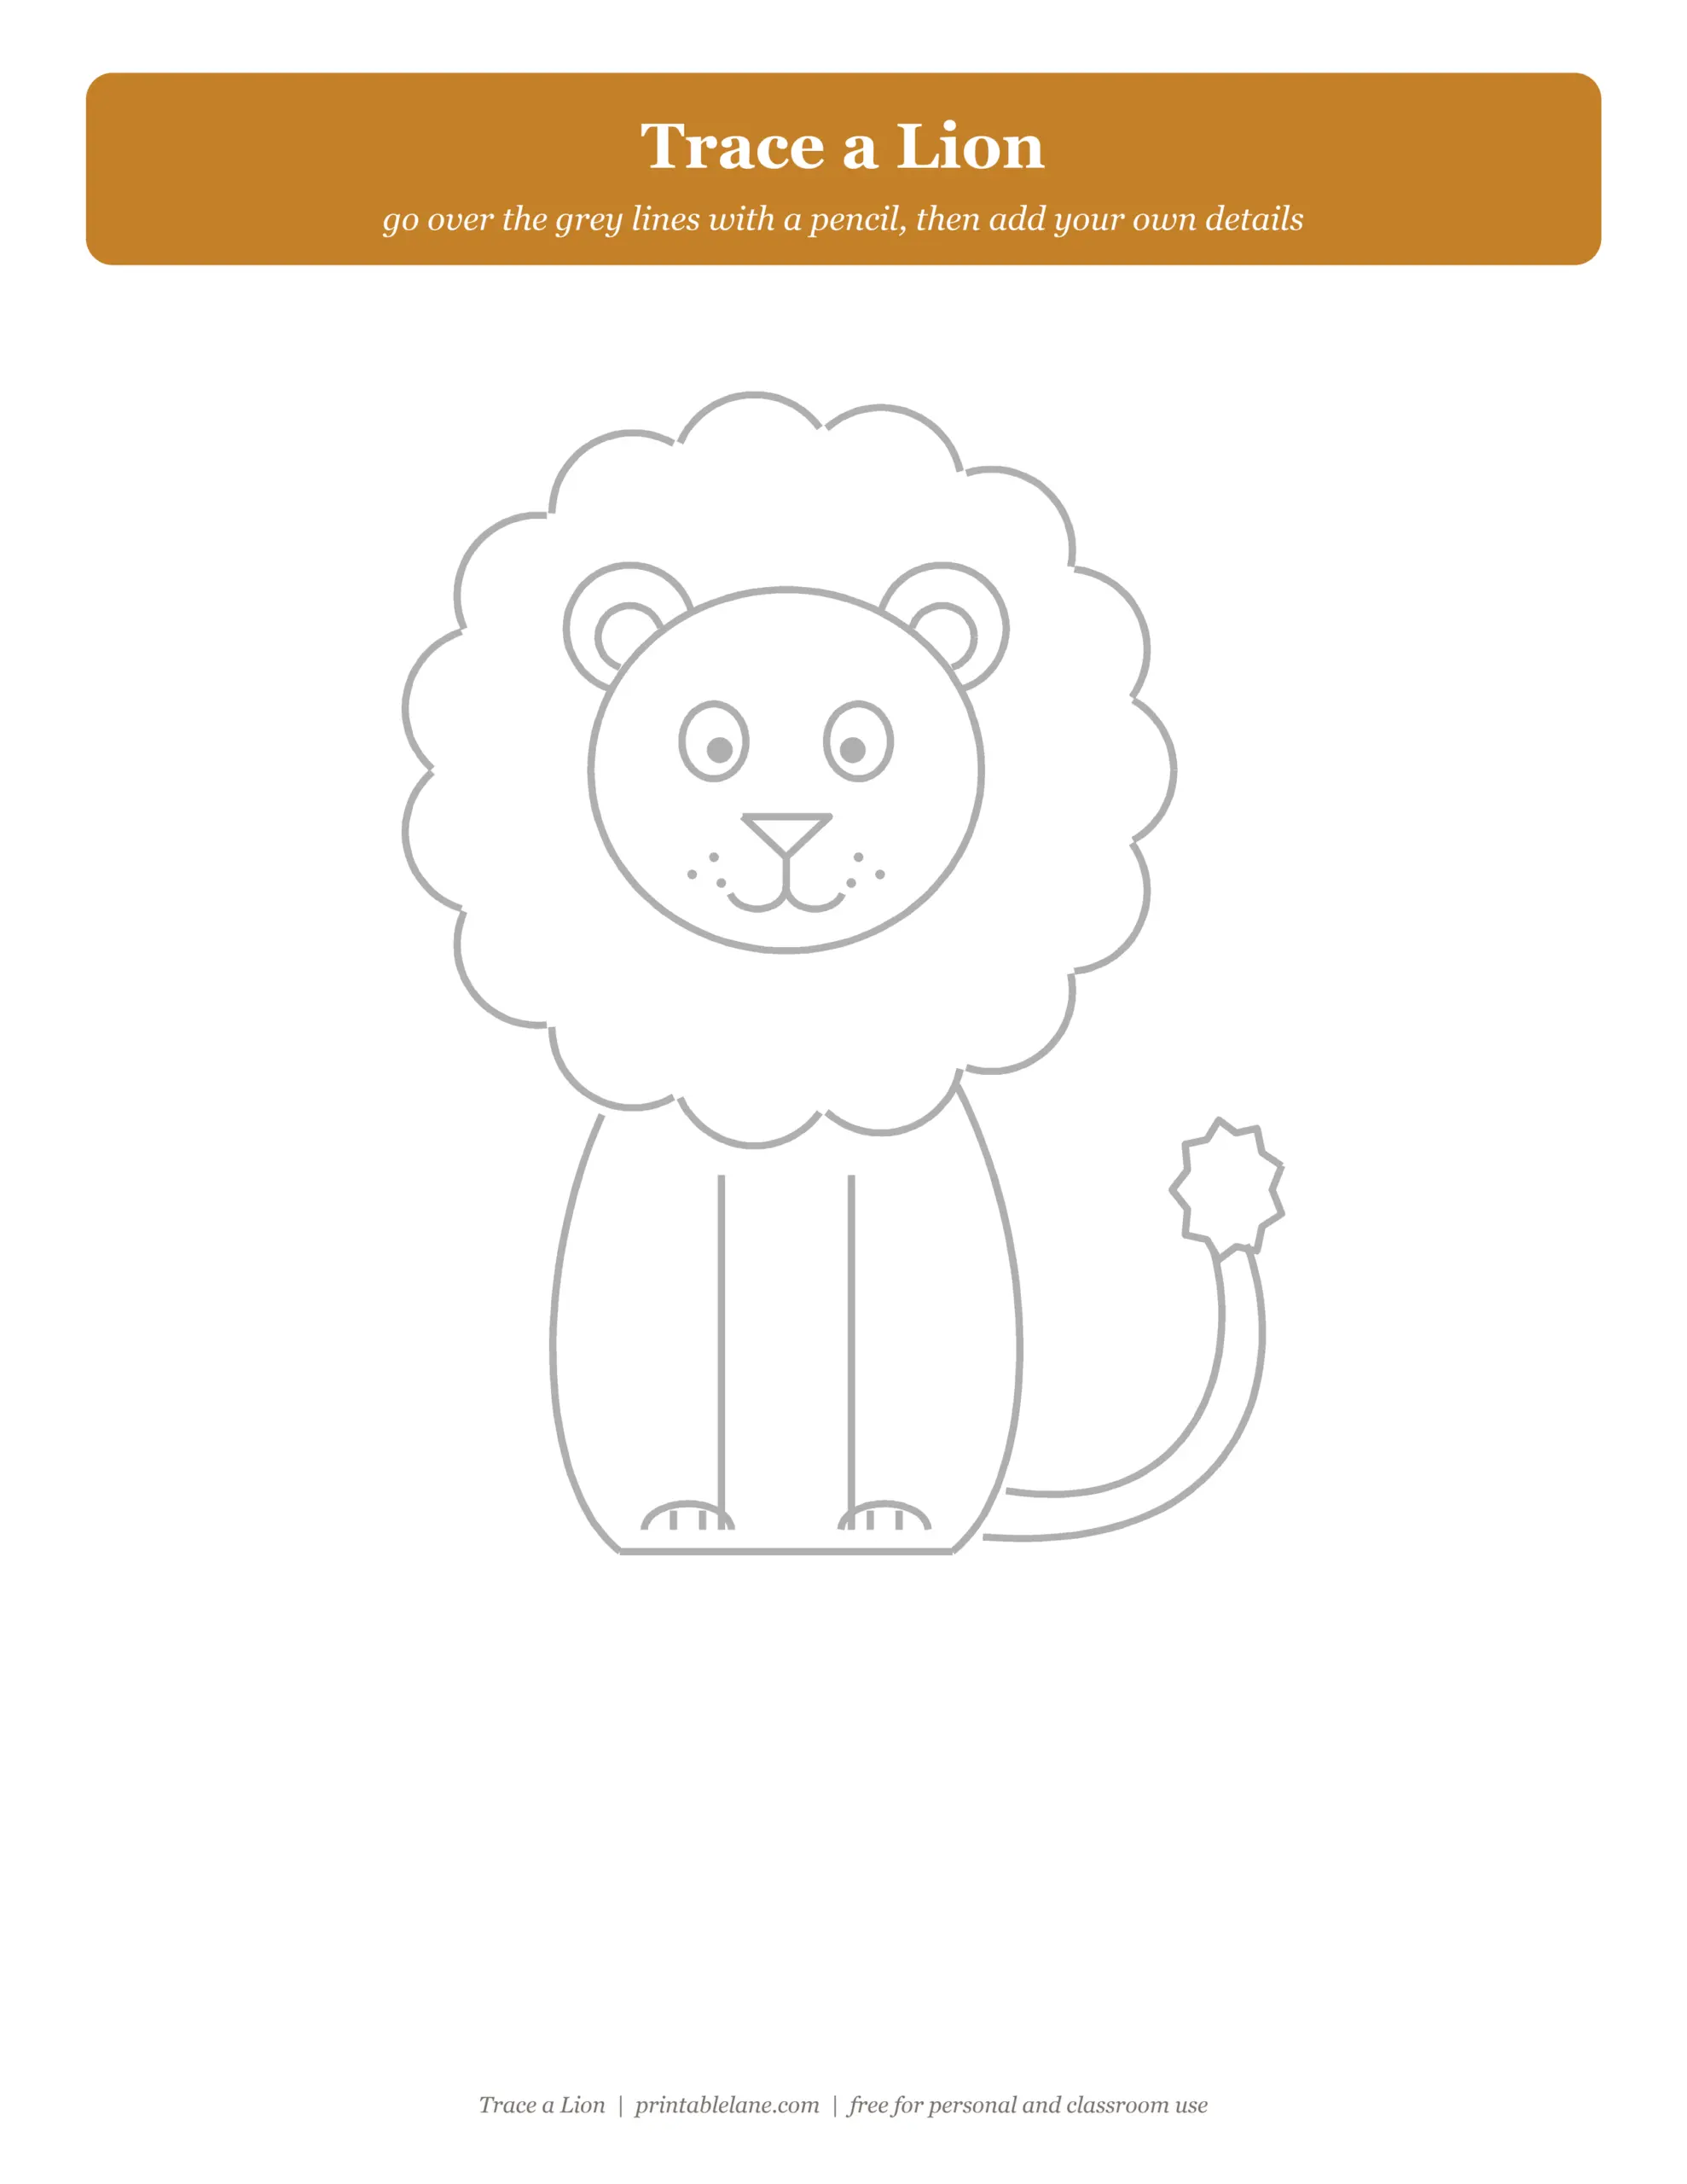
- Tracing page with a large lion in light grey to trace over
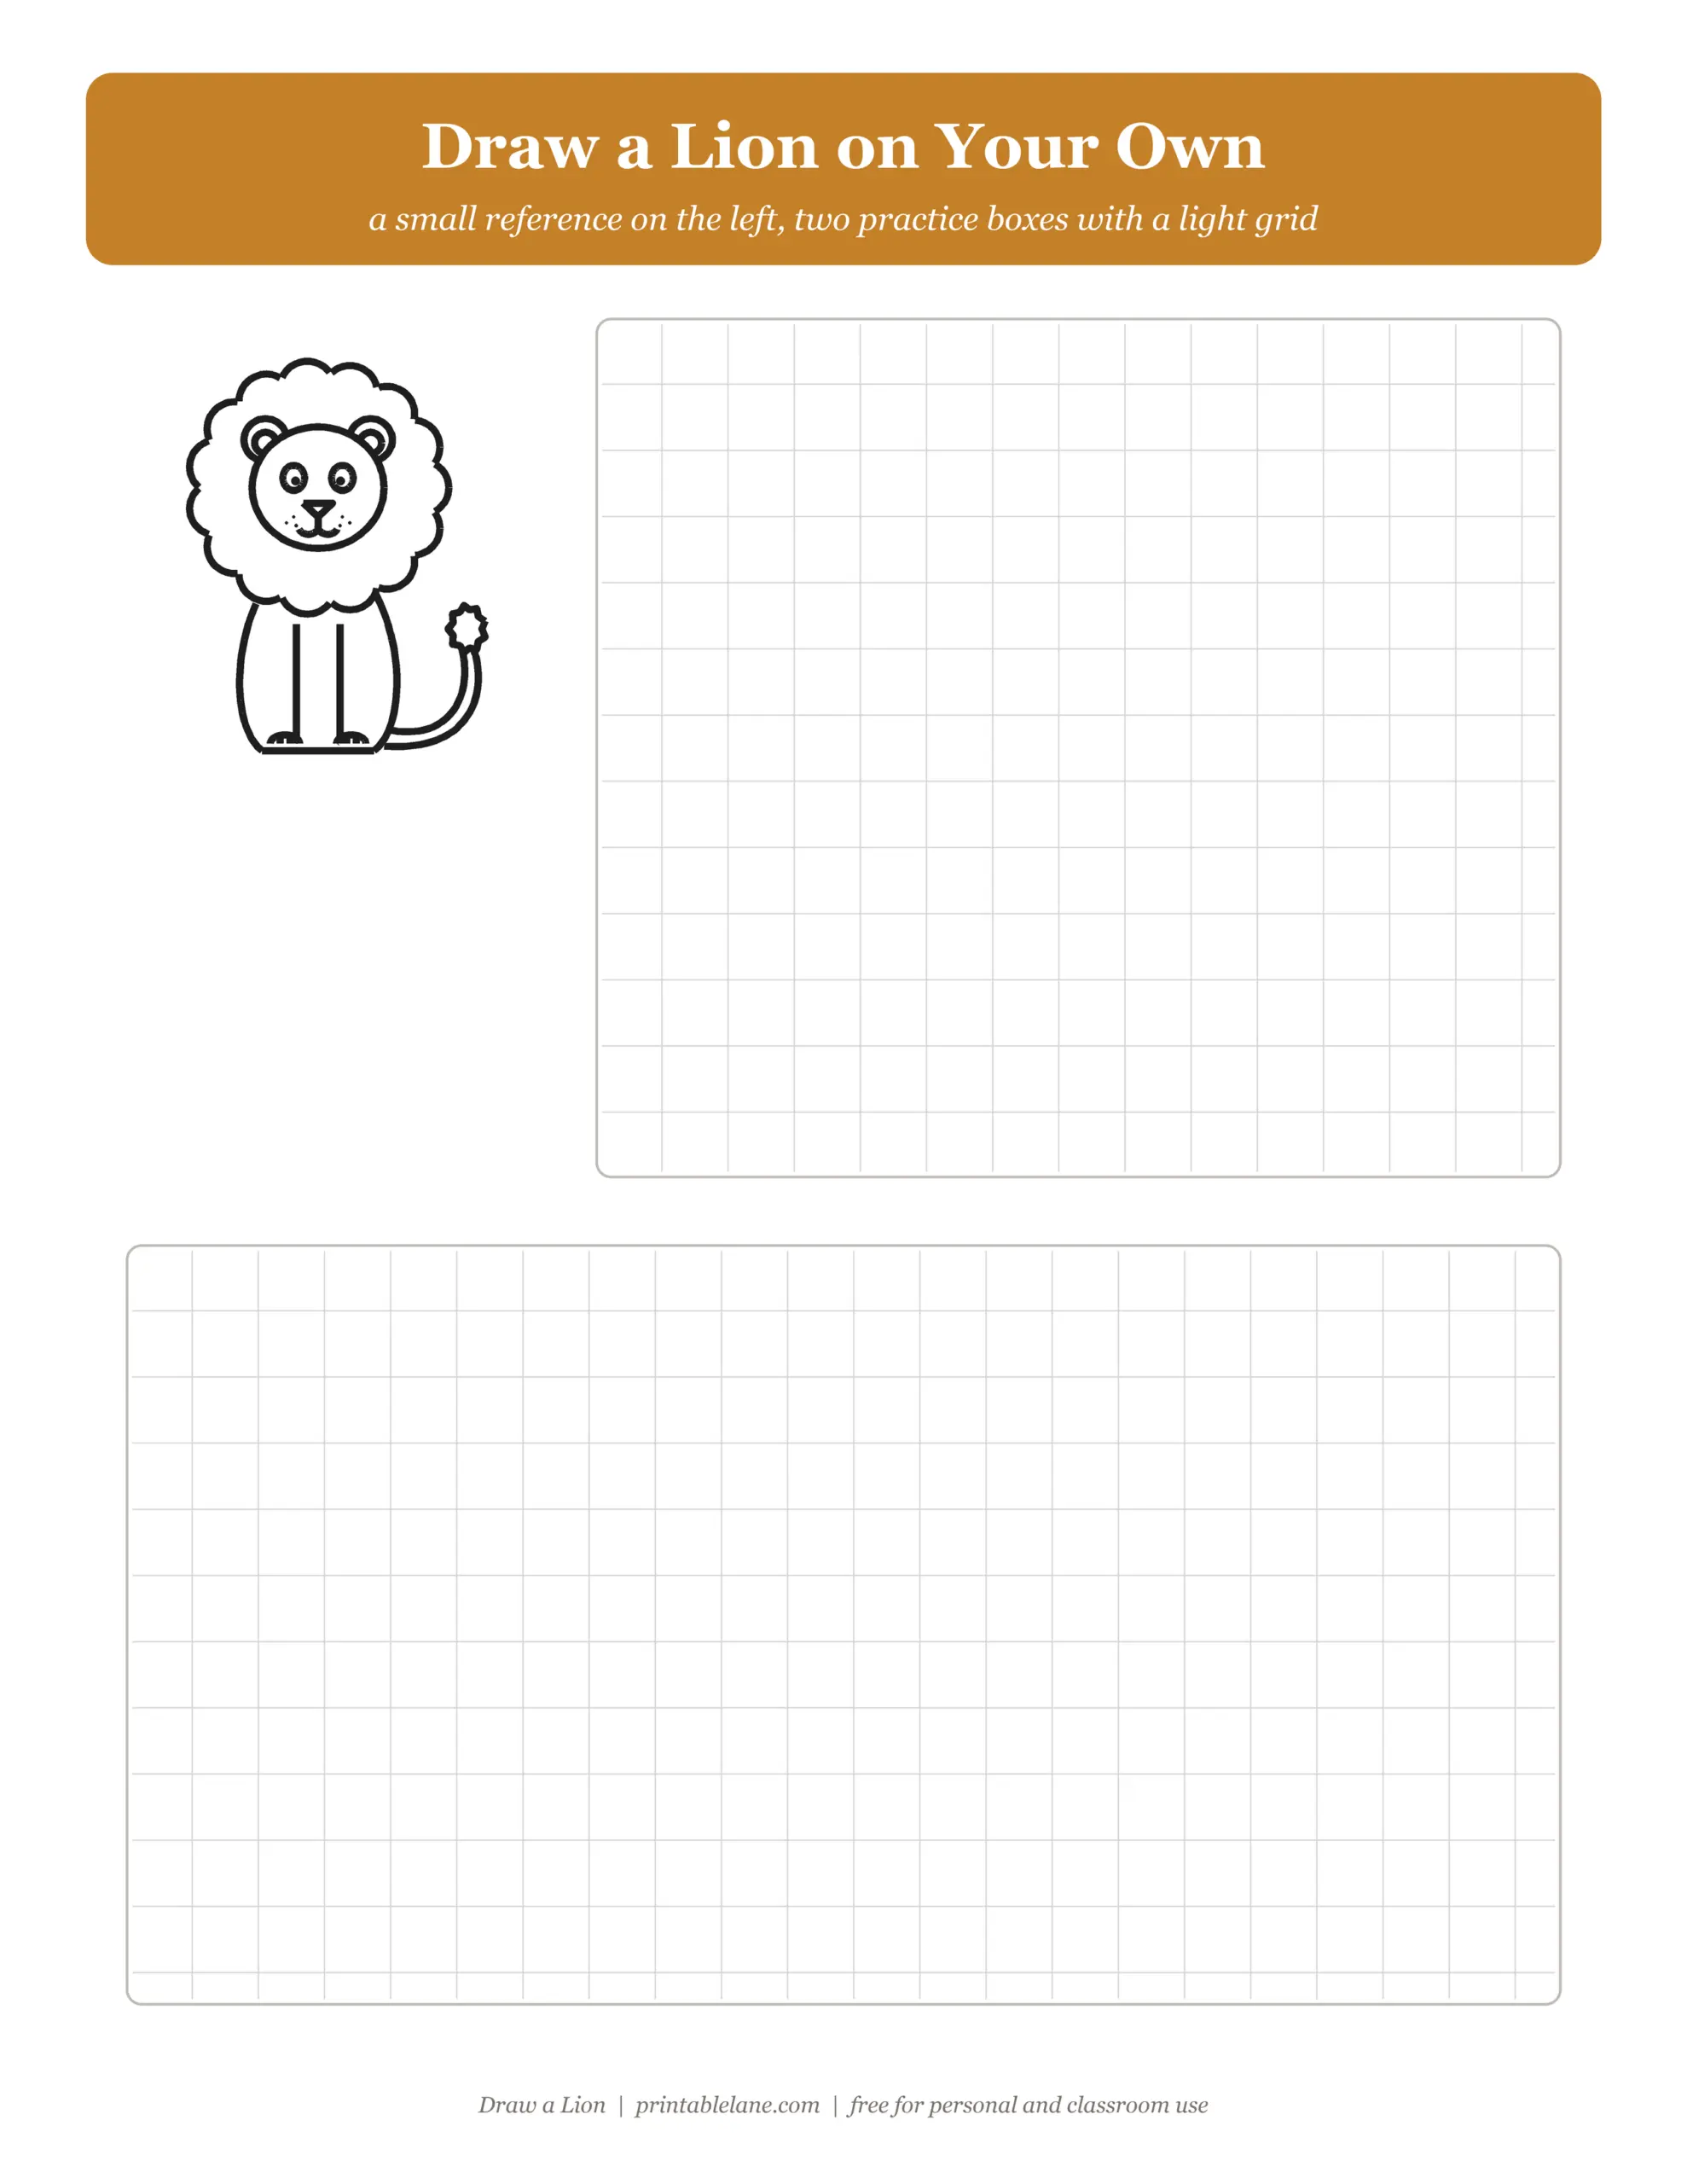
- Practice sheet with a small reference and two boxes with a light grid
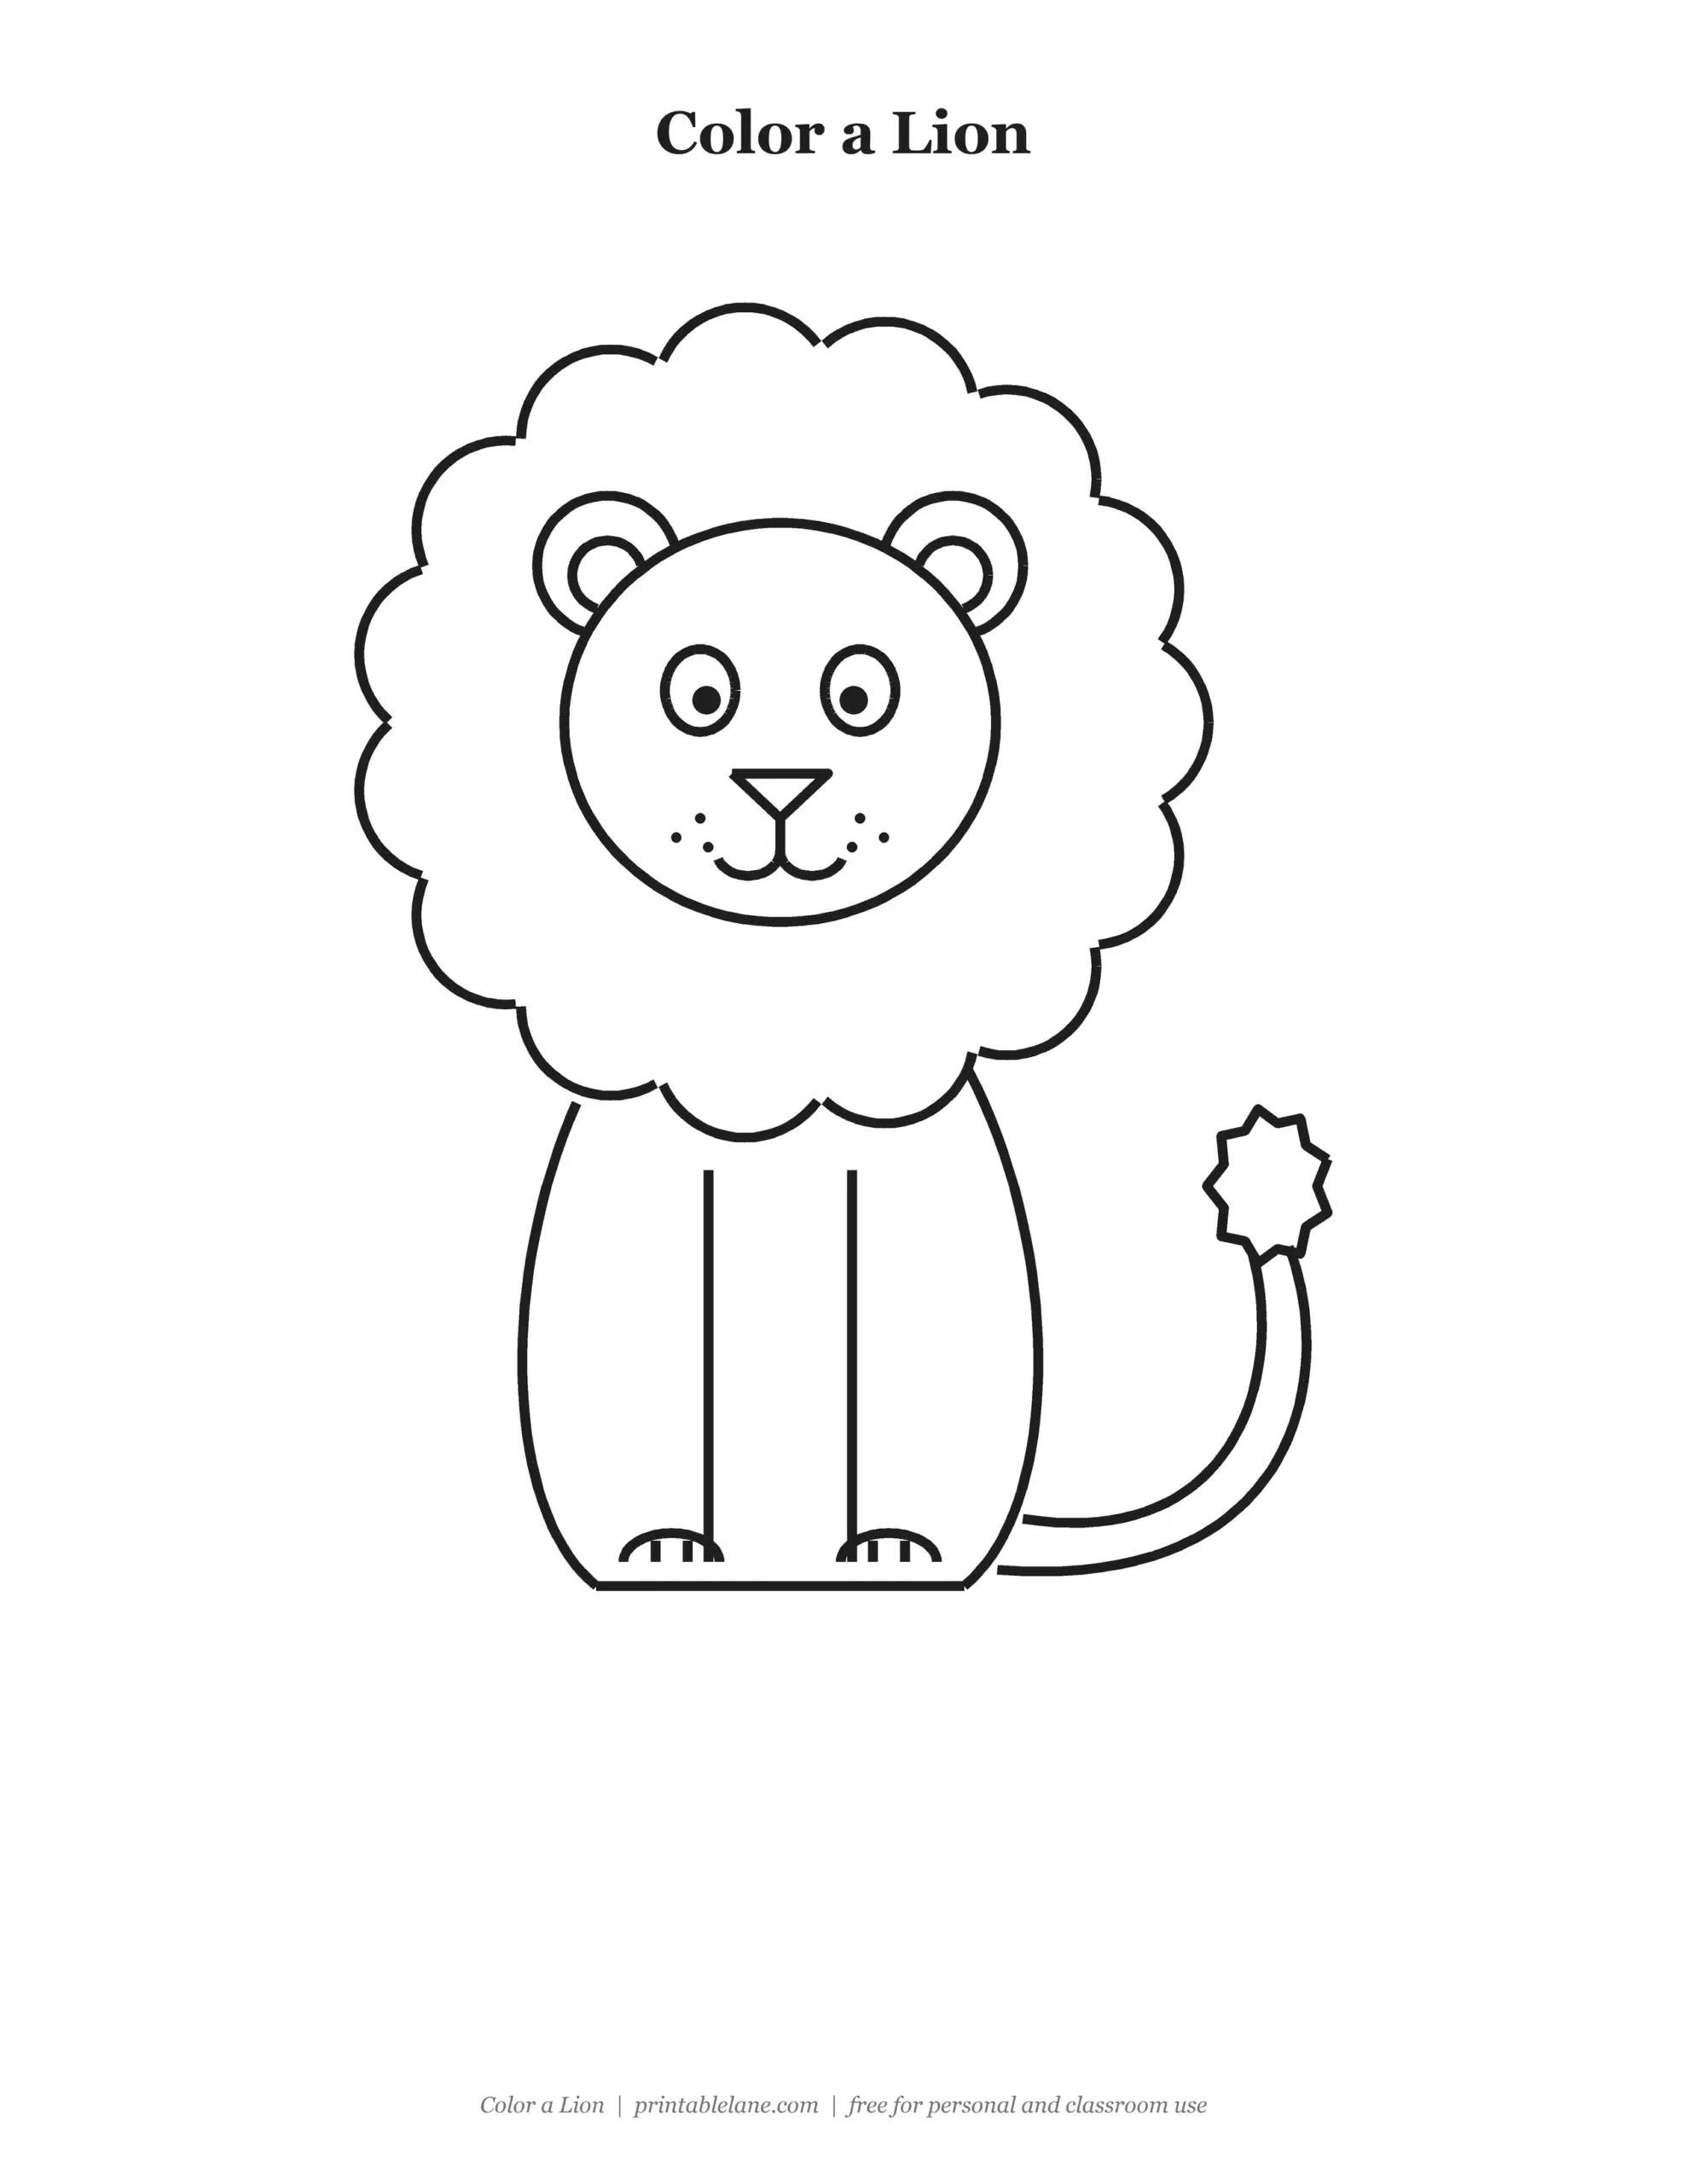
- Coloring page with the finished lion in bold outlines
How to draw a lion step by step

- Draw the face. Make a round shape in the middle of the top half of your paper.
- Add the ears. Draw two small round ears on top of the face, with a smaller curve inside each one.
- Draw the mane. Draw a ring of round, fluffy bumps all around the head, leaving a gap between the face and the bumps.
- Draw the body. Under the mane, draw two curved lines for a sitting body and close it with a line at the bottom. Add two straight front legs and little paws with toe lines.
- Add the tail. Draw a long curved tail from the back of the body and give it a fluffy tuft at the tip.
- Finish the face. Add two big eyes, a triangle nose, a smile that curves both ways under the nose and a few whisker dots.
Keep the mane bumps about the same size as you go around. If your lion looks squished, make the gap between the face and the mane a little bigger.
Trace it first
If drawing freehand feels hard, start with the tracing page. Go over the grey lines with a pencil, pressing lightly, and you will learn the shapes and the order without worrying about mistakes. Then try again on the practice sheet.

Practice on the grid
The practice sheet has a small finished lion for reference and two boxes with a faint grid. The grid helps with size and spacing: count how many squares tall the lion is in the reference, then draw it the same way.

Color the finished drawing
Color the face and body golden yellow and the mane a darker orange or brown. Add a pink nose and color the tail tuft to match the mane.

Drawing tips for kids
- Draw the bumps of the mane lightly first; it is easy to fix a bump that is too big.
- Use a cup or a lid to trace a neat round face.
- Make a lion cub by skipping the big mane and adding a small tuft of hair on the head instead.
- Draw a savanna around your lion: tall grass, a big sun and an acacia tree.
Download the pages one by one
Prefer a single page? Click a link to open the full-size PNG, then print it or save it. The full PDF with all pages and a cover is in the download box.
- How to draw a lion: step-by-step sheet (PNG)
- a Lion tracing page (PNG)
- a Lion practice sheet with grid (PNG)
- a Lion coloring page (PNG)
More drawing guides: how to draw a cat, how to draw a car and how to draw a penguin.
FAQ
What is the easiest way to draw a lion?
Start with a circle for the face, then draw a ring of round bumps around it for the mane. Add the body, tail and face details last.
How do I draw a lion mane?
Draw a ring of round bumps around the face, like a flower or a cloud. Keep the bumps about the same size and leave a little space between the mane and the face.
What paper should I print it on?
Plain US Letter printer paper works. Use cardstock if your child will color with markers or wants to keep the drawing.
Can I use it in my classroom?
Yes. The pages are free for personal and classroom use. Print a copy for every student, and link to this page instead of sharing the PDF file.