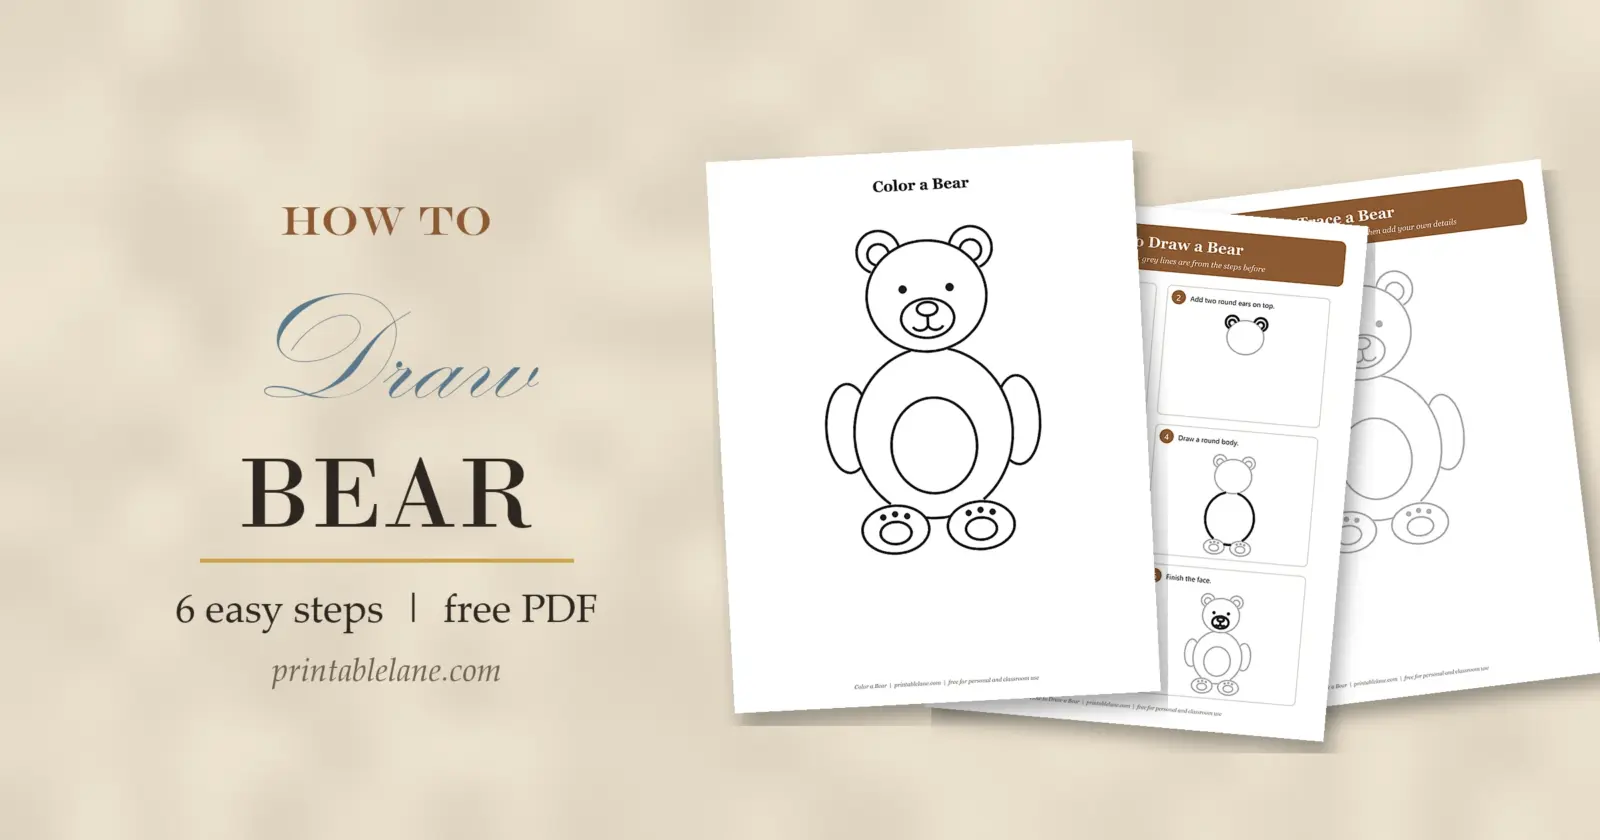
Round, cuddly and easy to love: a sitting bear is one of the best first animals to draw. This guide shows how to draw a bear step by step using only circles and ovals, so even young kids can follow along.
The free PDF has a step-by-step sheet, a tracing page, a practice sheet with a grid and a coloring page. Once you know the shapes, you can turn your bear into a teddy bear, a polar bear or a panda.

What’s in the PDF
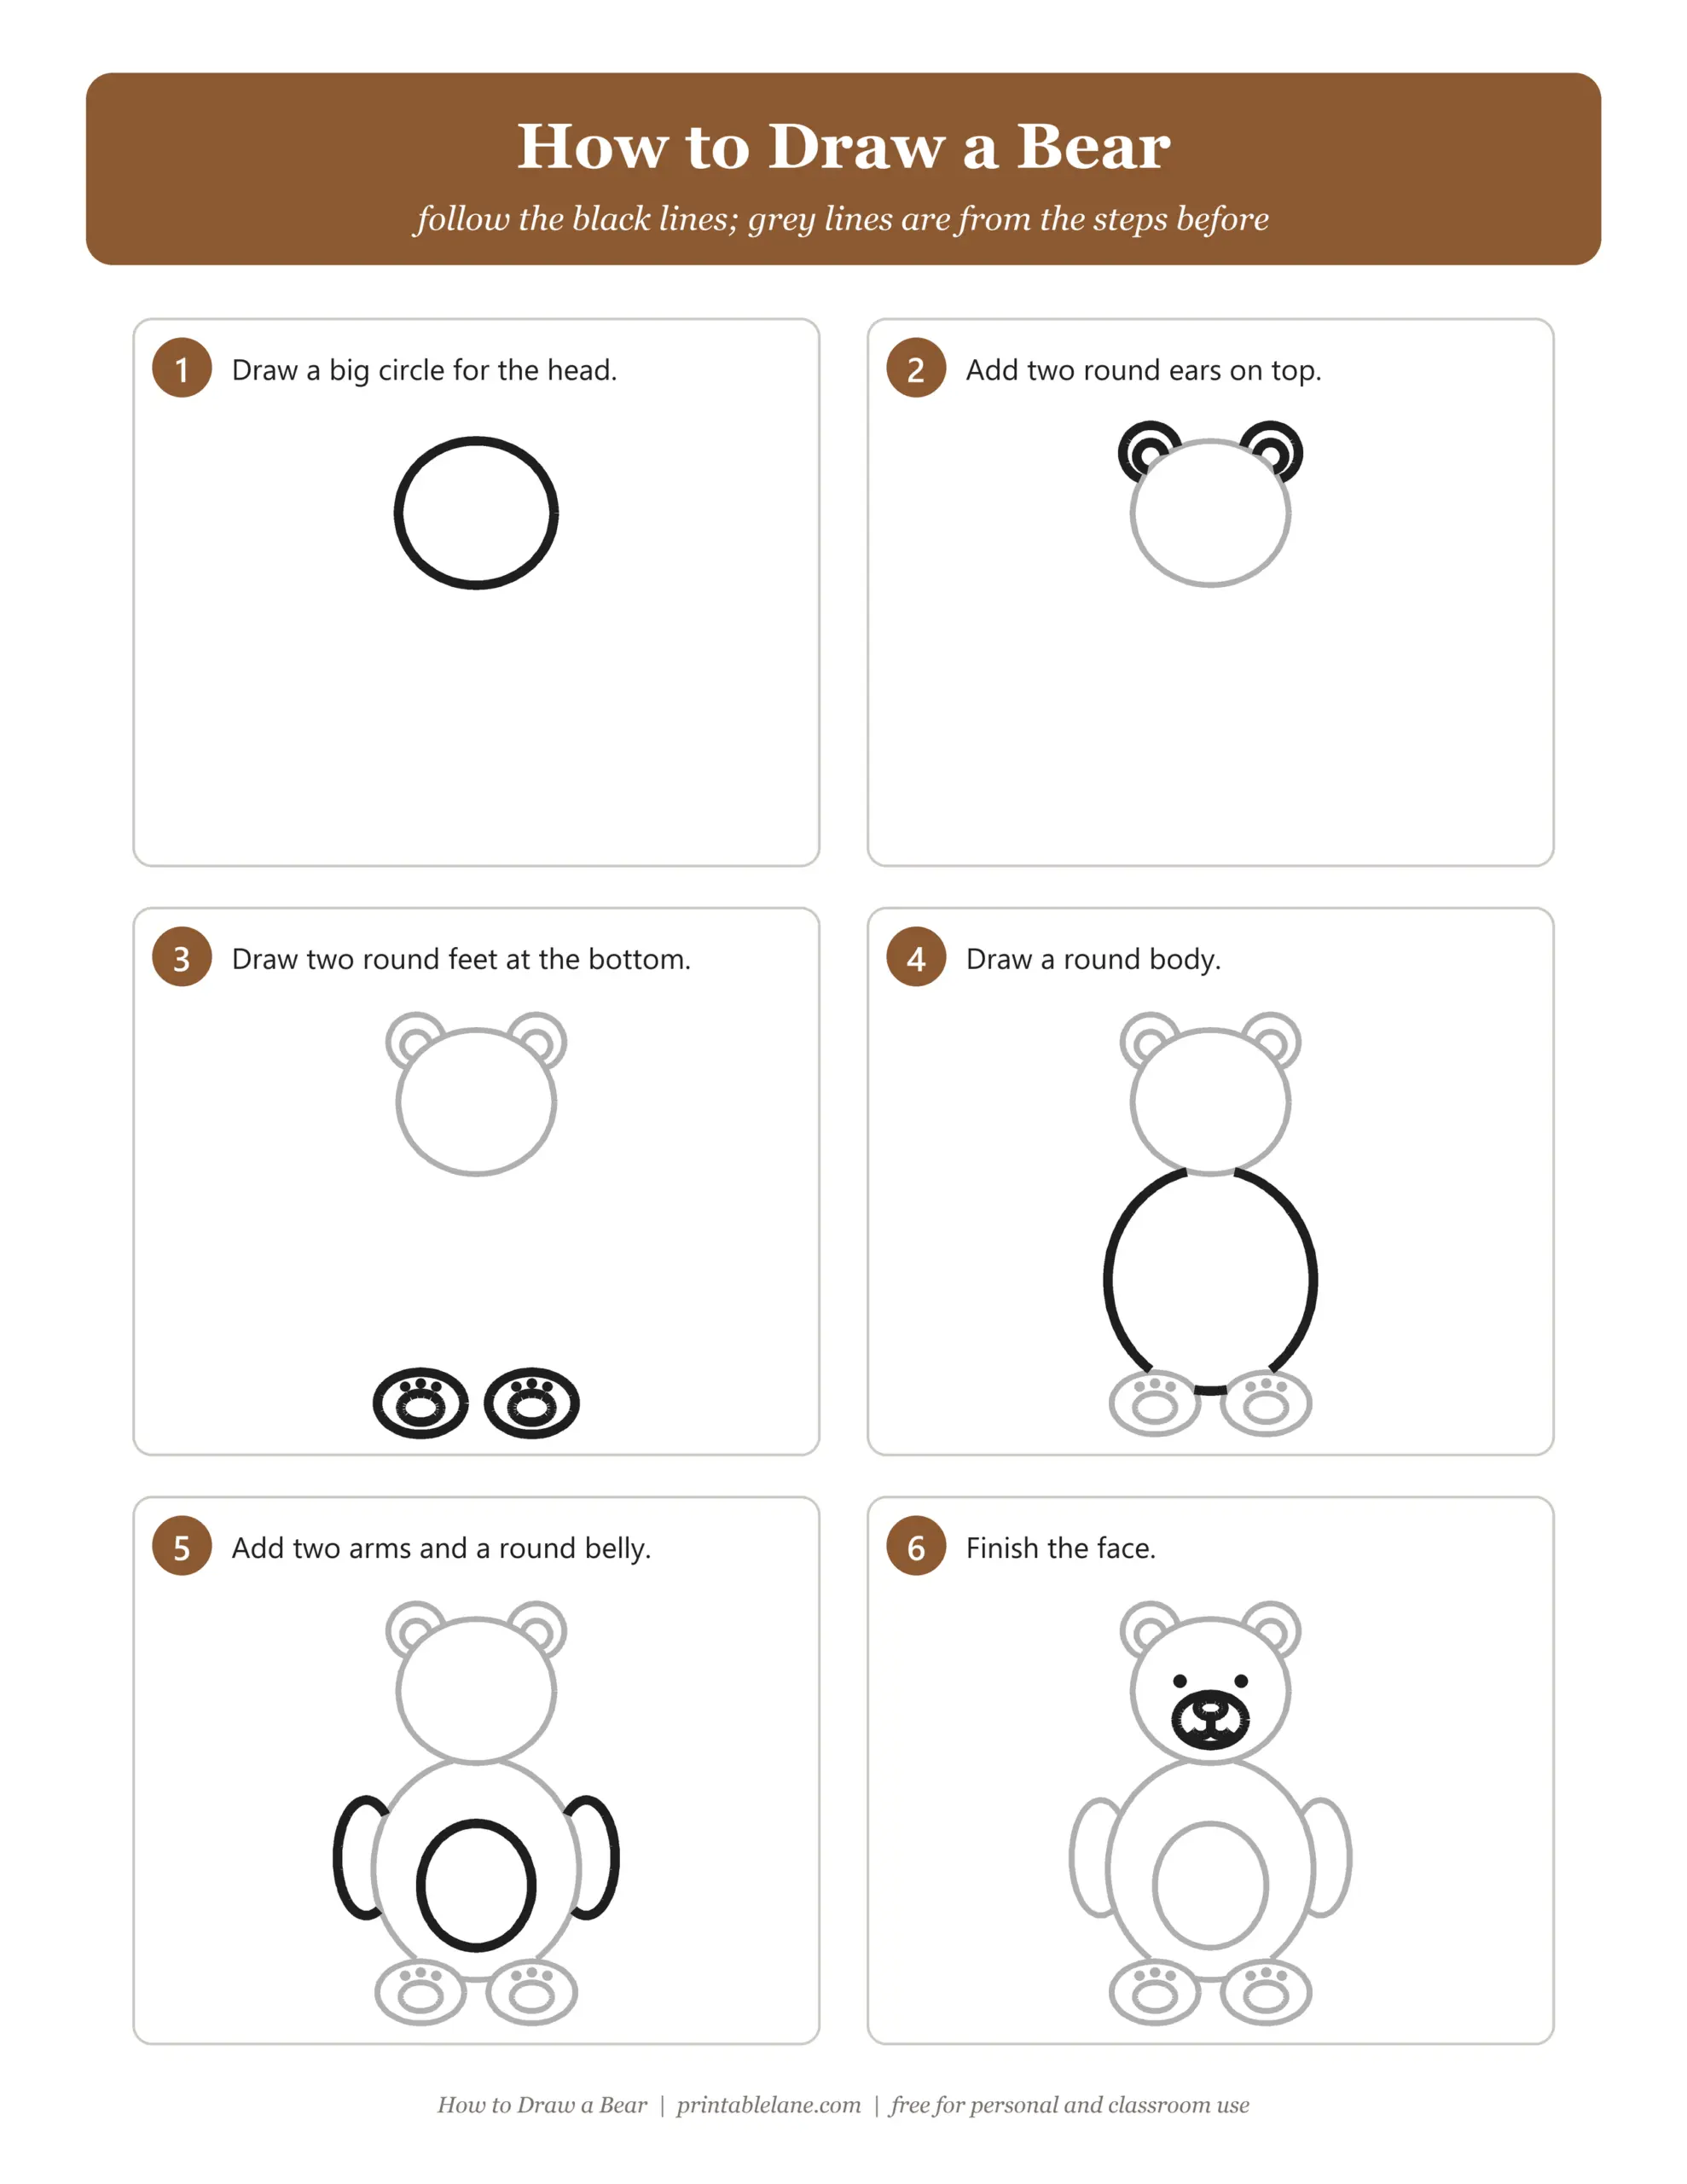
- Step-by-step sheet with 6 numbered steps; new lines are black, earlier lines are grey
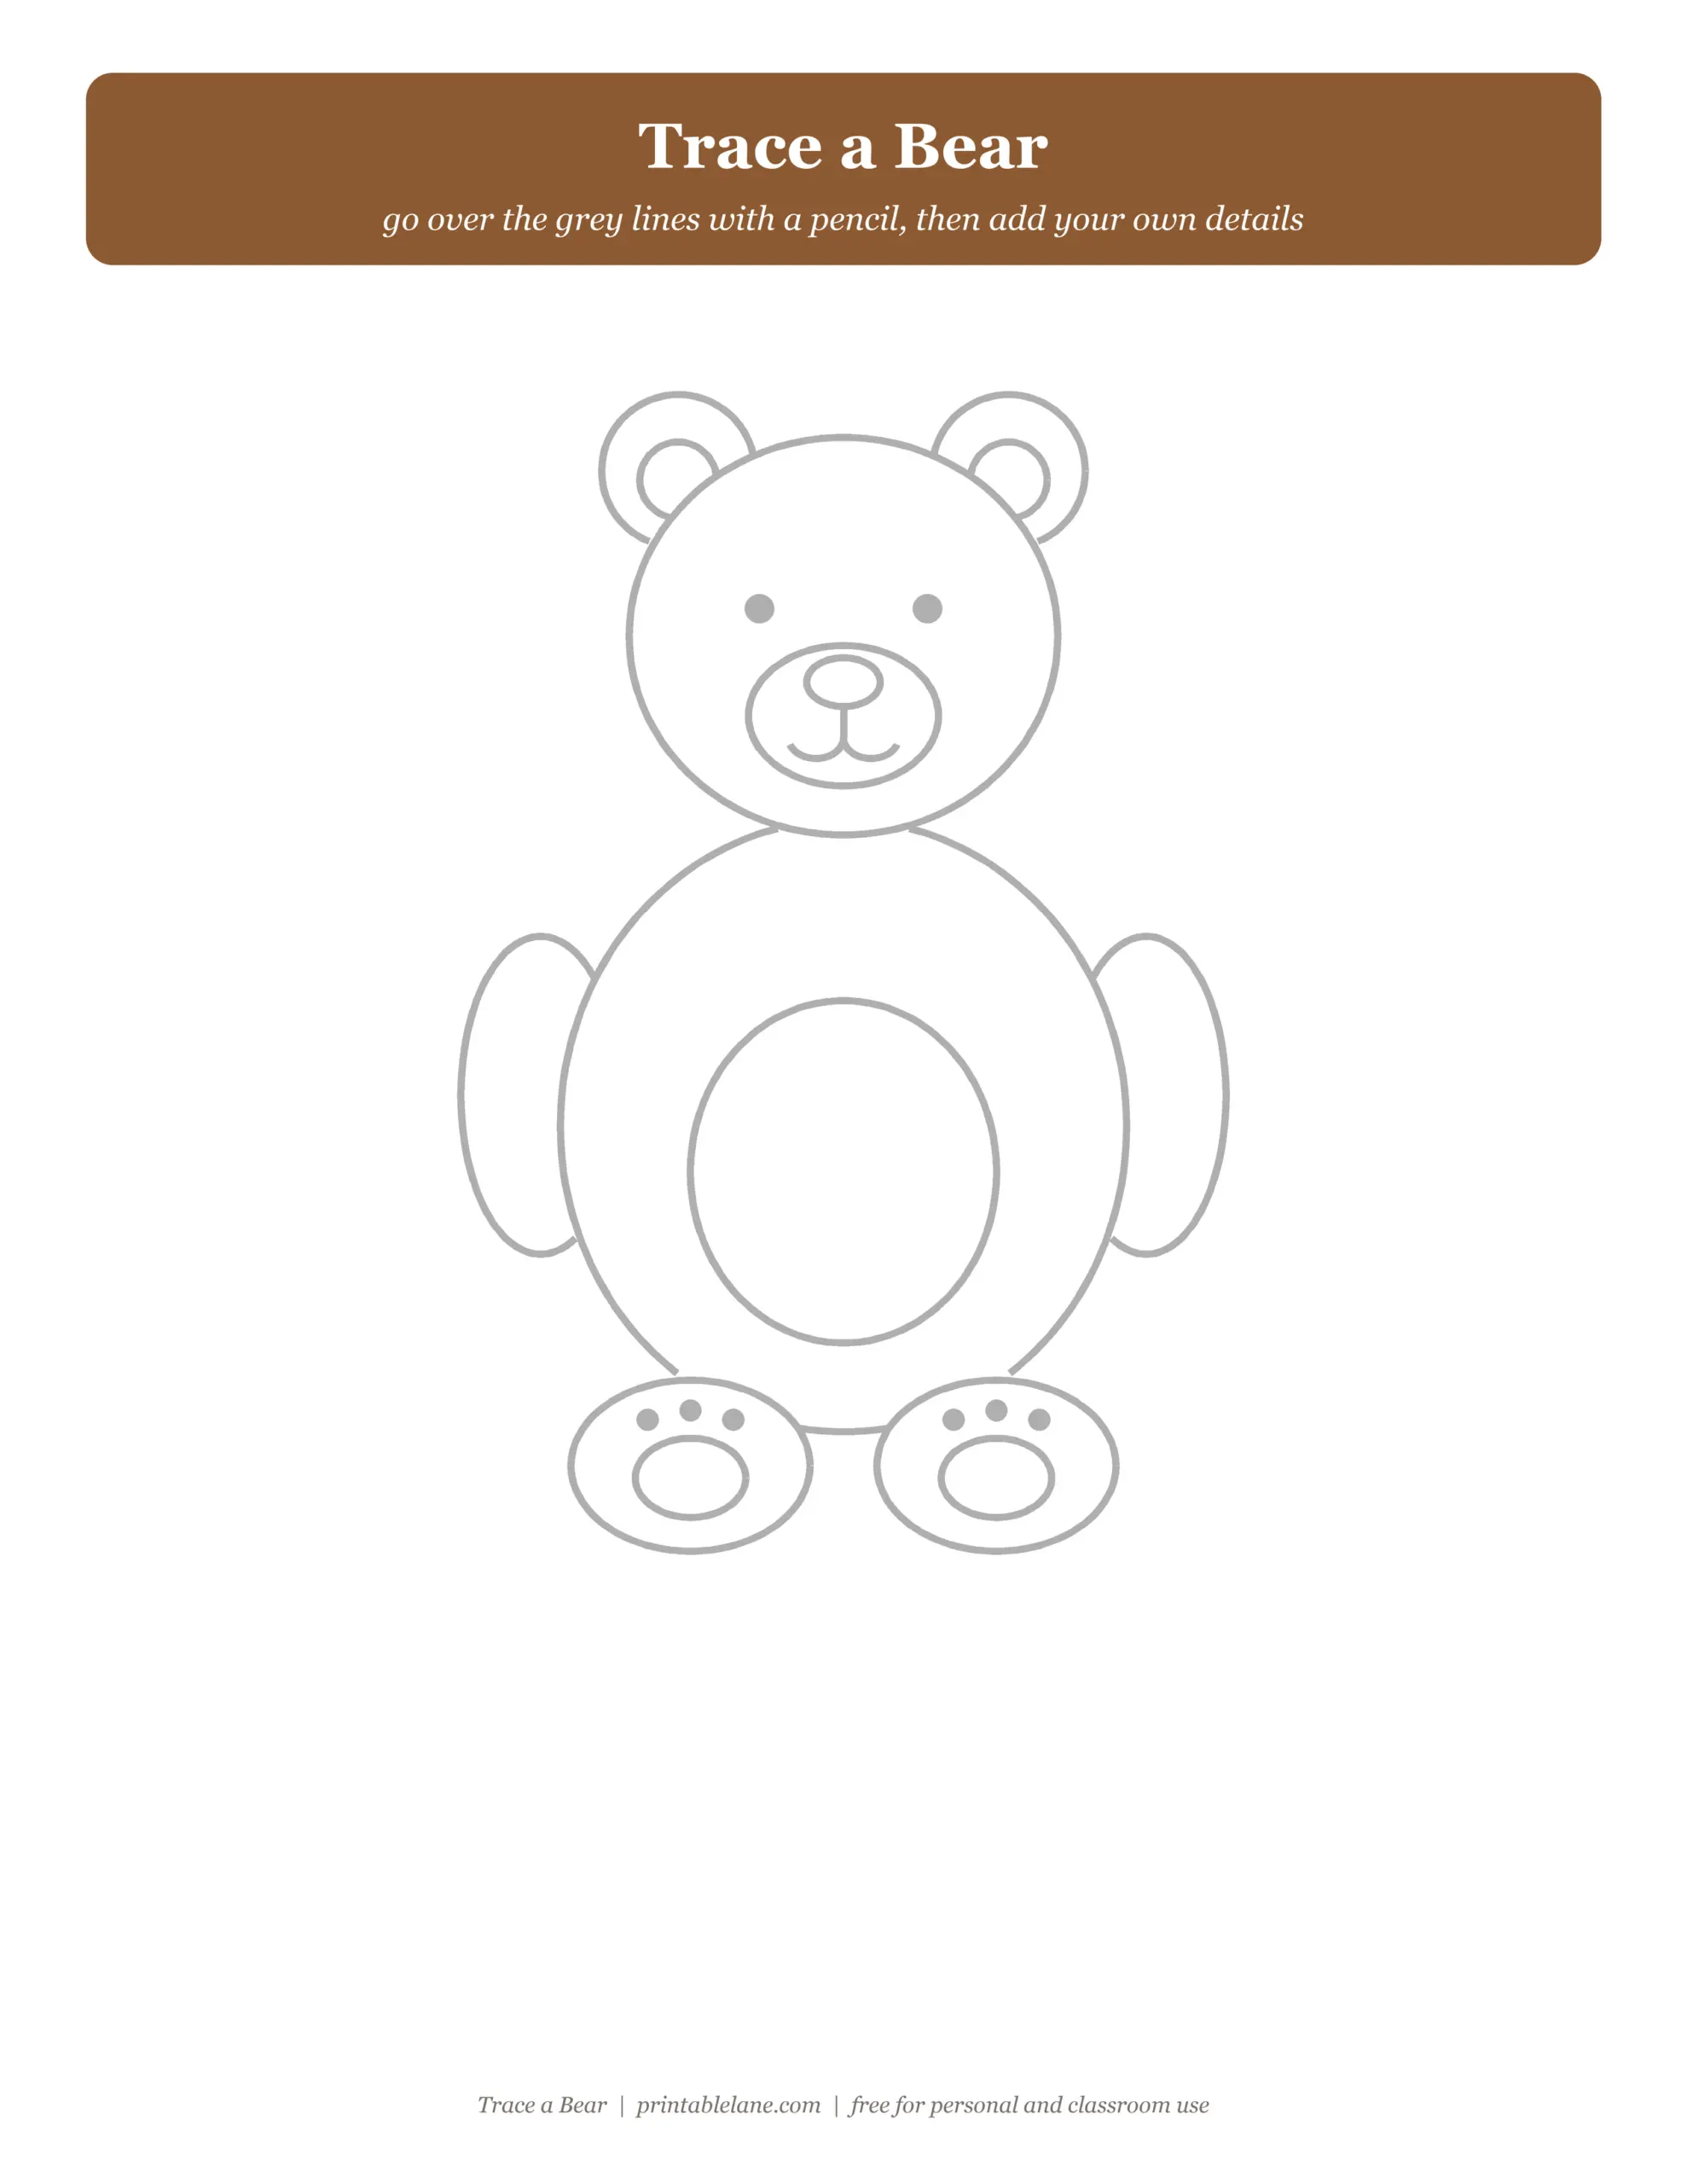
- Tracing page with a large bear in light grey to trace over
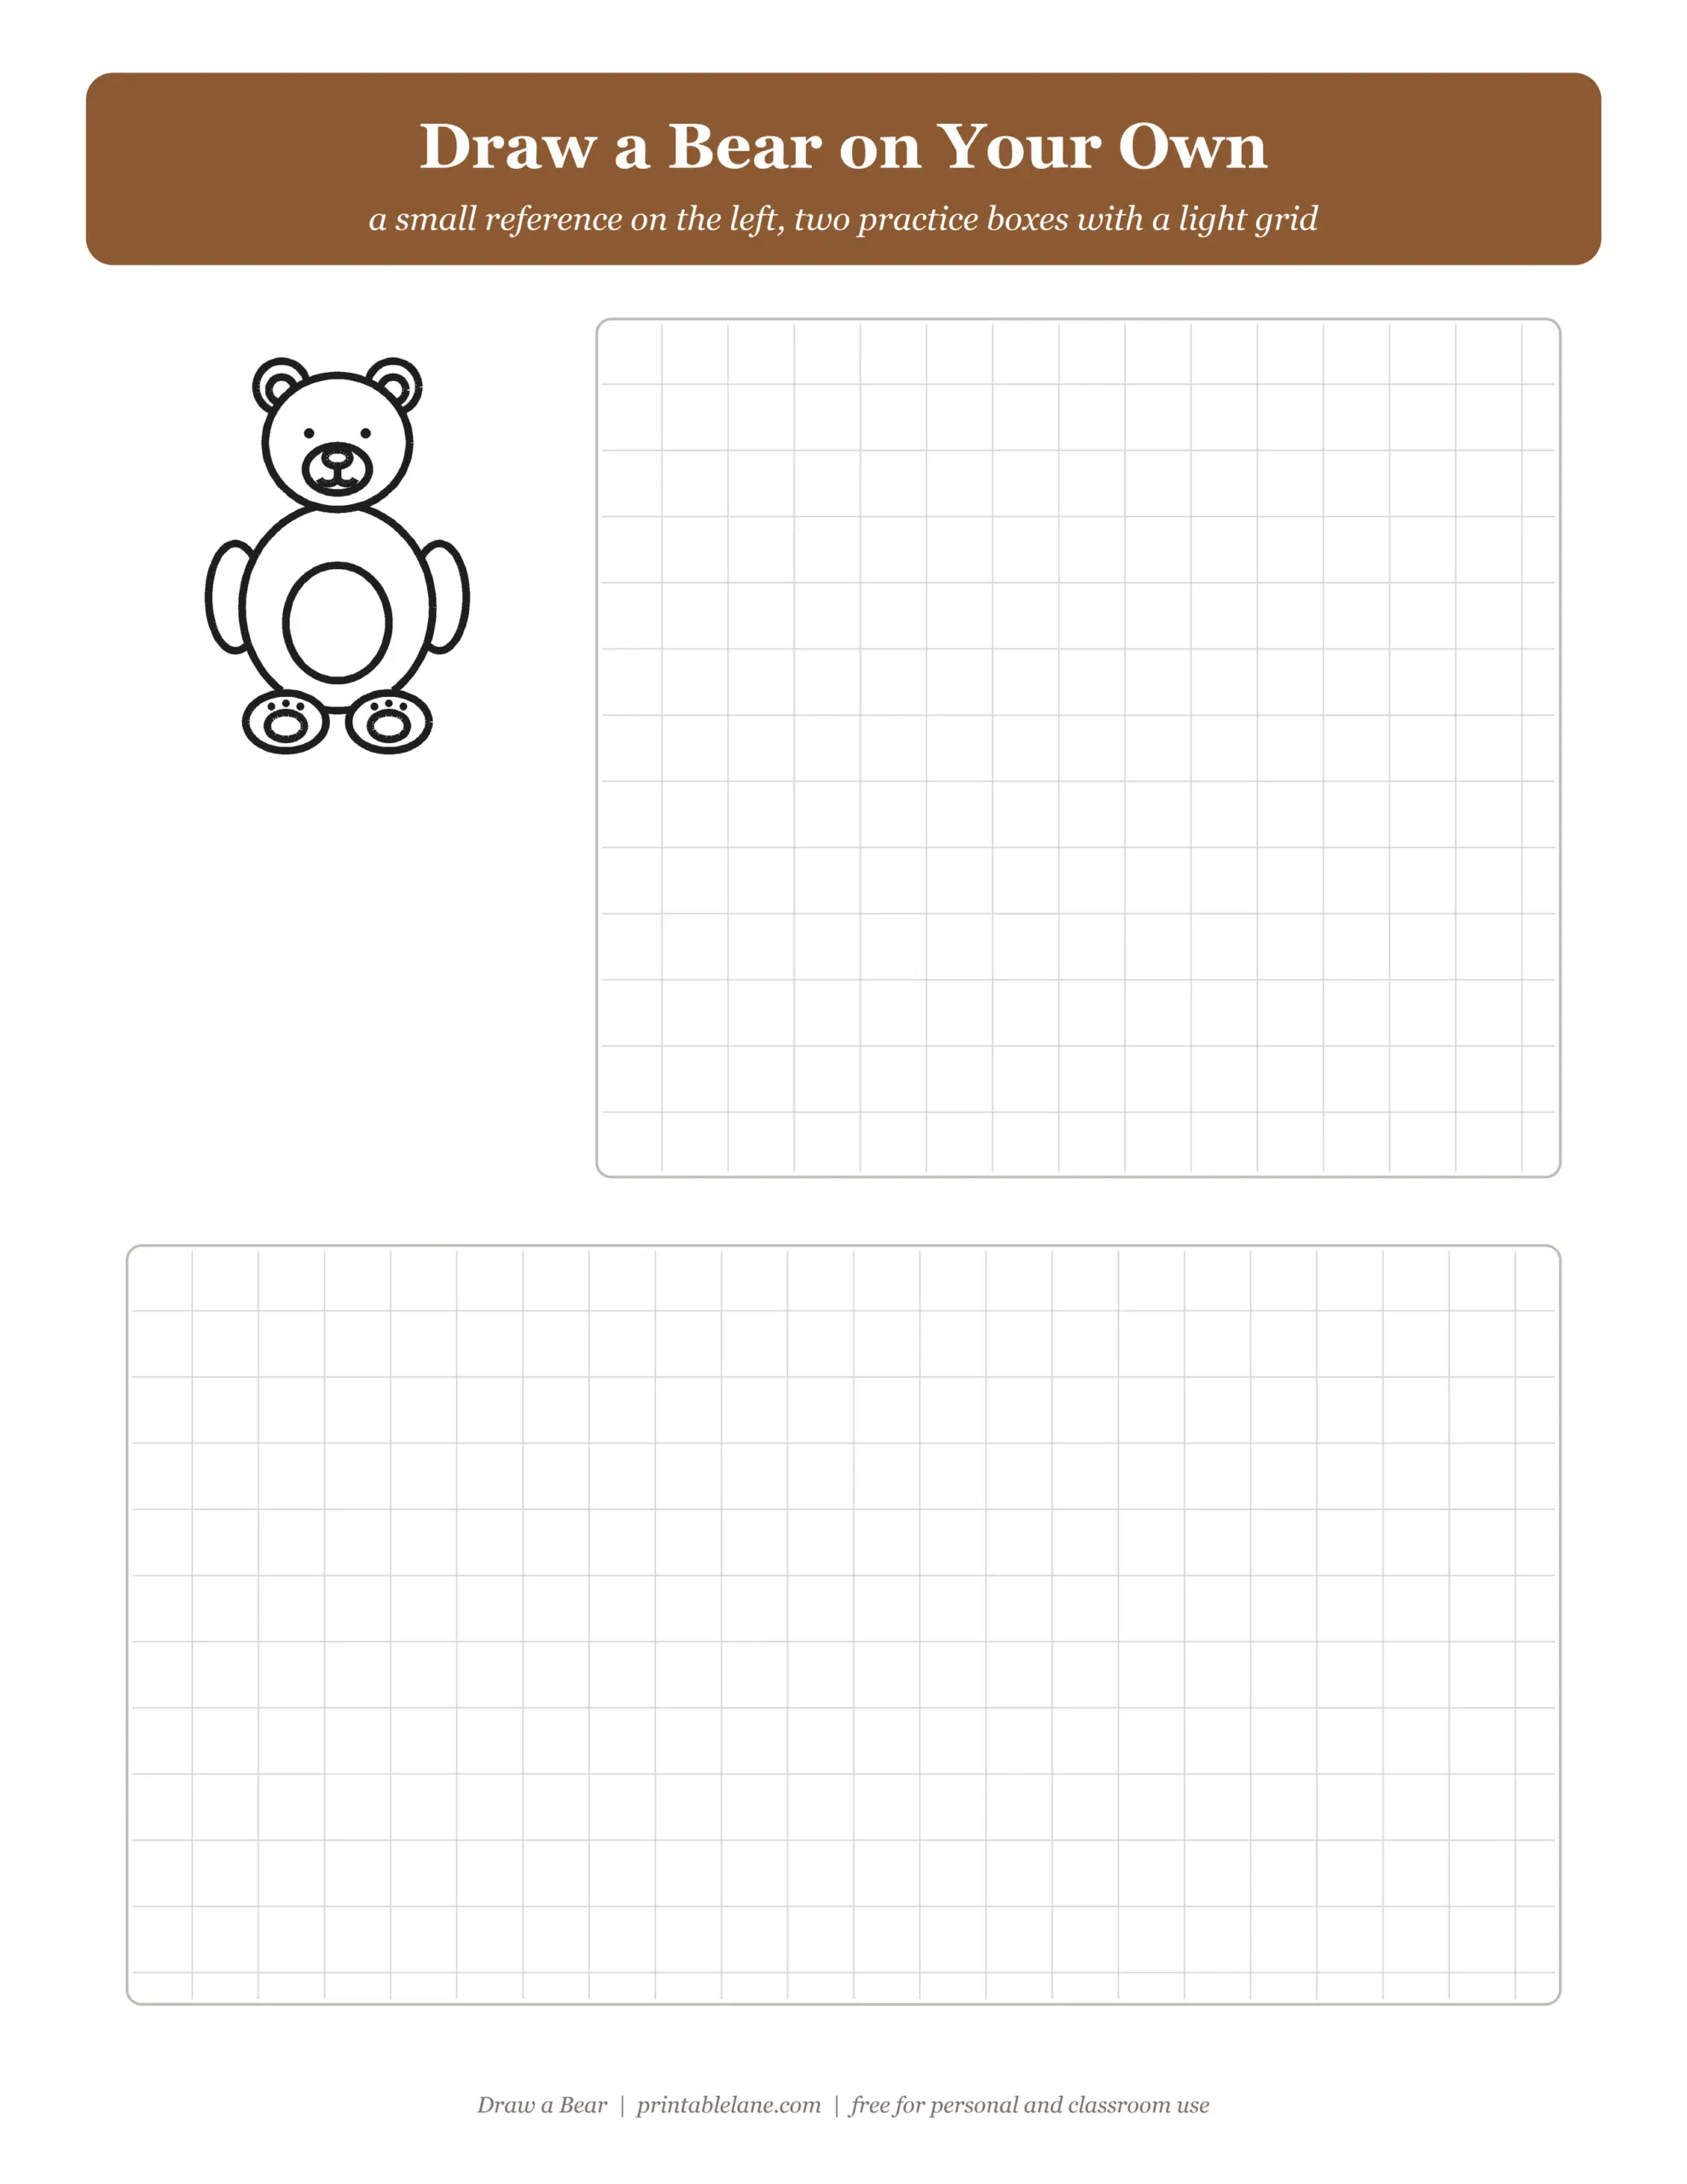
- Practice sheet with a small reference and two boxes with a light grid
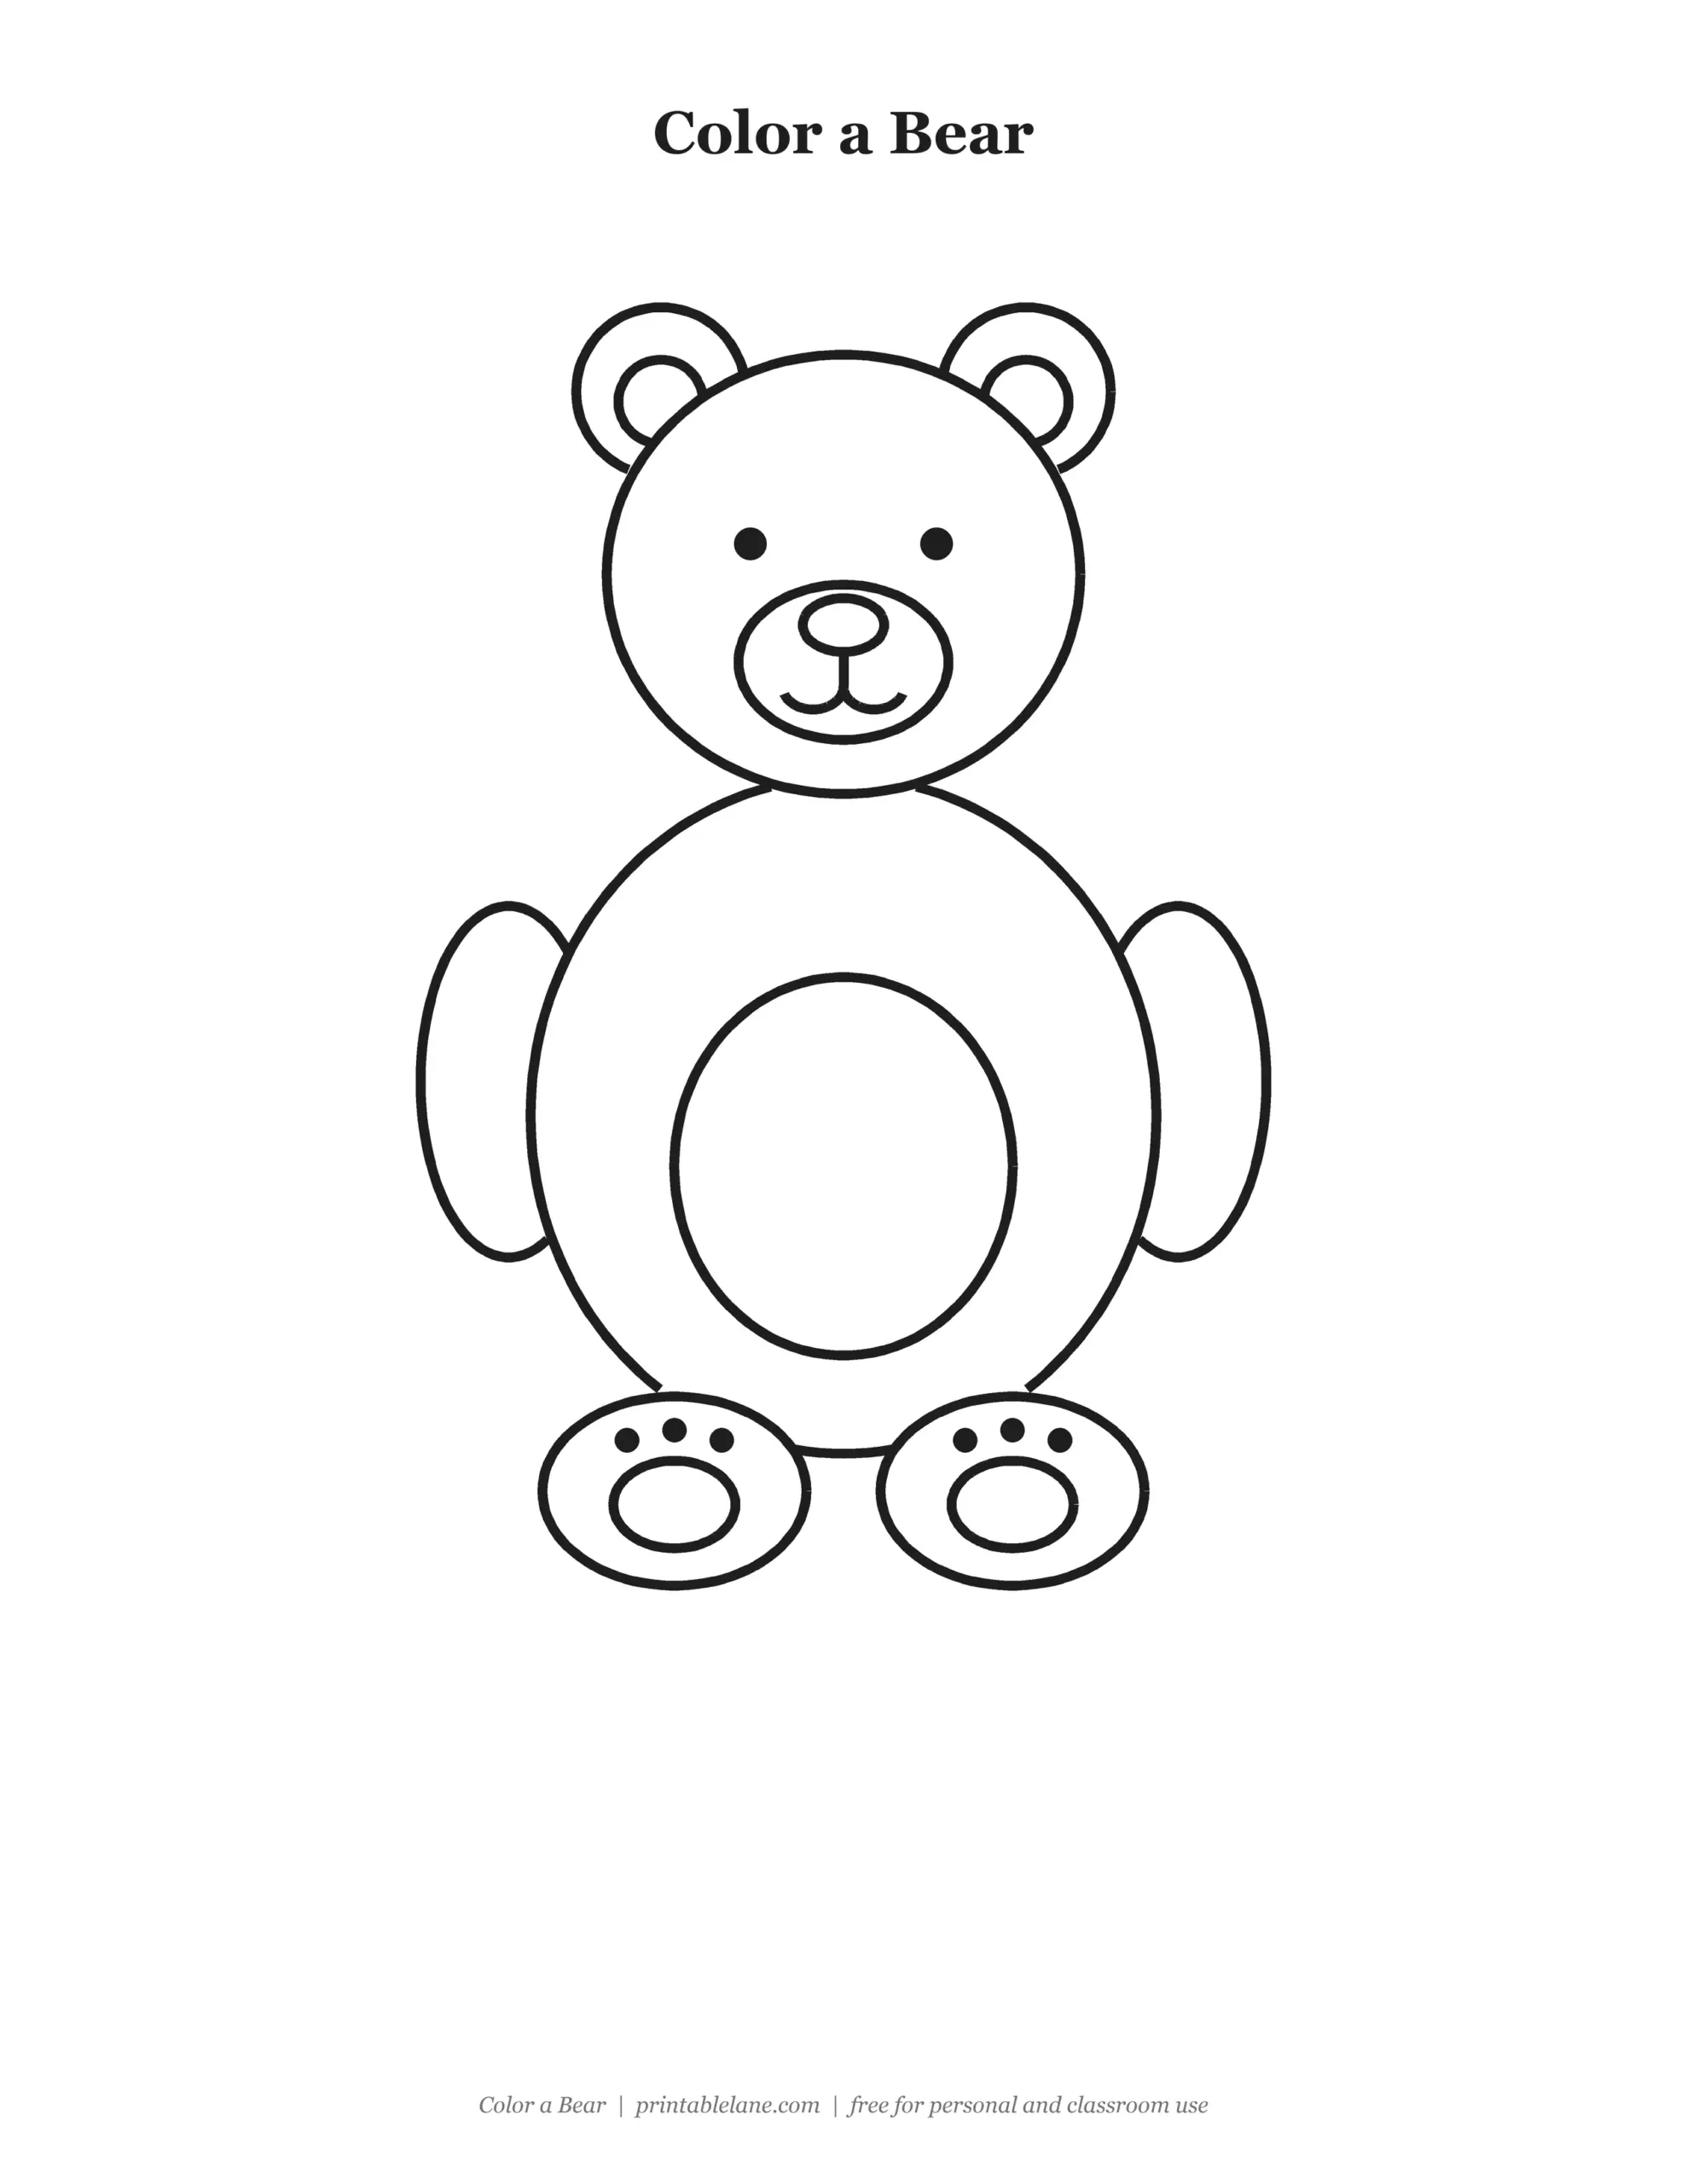
- Coloring page with the finished bear in bold outlines
How to draw a bear step by step

- Draw the head. Make a big circle near the top of your paper.
- Add the ears. Draw two round ears on top of the head, with a smaller circle inside each one.
- Draw the feet. Near the bottom of the paper, draw two round feet. Add an oval pad and three little toe dots on each.
- Draw the body. Draw a big round body that joins the head and sits on the feet.
- Add the arms and belly. Draw two oval arms at the sides of the body and a big oval belly in the middle.
- Finish the face. Draw an oval muzzle, a nose, two dot eyes and a smile that curves both ways under the nose.
Keep the head almost as big as the body; that is what makes the bear look cute and cuddly. If the feet float away from the body, just make the body a little bigger.
Trace it first
If drawing freehand feels hard, start with the tracing page. Go over the grey lines with a pencil, pressing lightly, and you will learn the shapes and the order without worrying about mistakes. Then try again on the practice sheet.

Practice on the grid
The practice sheet has a small finished bear for reference and two boxes with a faint grid. The grid helps with size and spacing: count how many squares tall the bear is in the reference, then draw it the same way.

Color the finished drawing
Brown bears look great in warm brown with a light tan muzzle, belly and paw pads. Use white and light blue for a polar bear, or black and white for a panda.

Drawing tips for kids
- Use a cup or a lid to trace a neat round head.
- Draw the circles lightly first, then go over the final lines.
- Add a bow tie or a scarf to turn your bear into a teddy bear.
- Draw a honey pot, a fish or a forest around your bear.
Download the pages one by one
Prefer a single page? Click a link to open the full-size PNG, then print it or save it. The full PDF with all pages and a cover is in the download box.
- How to draw a bear: step-by-step sheet (PNG)
- a Bear tracing page (PNG)
- a Bear practice sheet with grid (PNG)
- a Bear coloring page (PNG)
More drawing guides: how to draw a cow, how to draw a lion and how to draw a cat.
FAQ
What is the easiest way to draw a bear?
Start with a big circle for the head and two small circles for ears. Then add round feet, a big round body, arms, a belly and a simple face.
How do I draw a teddy bear?
Follow the same steps, then add stitched lines down the belly, a bow tie and round patches on the paw pads.
What paper should I print it on?
Plain US Letter printer paper works. Use cardstock if your child will color with markers or wants to keep the drawing.
Can I use it in my classroom?
Yes. The pages are free for personal and classroom use. Print a copy for every student, and link to this page instead of sharing the PDF file.