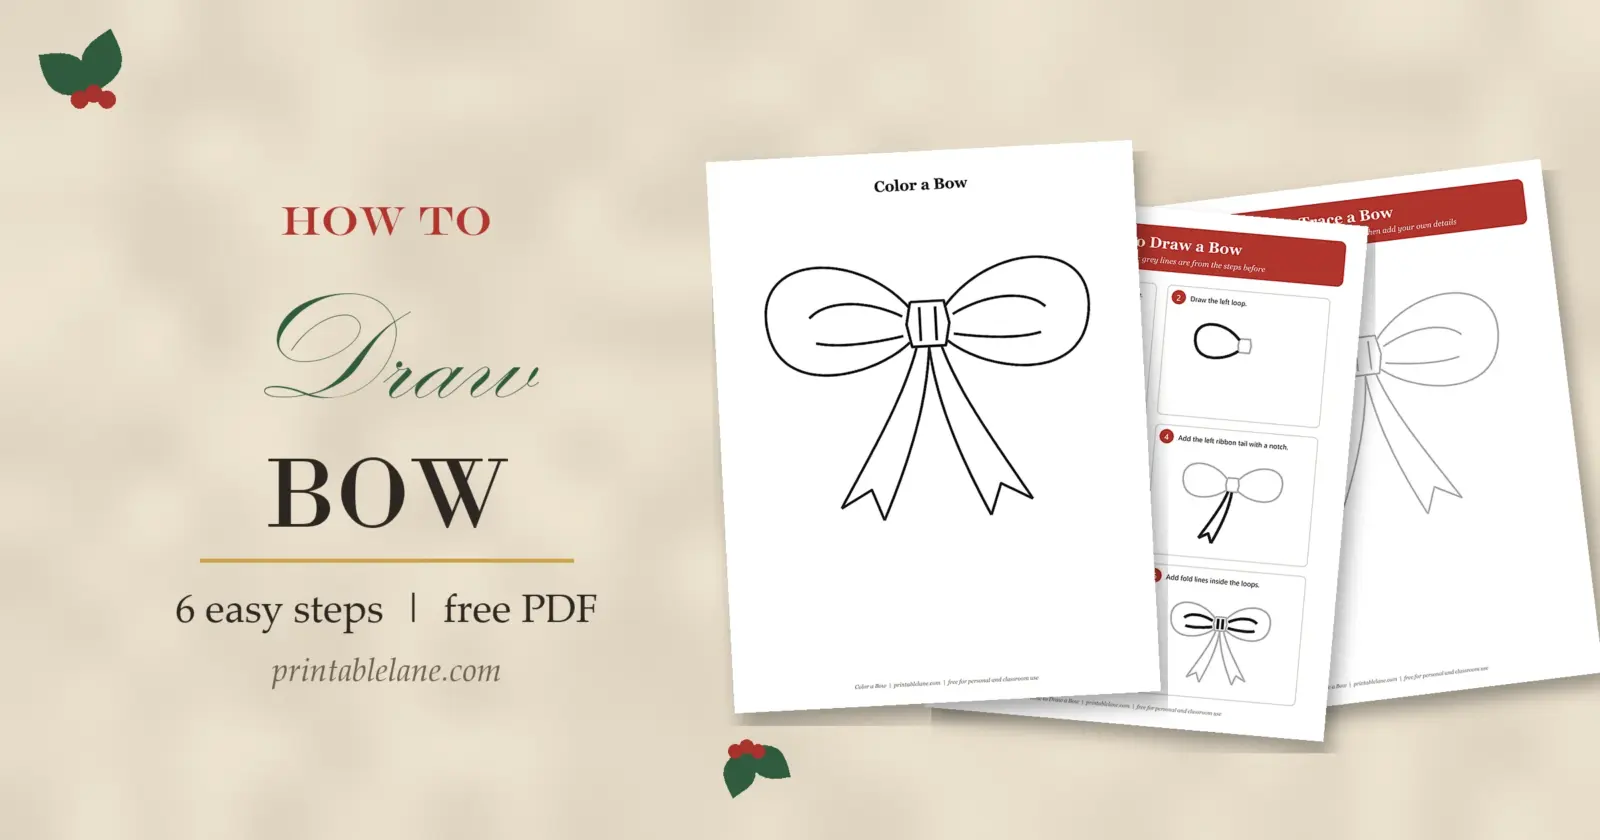
Bows show up everywhere in December: on gifts, wreaths, cards and in doodles. Here is how to draw a bow that looks neat and balanced, in six small steps that start with a tiny knot in the middle.
The free PDF has a step-by-step sheet, a tracing page, a practice sheet with a grid and a coloring page. Once you know the shape, you can draw it in a few seconds on any card or tag.

What’s in the PDF
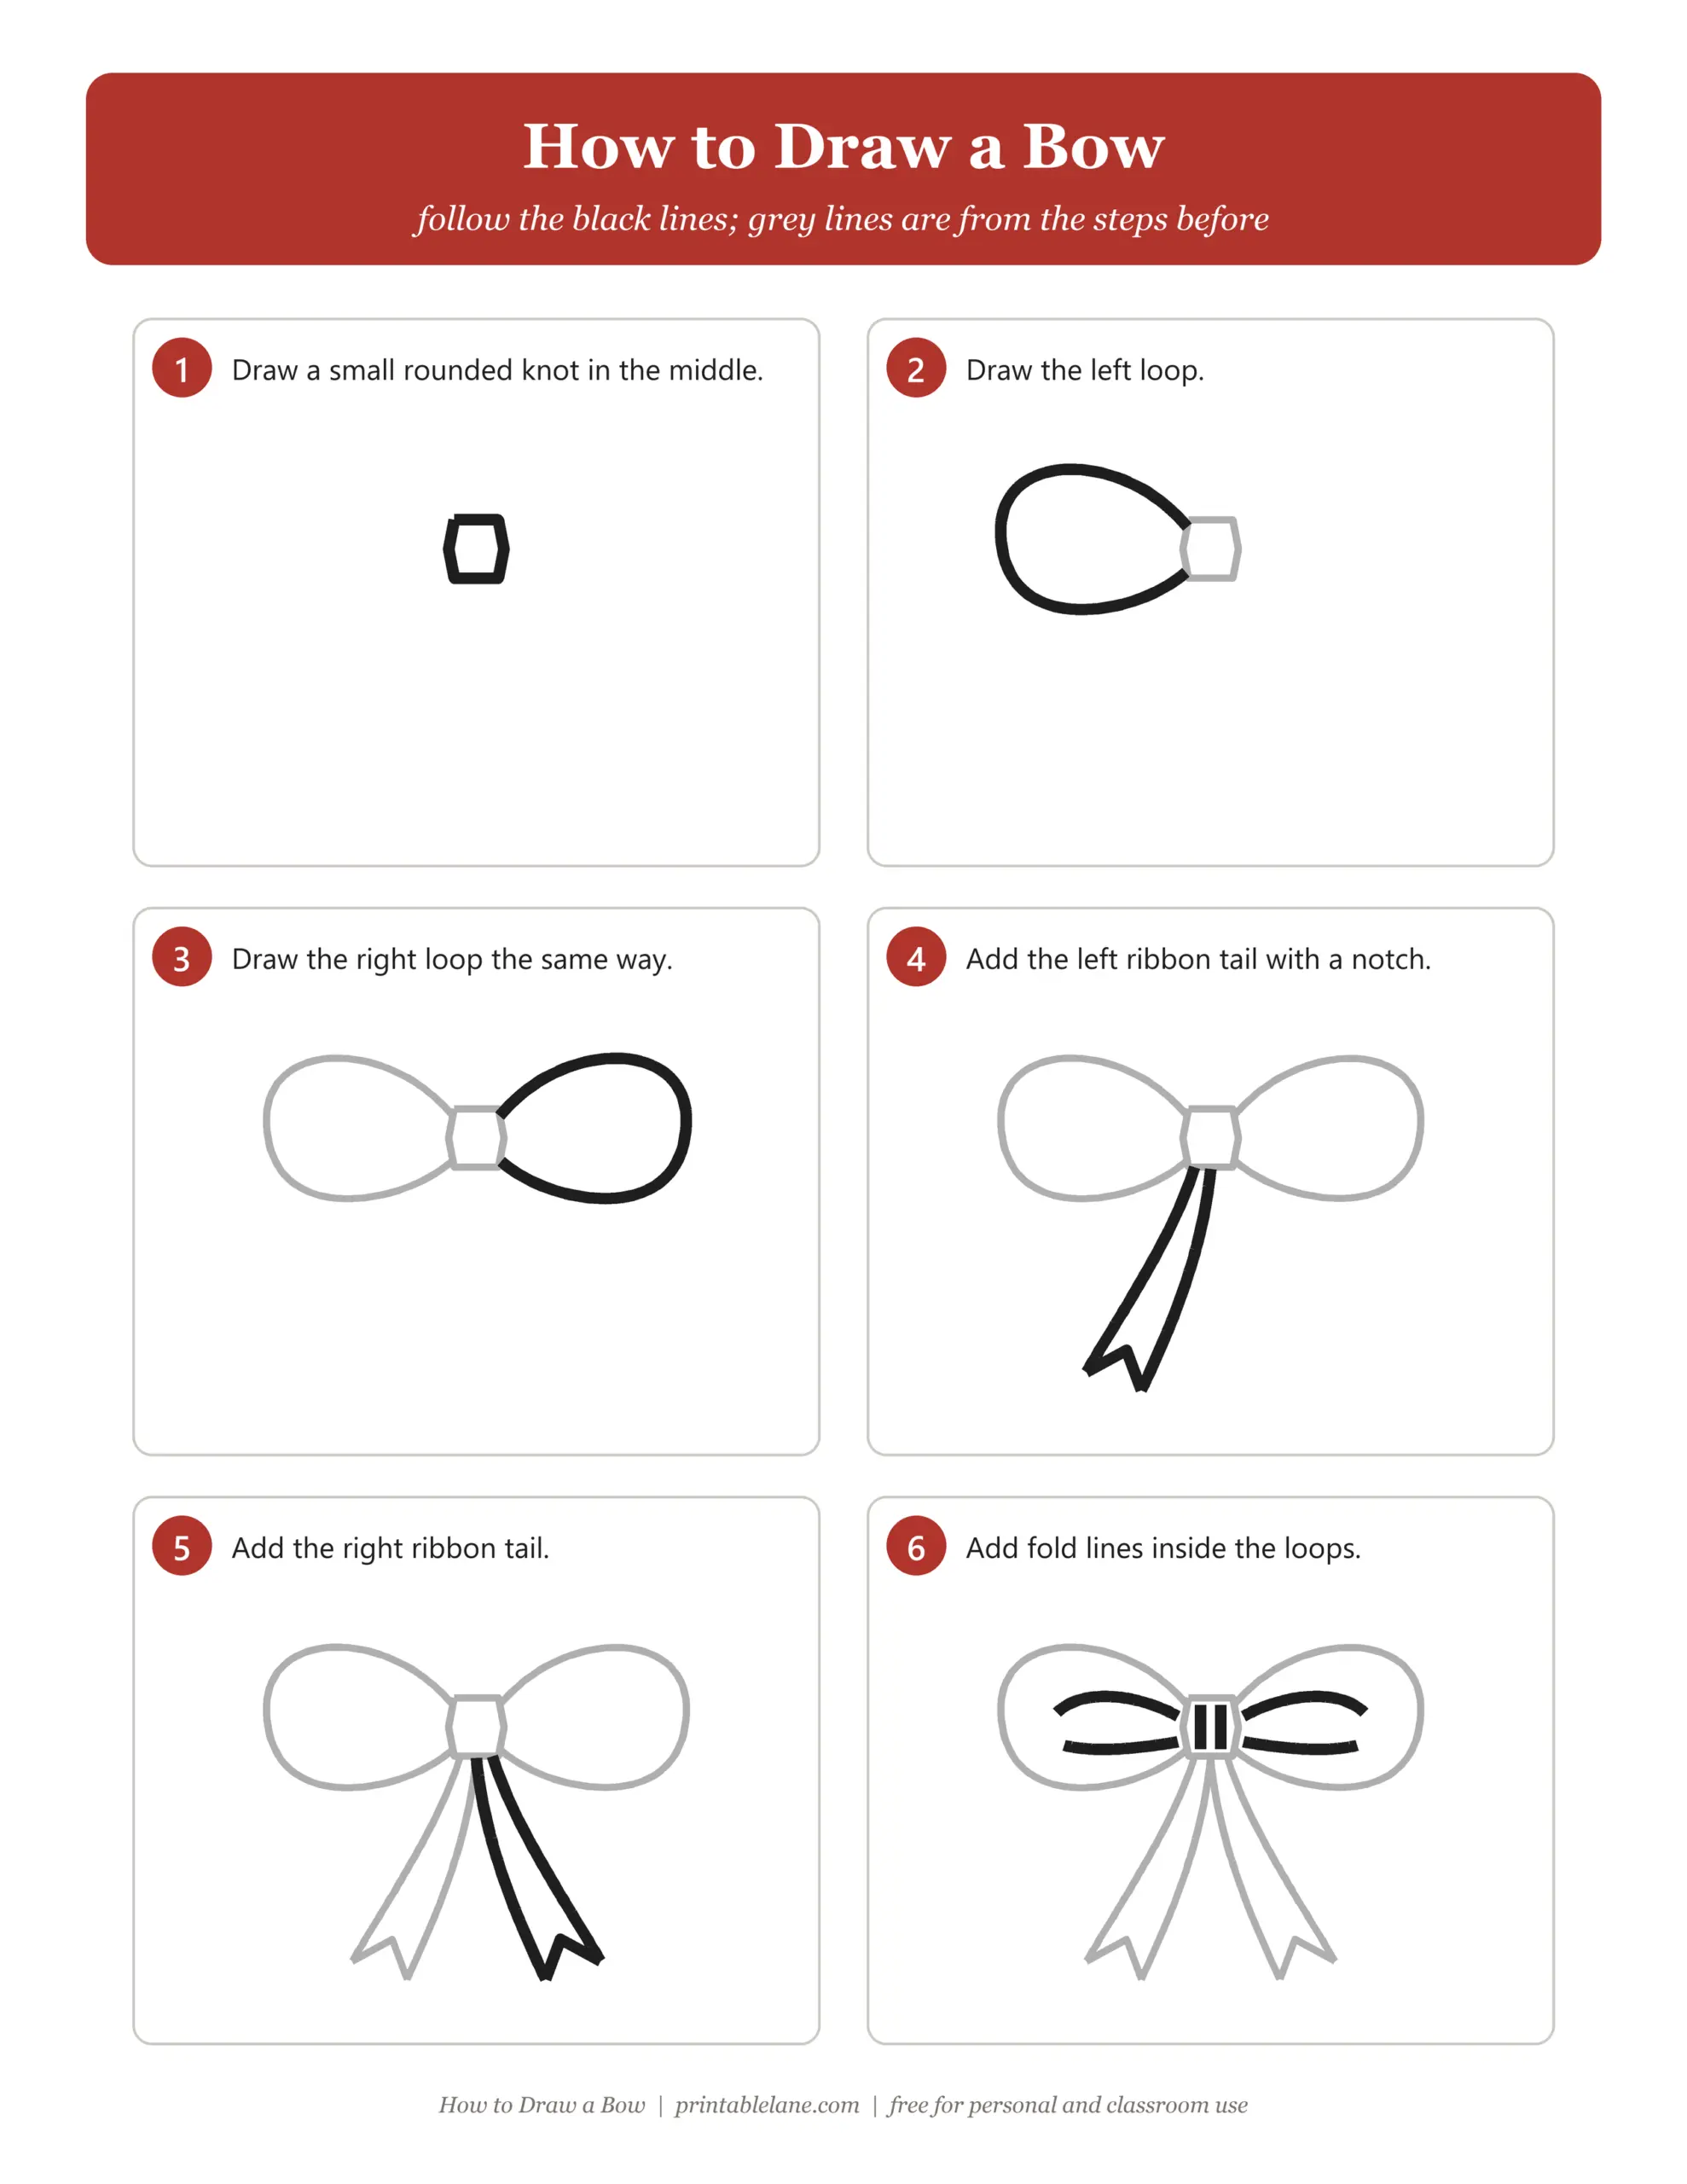
- Step-by-step sheet with 6 numbered steps; new lines are black, earlier lines are grey
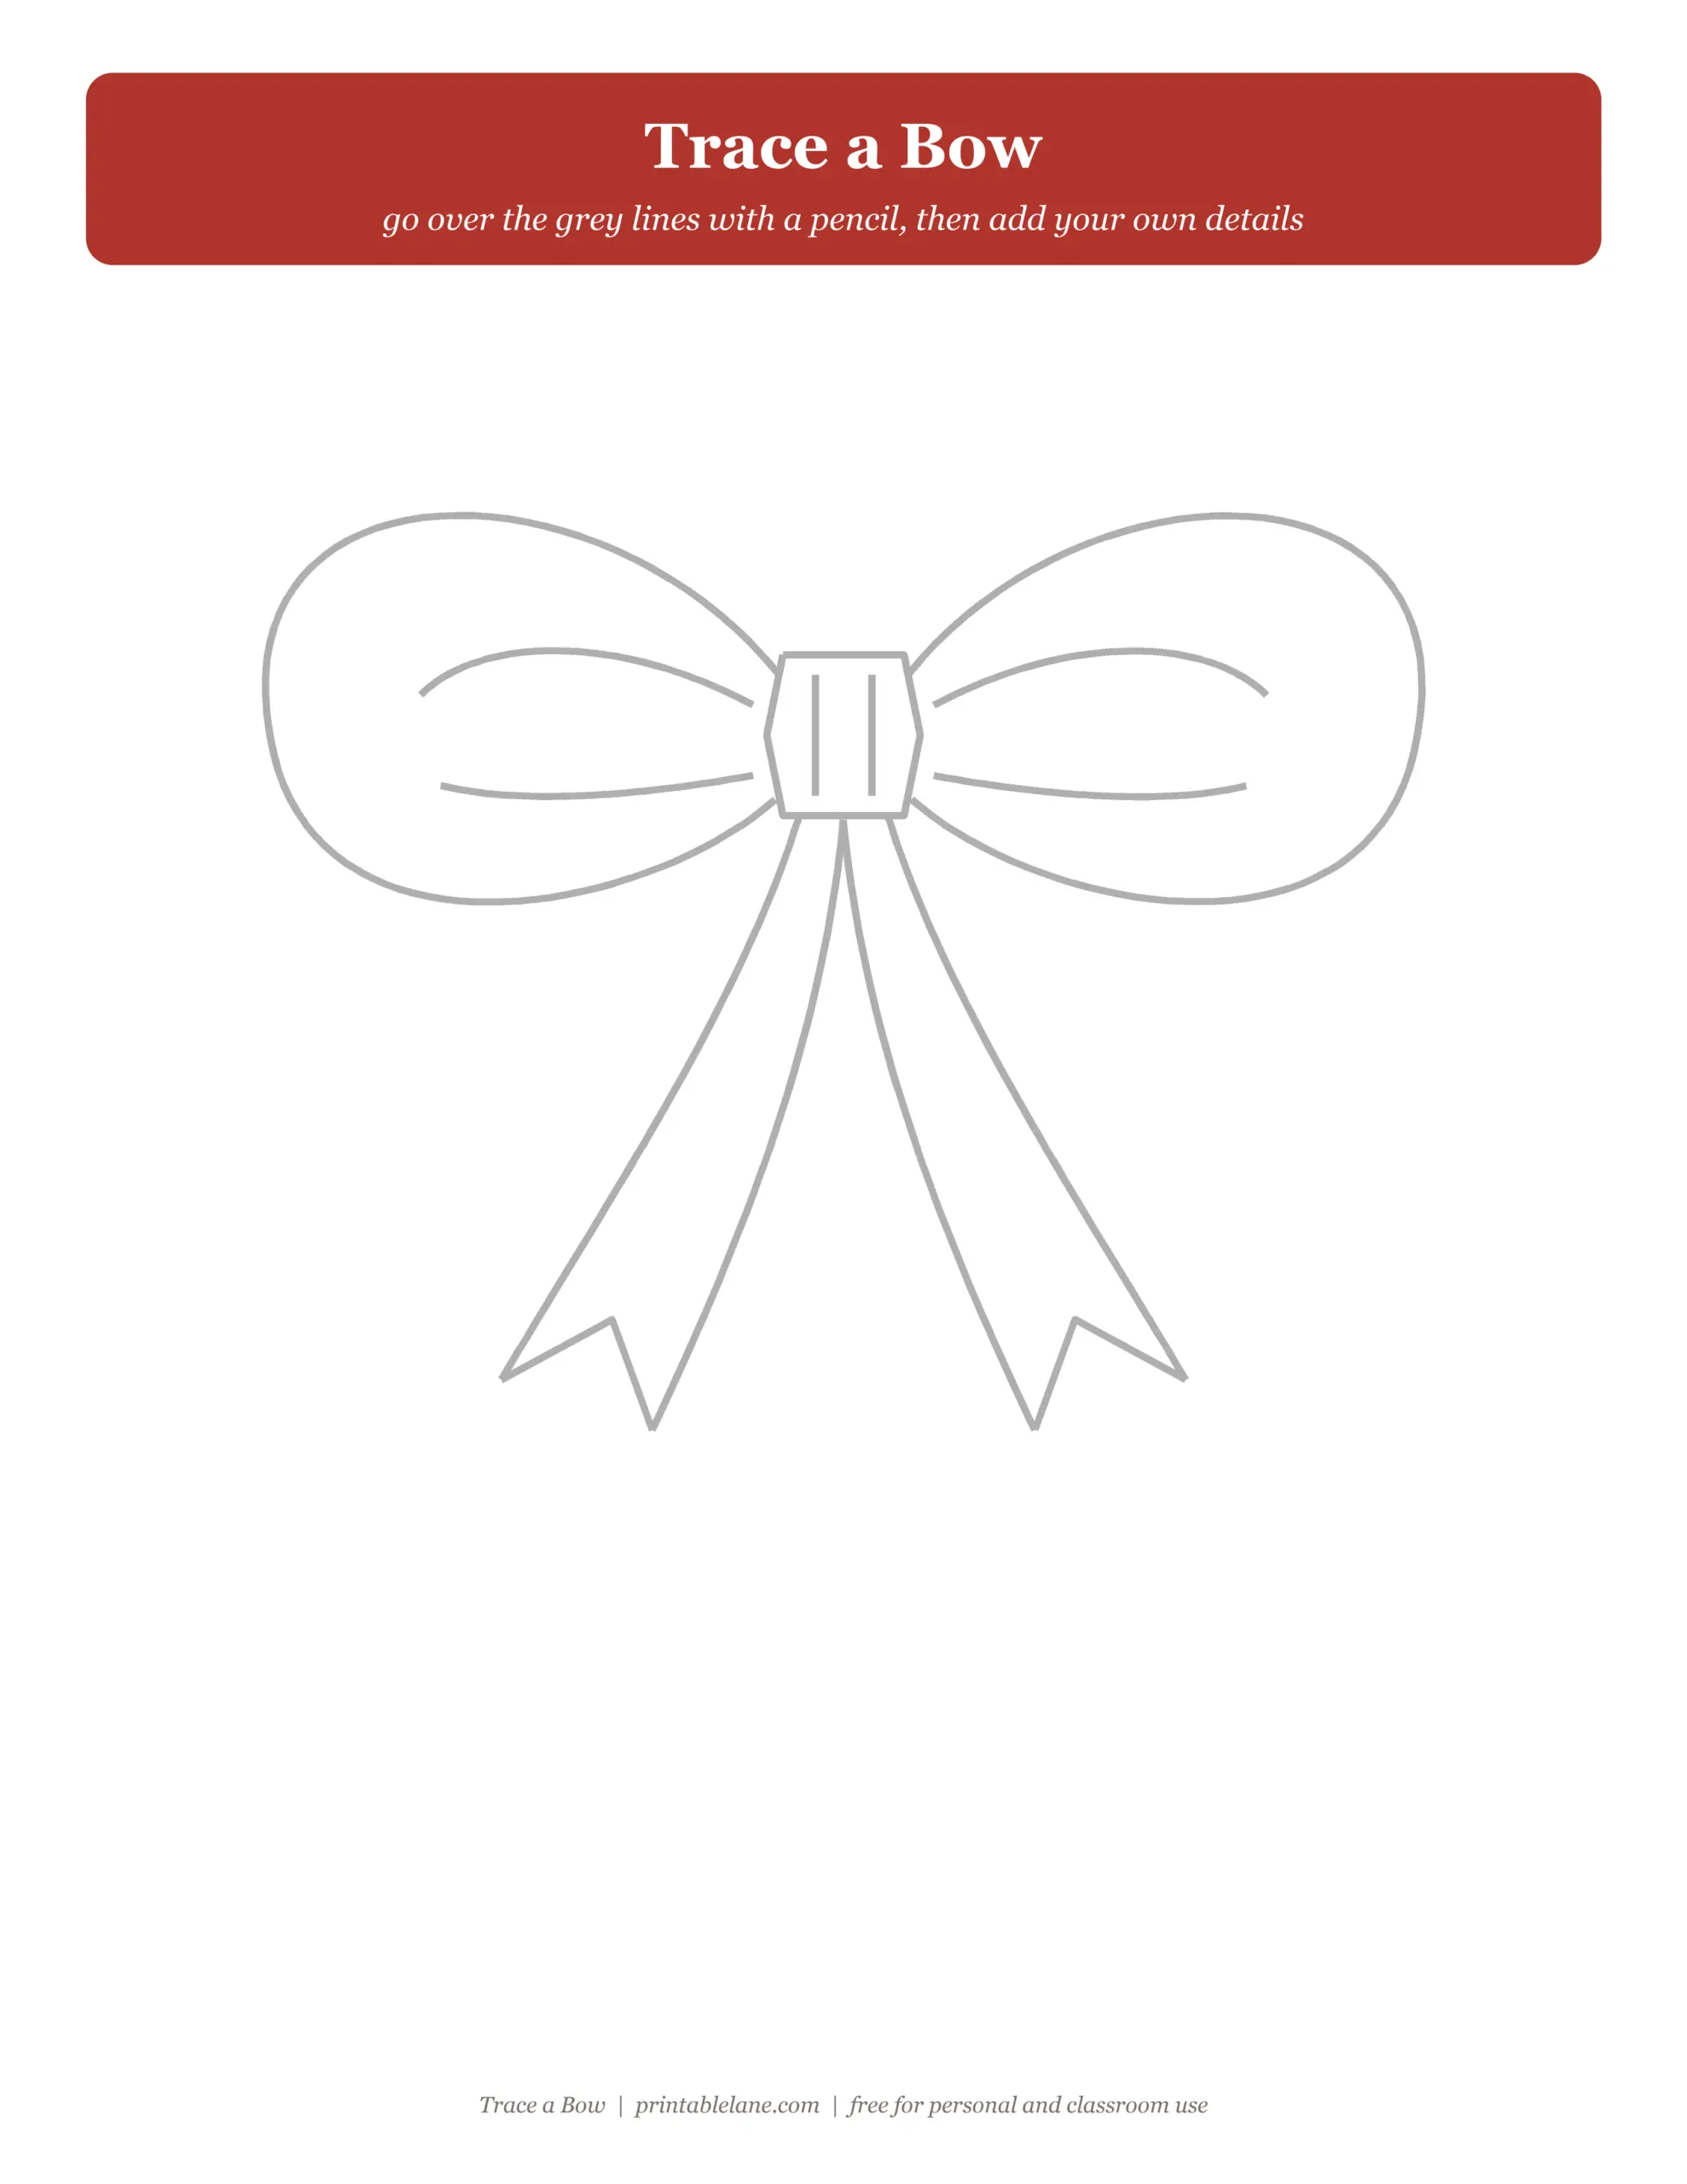
- Tracing page with a large bow in light grey to trace over
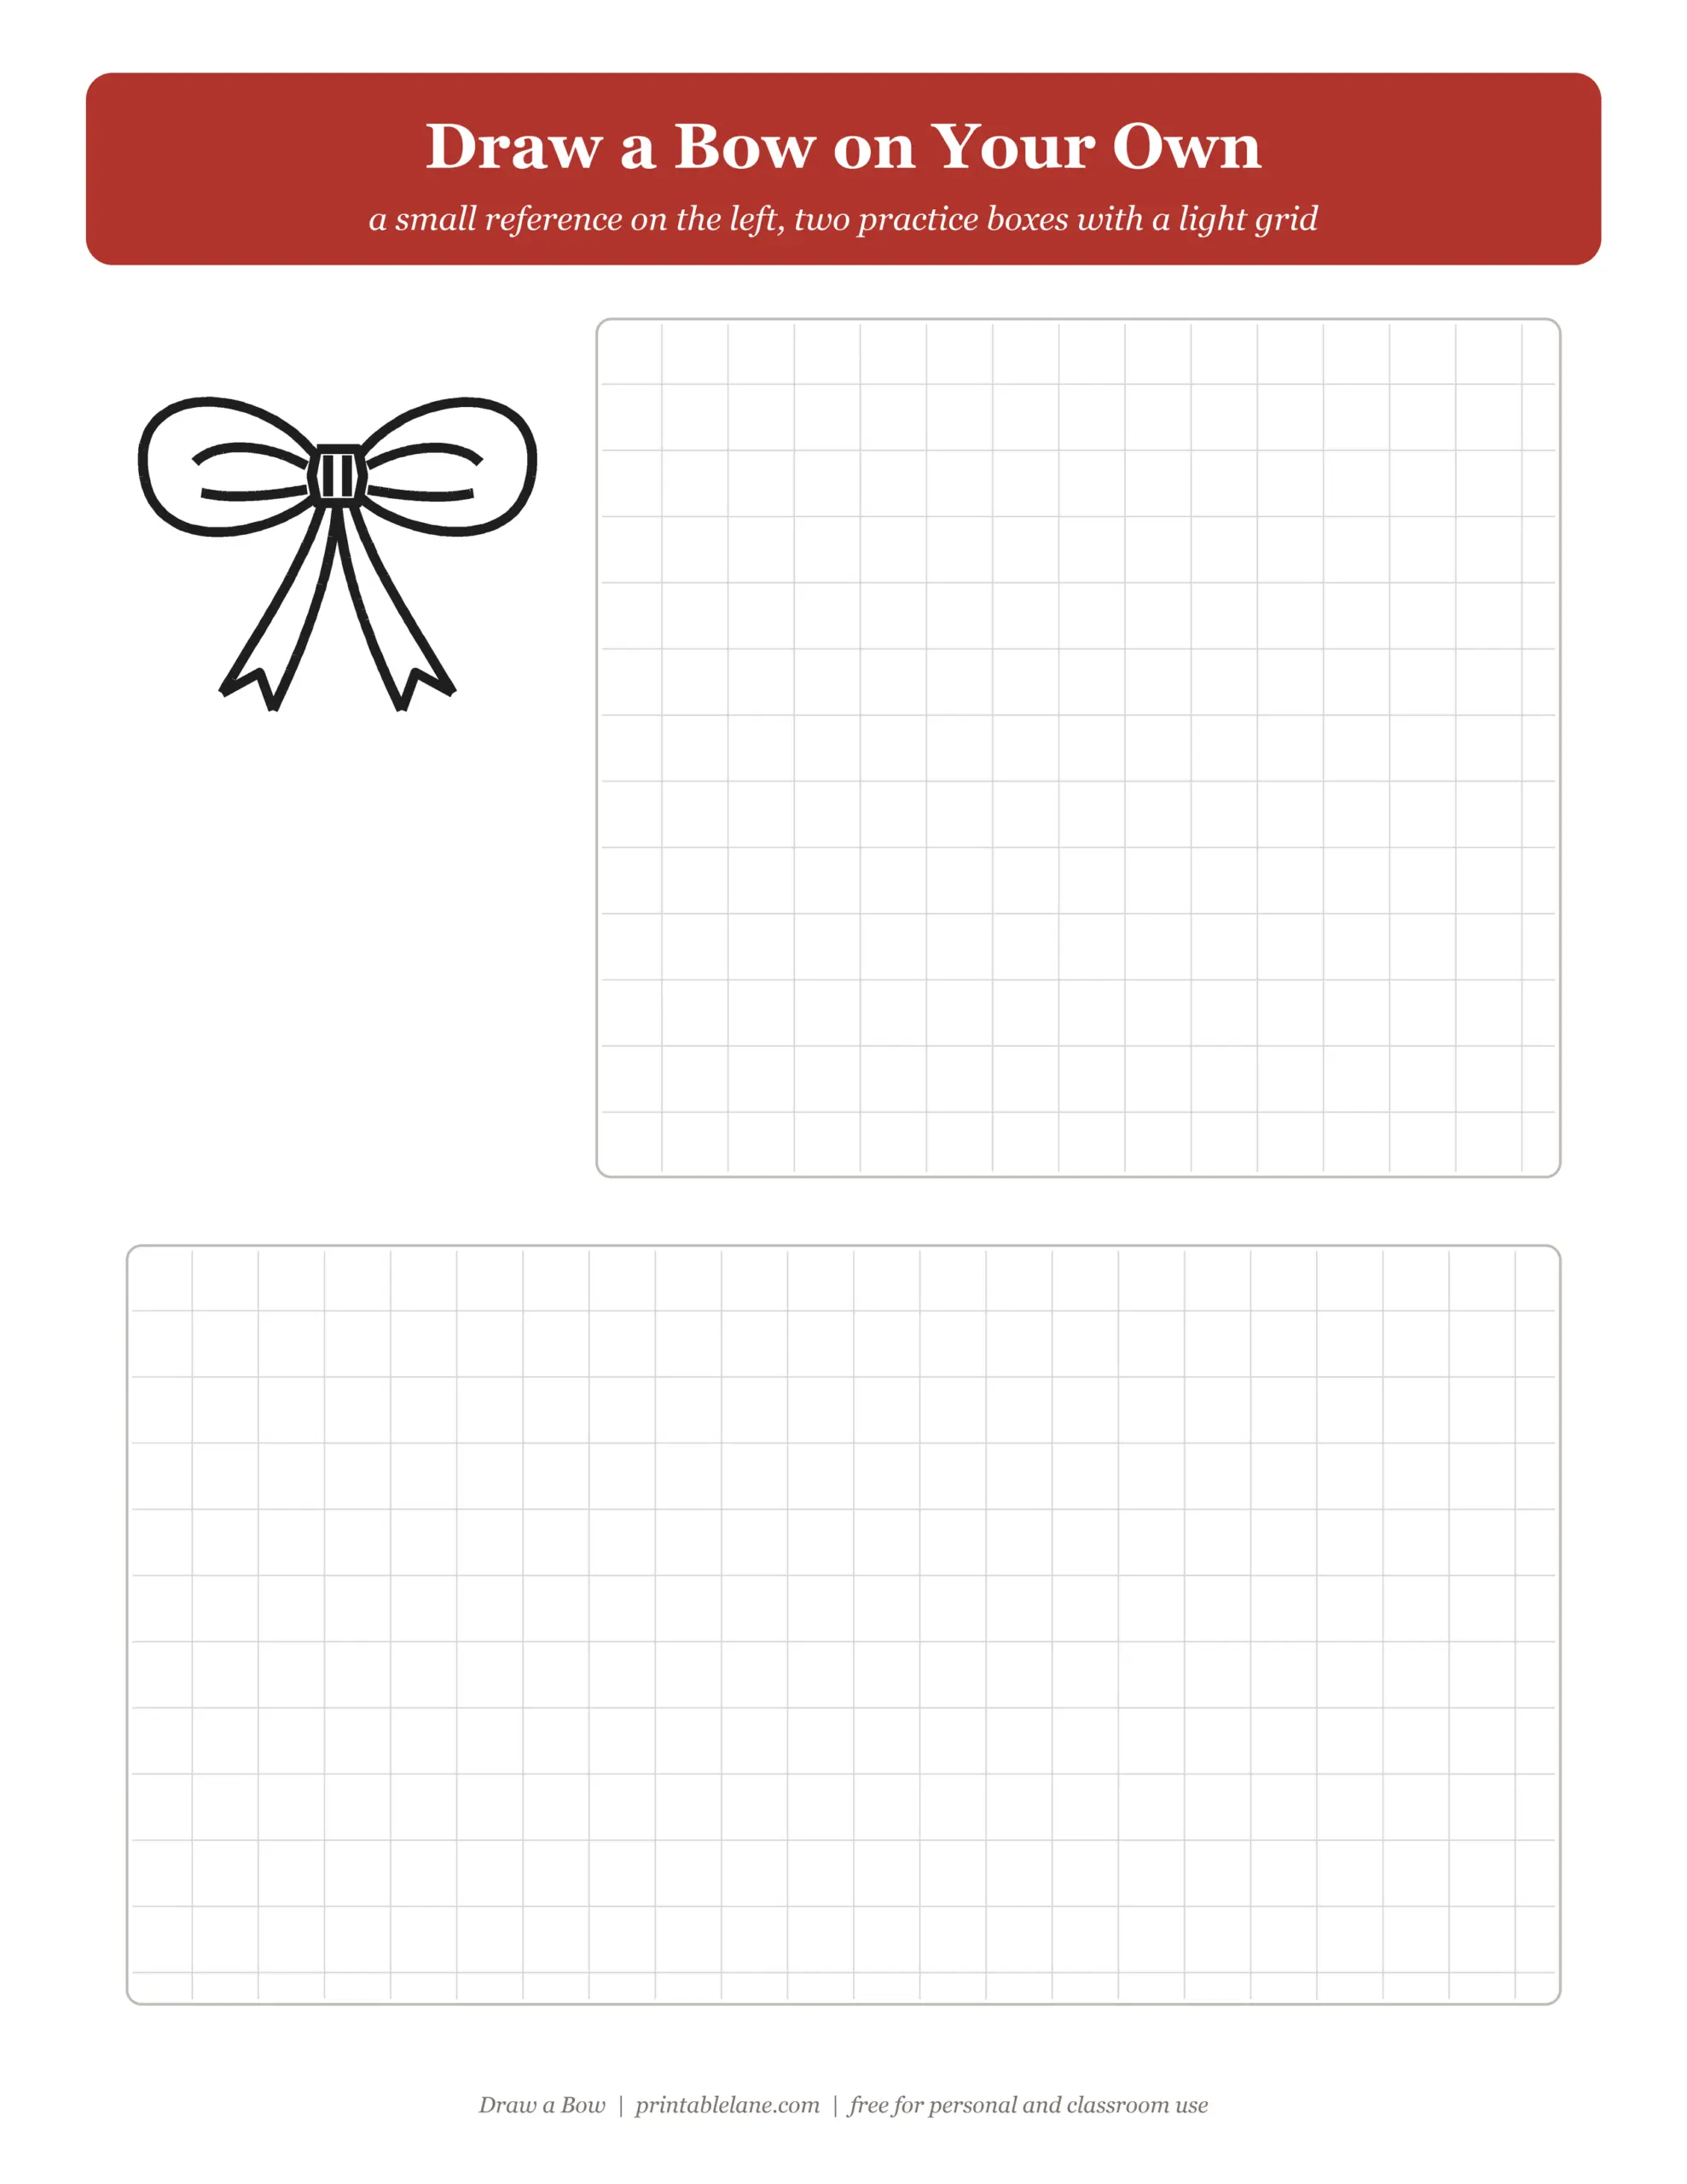
- Practice sheet with a small reference and two boxes with a light grid
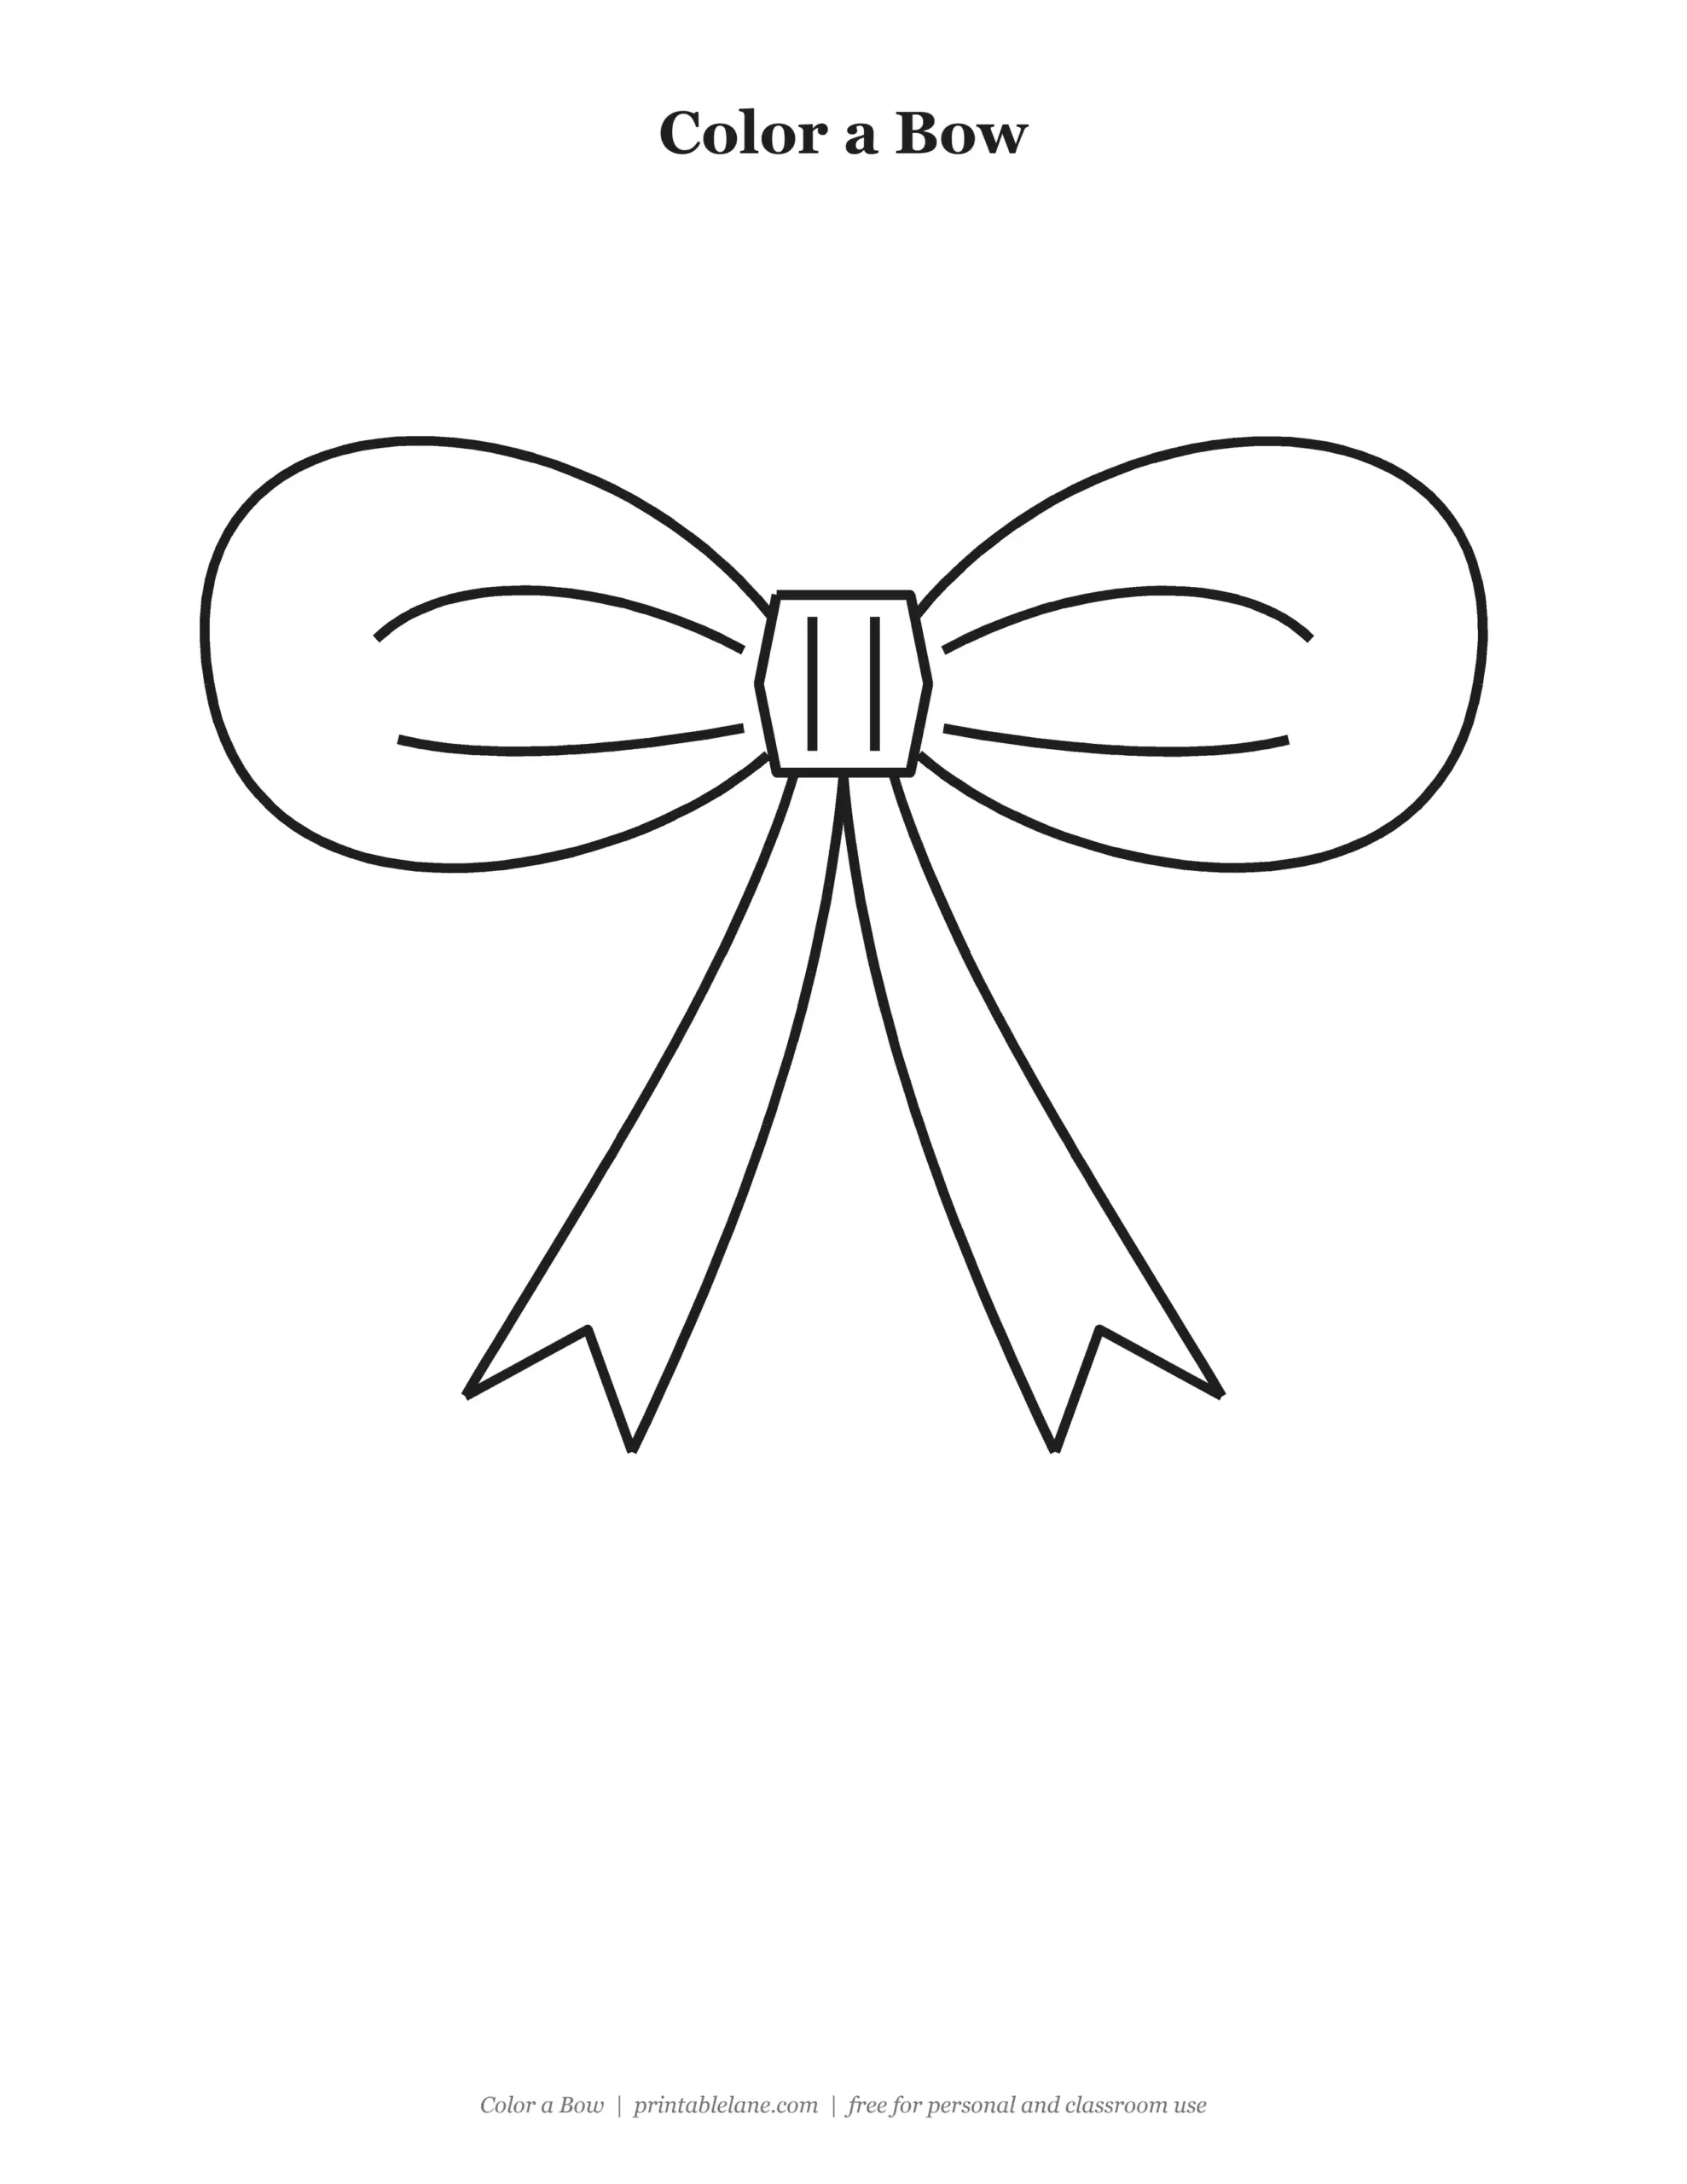
- Coloring page with the finished bow in bold outlines
How to draw a bow step by step

- Draw the knot. Start with a small rounded rectangle in the middle of the page. Everything else connects to it.
- Draw the left loop. From the top of the knot, curve up and out to the left, then come back down and in to the bottom of the knot.
- Draw the right loop. Do the same on the right side. Try to make both loops about the same size.
- Add the left tail. From the bottom of the knot, draw a ribbon going down and to the left, cut a small V notch at the end and bring it back up.
- Add the right tail. Mirror it on the right side.
- Add the folds. Two curved lines inside each loop and two short lines on the knot make the bow look like real ribbon.
The secret to a good bow is the knot: keep it small and draw everything else touching it.
Trace it first
If drawing freehand feels hard, start with the tracing page. Go over the grey lines with a pencil, pressing lightly, and you will learn the shapes and the order without worrying about mistakes. Then try again on the practice sheet.

Practice on the grid
The practice sheet has a small finished bow for reference and two boxes with a faint grid. The grid helps with size and spacing: count how many squares tall the bow is in the reference, then draw it the same way.

Color the finished drawing
Red and gold are classic for Christmas. For a birthday or a hair bow, try pink, purple or stripes. Leave a thin white line along the folds to make the ribbon look shiny.


Drawing tips for kids
- Draw the loops first and the tails second; it keeps the bow balanced.
- Turn the paper upside down to check if both sides match.
- Make the tails a little longer than the loops.
- Add polka dots or stripes for a gift-wrap look.
Download the pages one by one
Prefer a single page? Click a link to open the full-size PNG, then print it or save it. The full PDF with all pages and a cover is in the download box.
- How to draw a bow: step-by-step sheet (PNG)
- a Bow tracing page (PNG)
- a Bow practice sheet with grid (PNG)
- a Bow coloring page (PNG)
Put your bow to work: draw it on the printable Christmas gift tags, inside the printable Christmas cards, or try how to draw a Christmas tree next.
FAQ
How do I make both loops the same size?
Draw a light vertical line through the knot first. Then draw the left loop, and copy its height and width on the right side. Erase the guide line at the end.
What paper should I print it on?
Plain US Letter printer paper works. Use cardstock if your child will color with markers or wants to keep the drawing.
Can I use it in my classroom?
Yes. The pages are free for personal and classroom use. Print a copy for every student, and link to this page instead of sharing the PDF file.