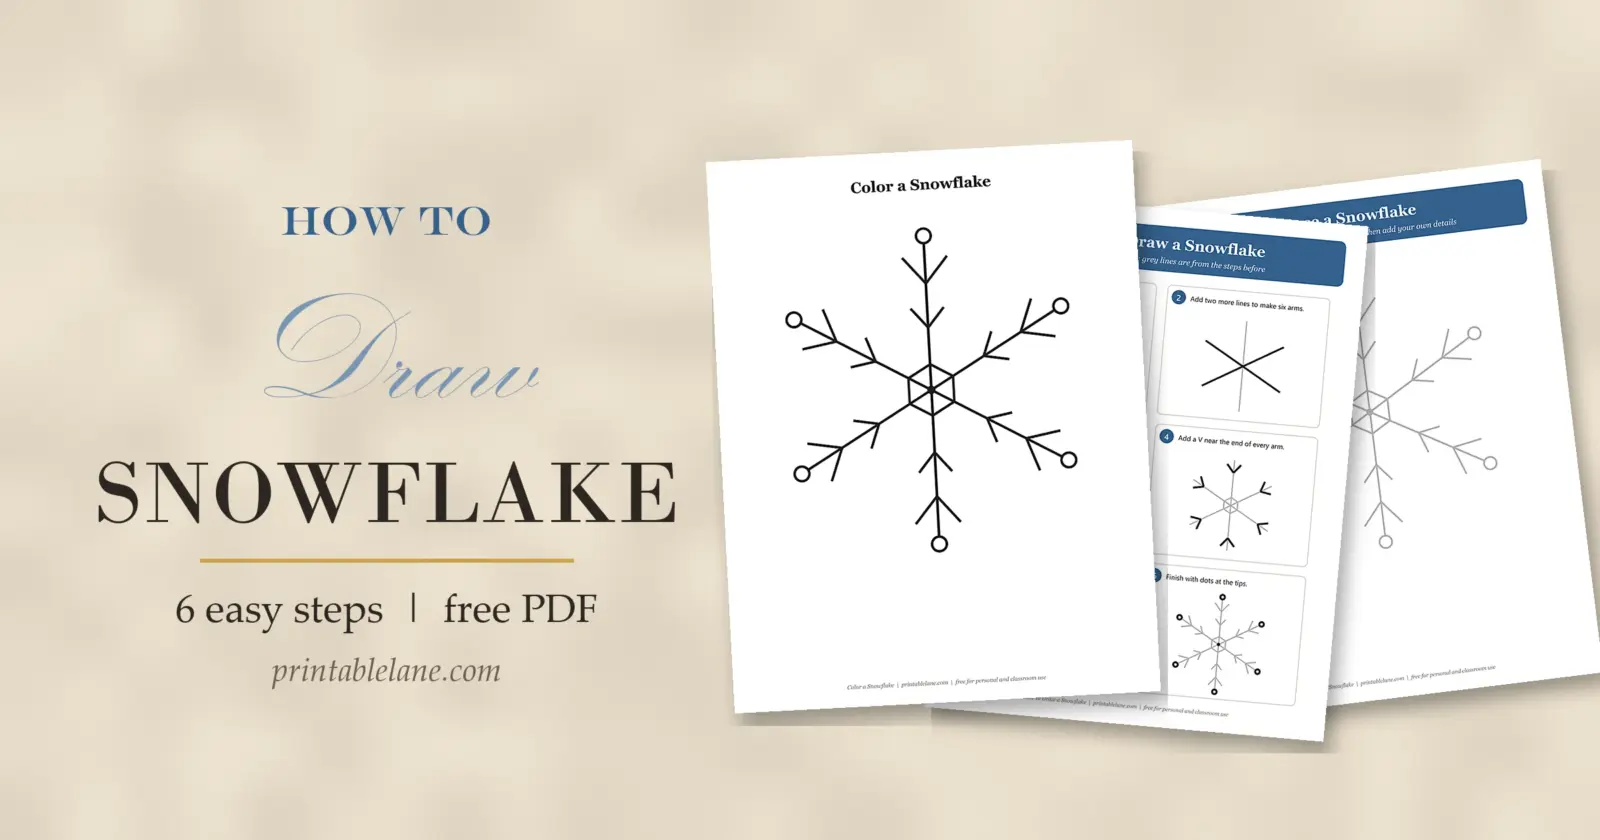
Real snowflakes have six sides, and that one fact makes them easy to draw. This guide shows how to draw a snowflake with six arms, a small hexagon in the middle and two rows of branches, in six steps.
The free PDF includes a step-by-step sheet, a tracing page, a practice sheet with a grid and a coloring page. Once kids know the pattern, they can invent their own snowflakes by changing the branches.

What’s in the PDF
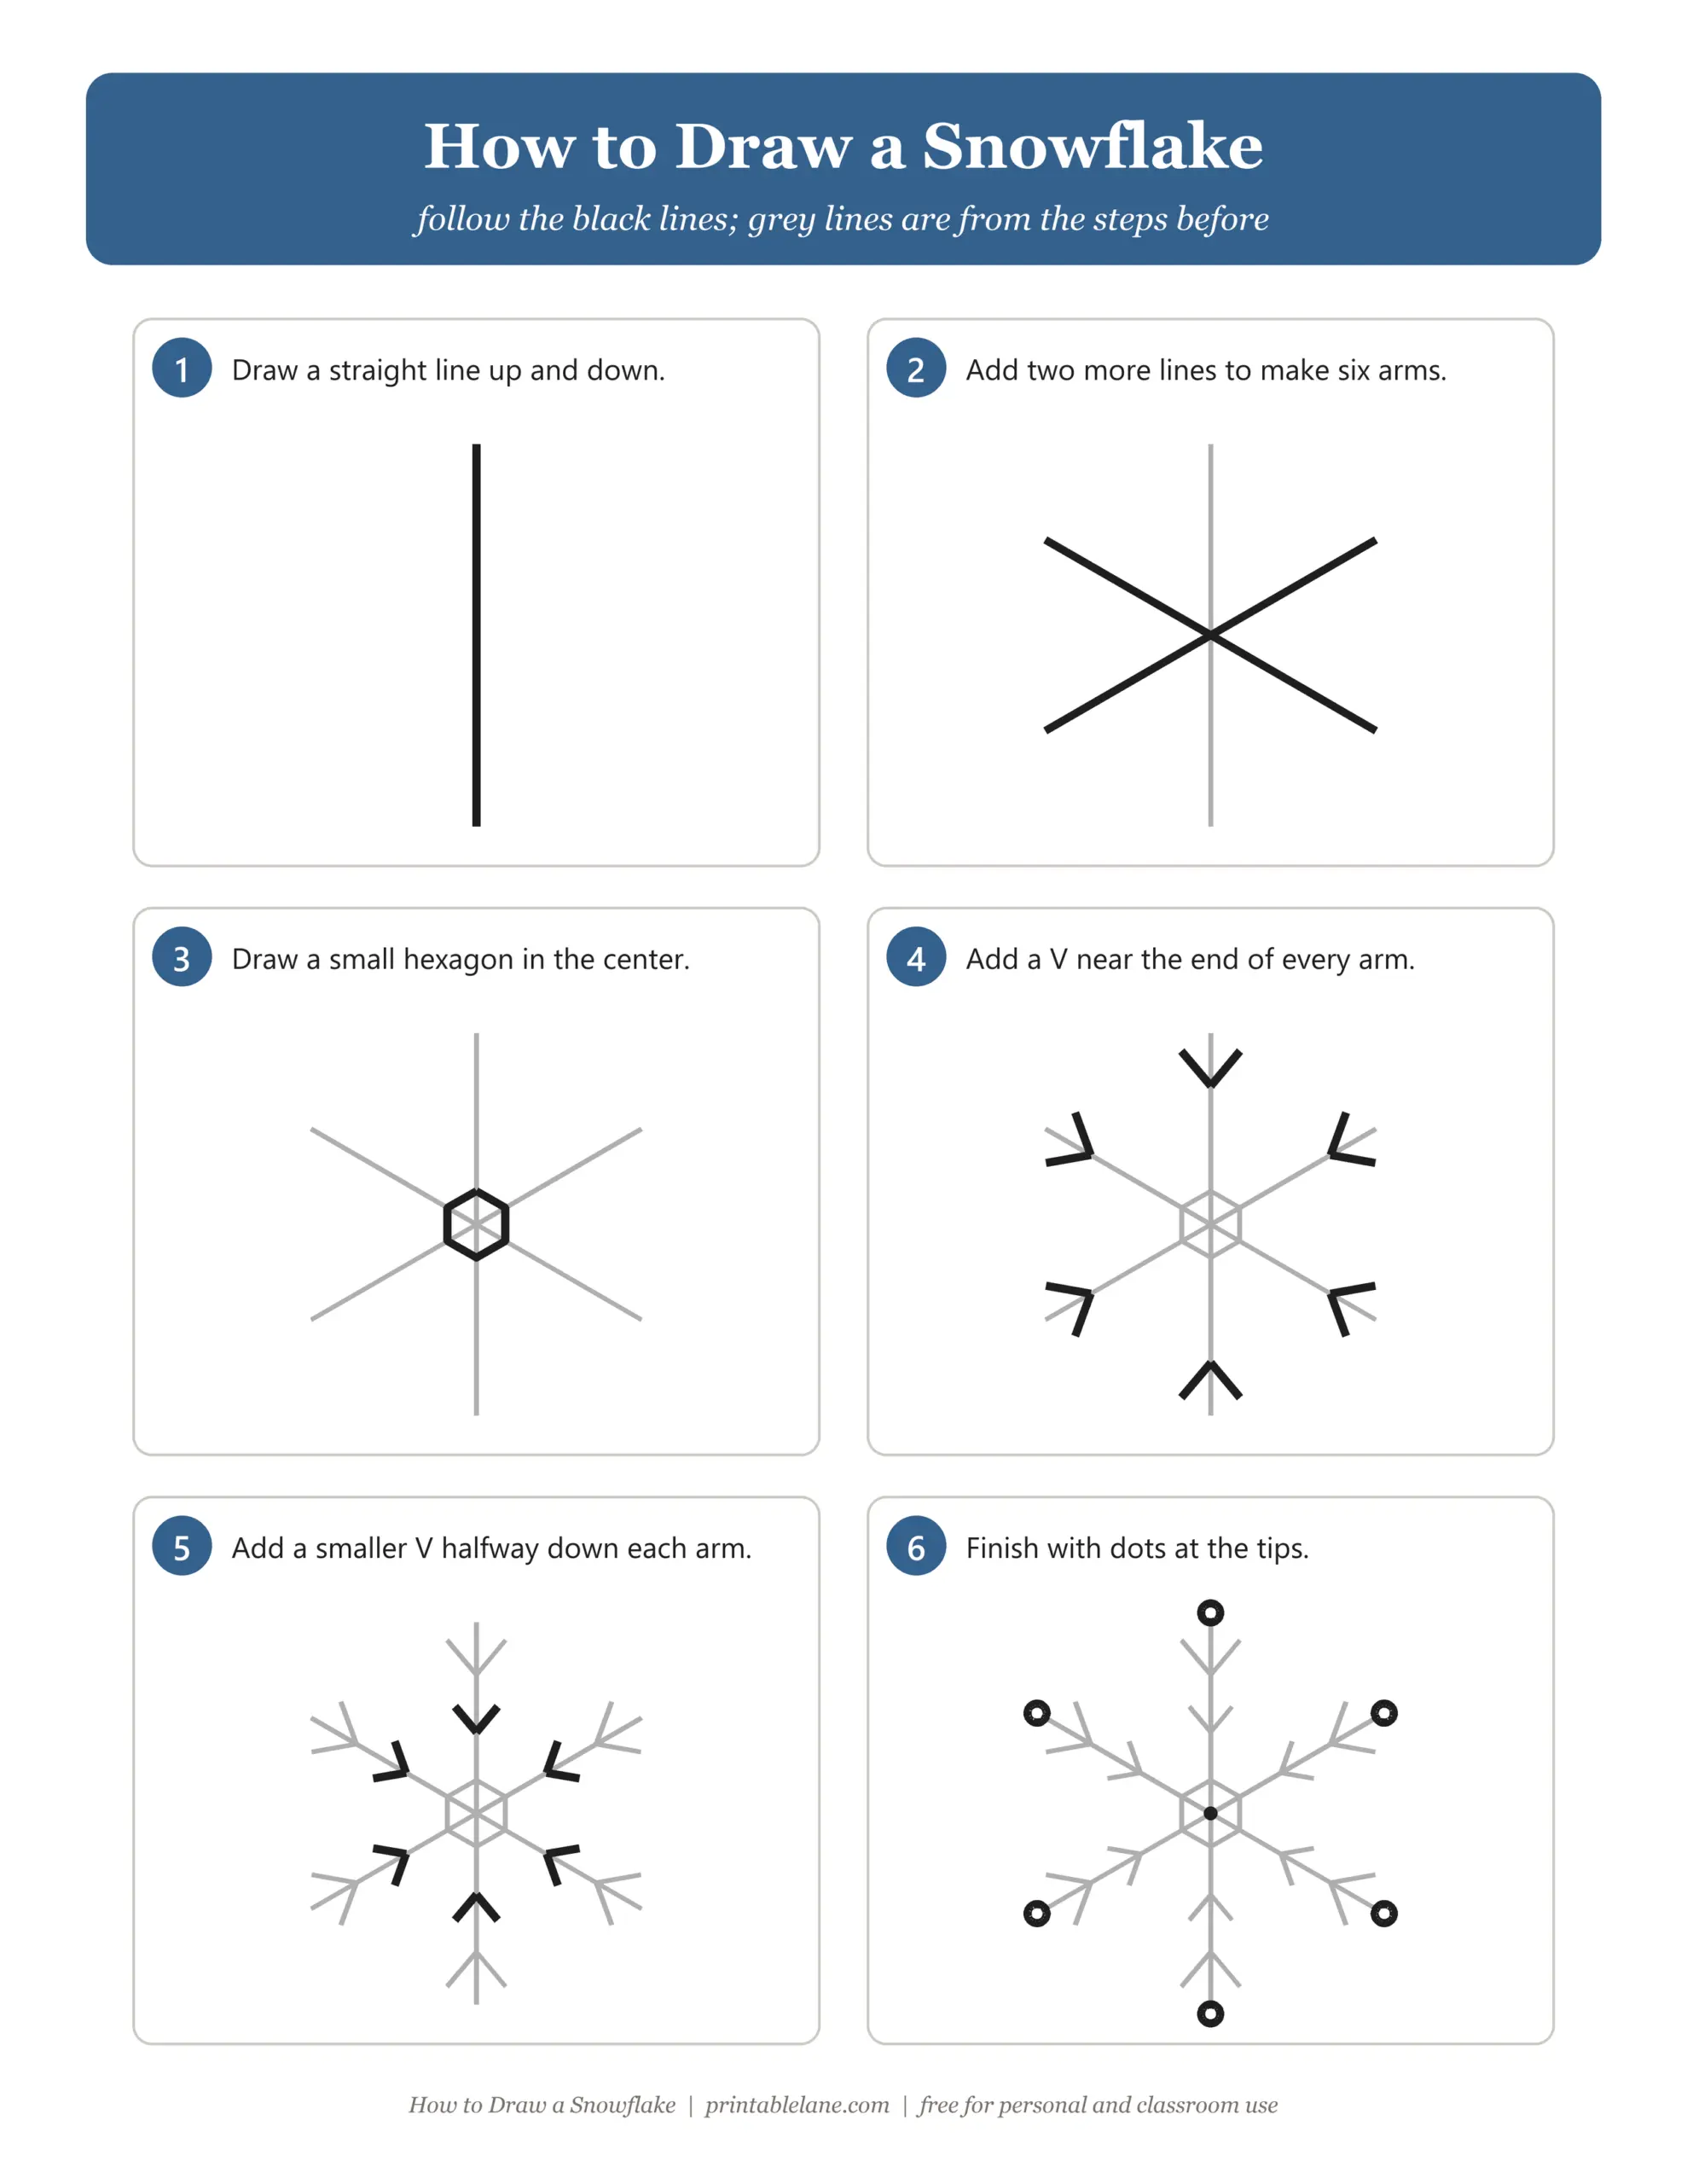
- Step-by-step sheet with 6 numbered steps; new lines are black, earlier lines are grey
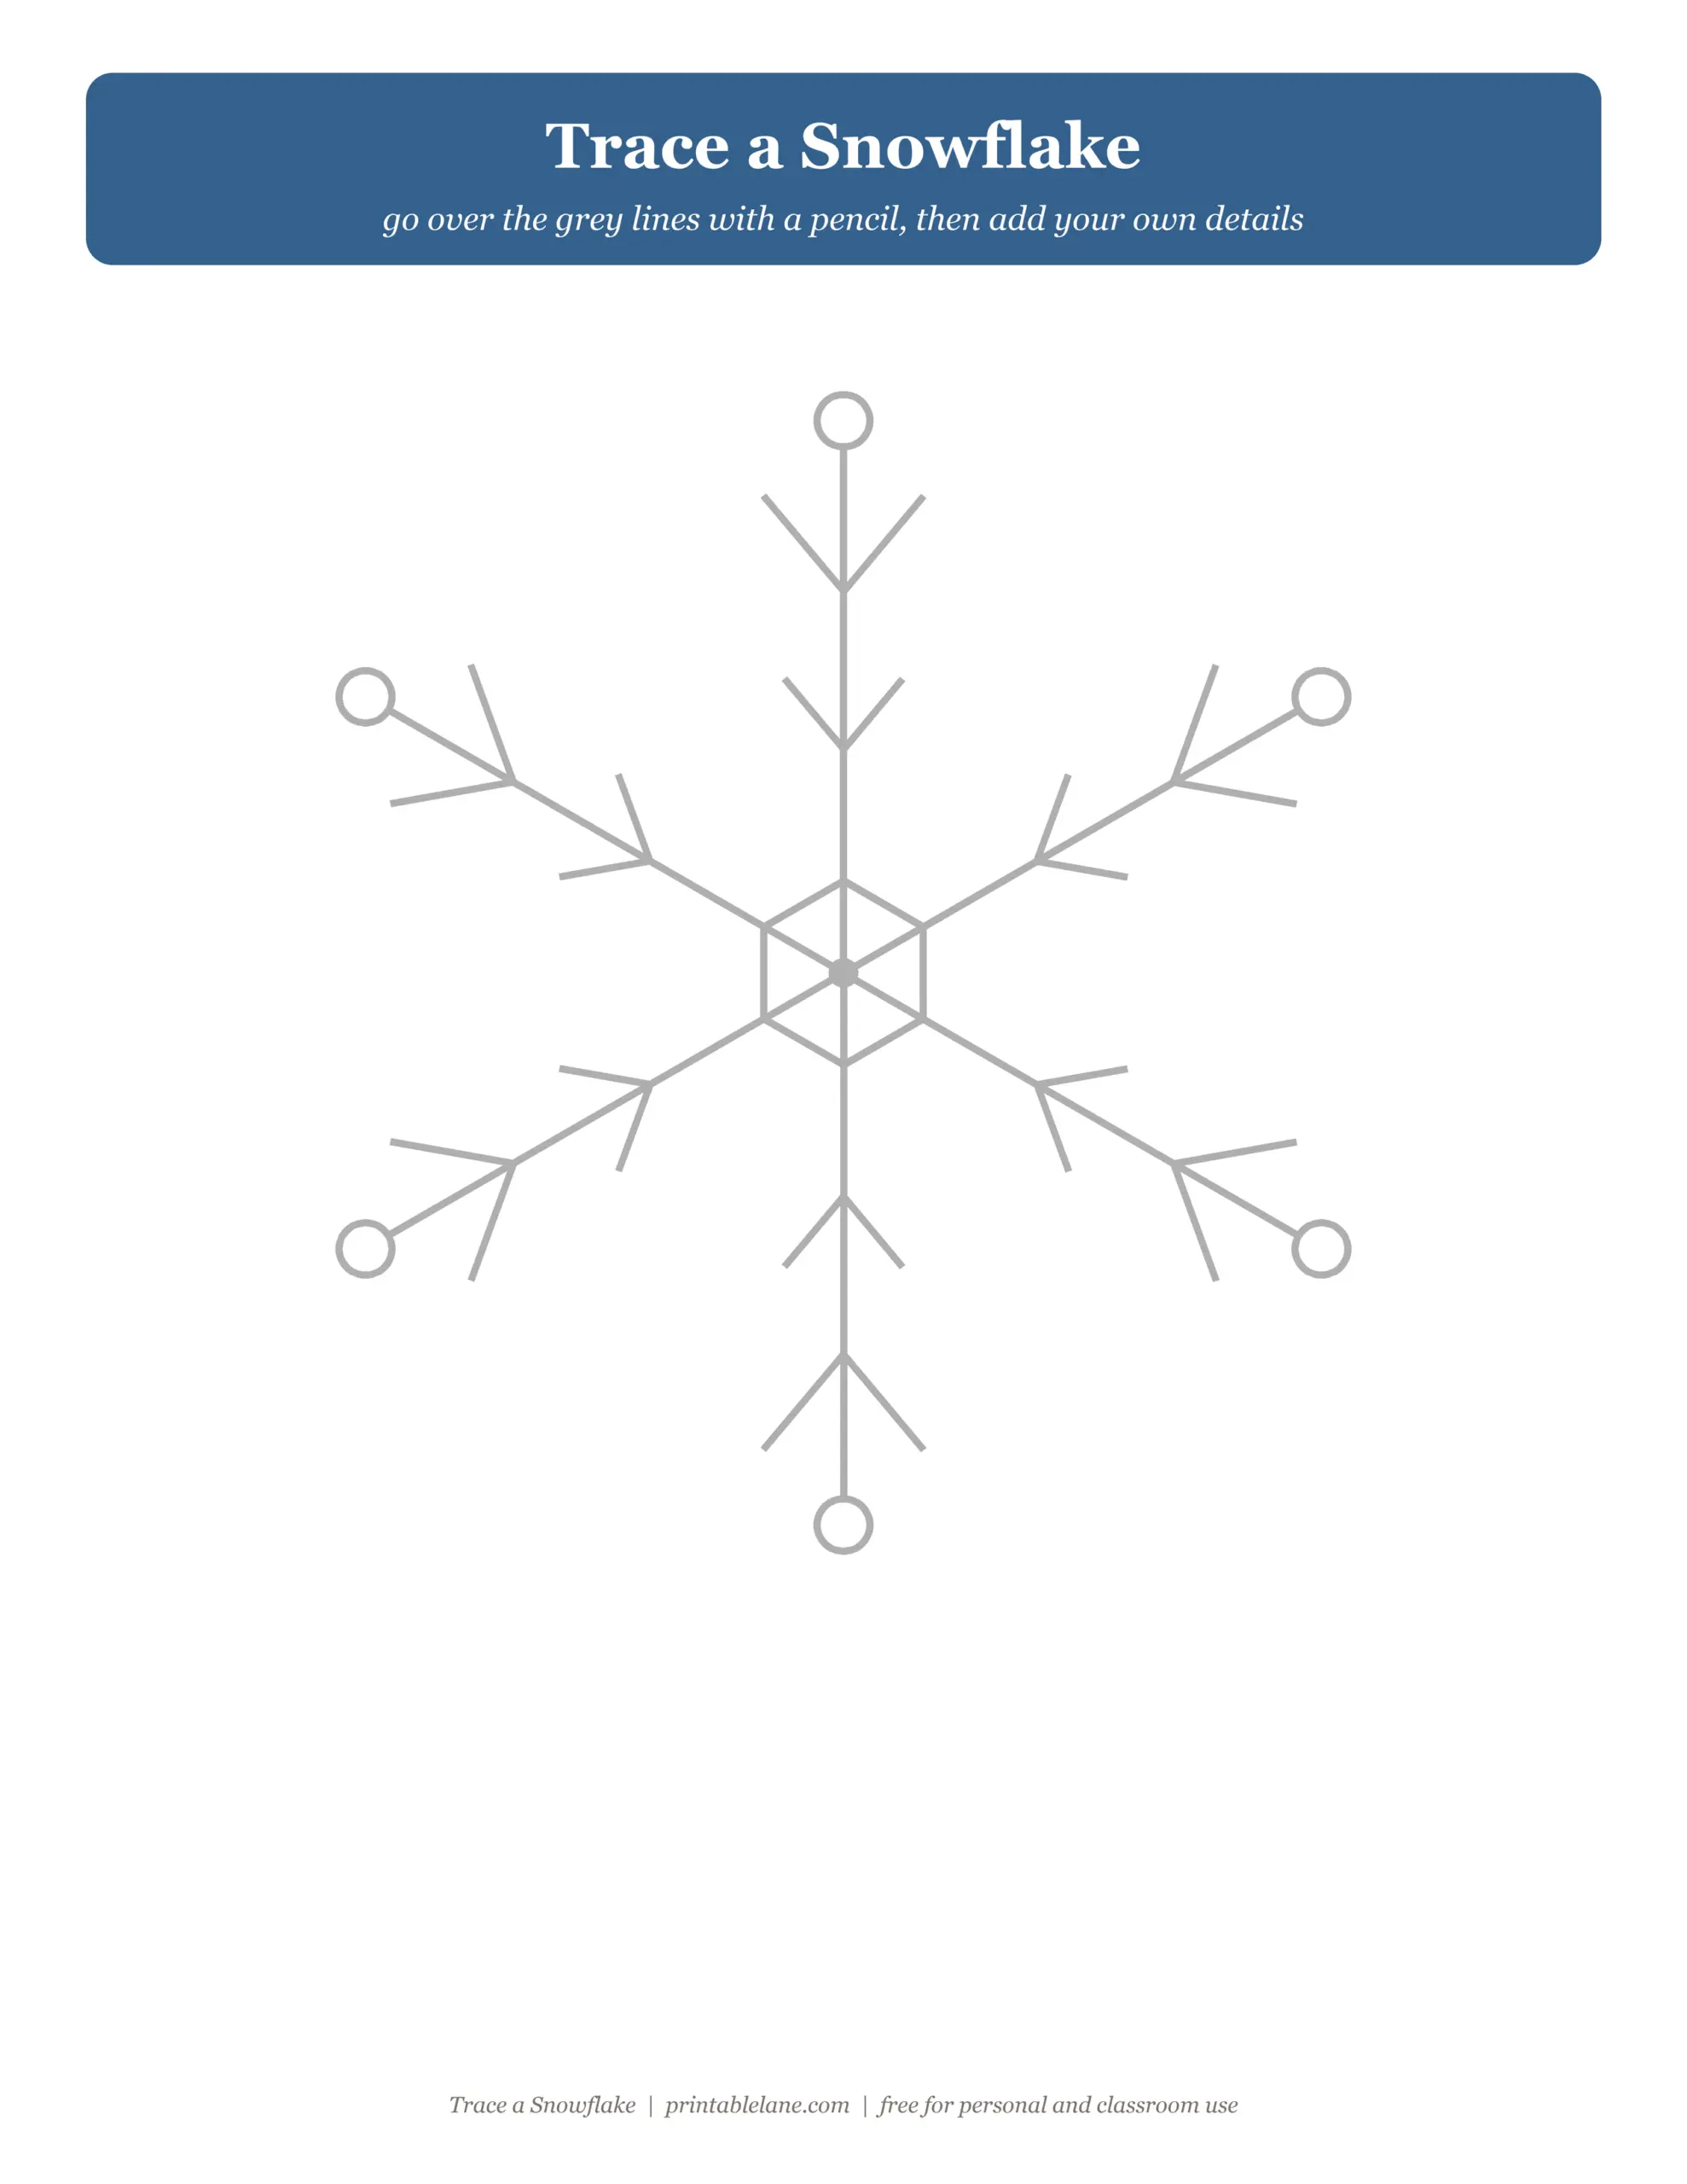
- Tracing page with a large snowflake in light grey to trace over
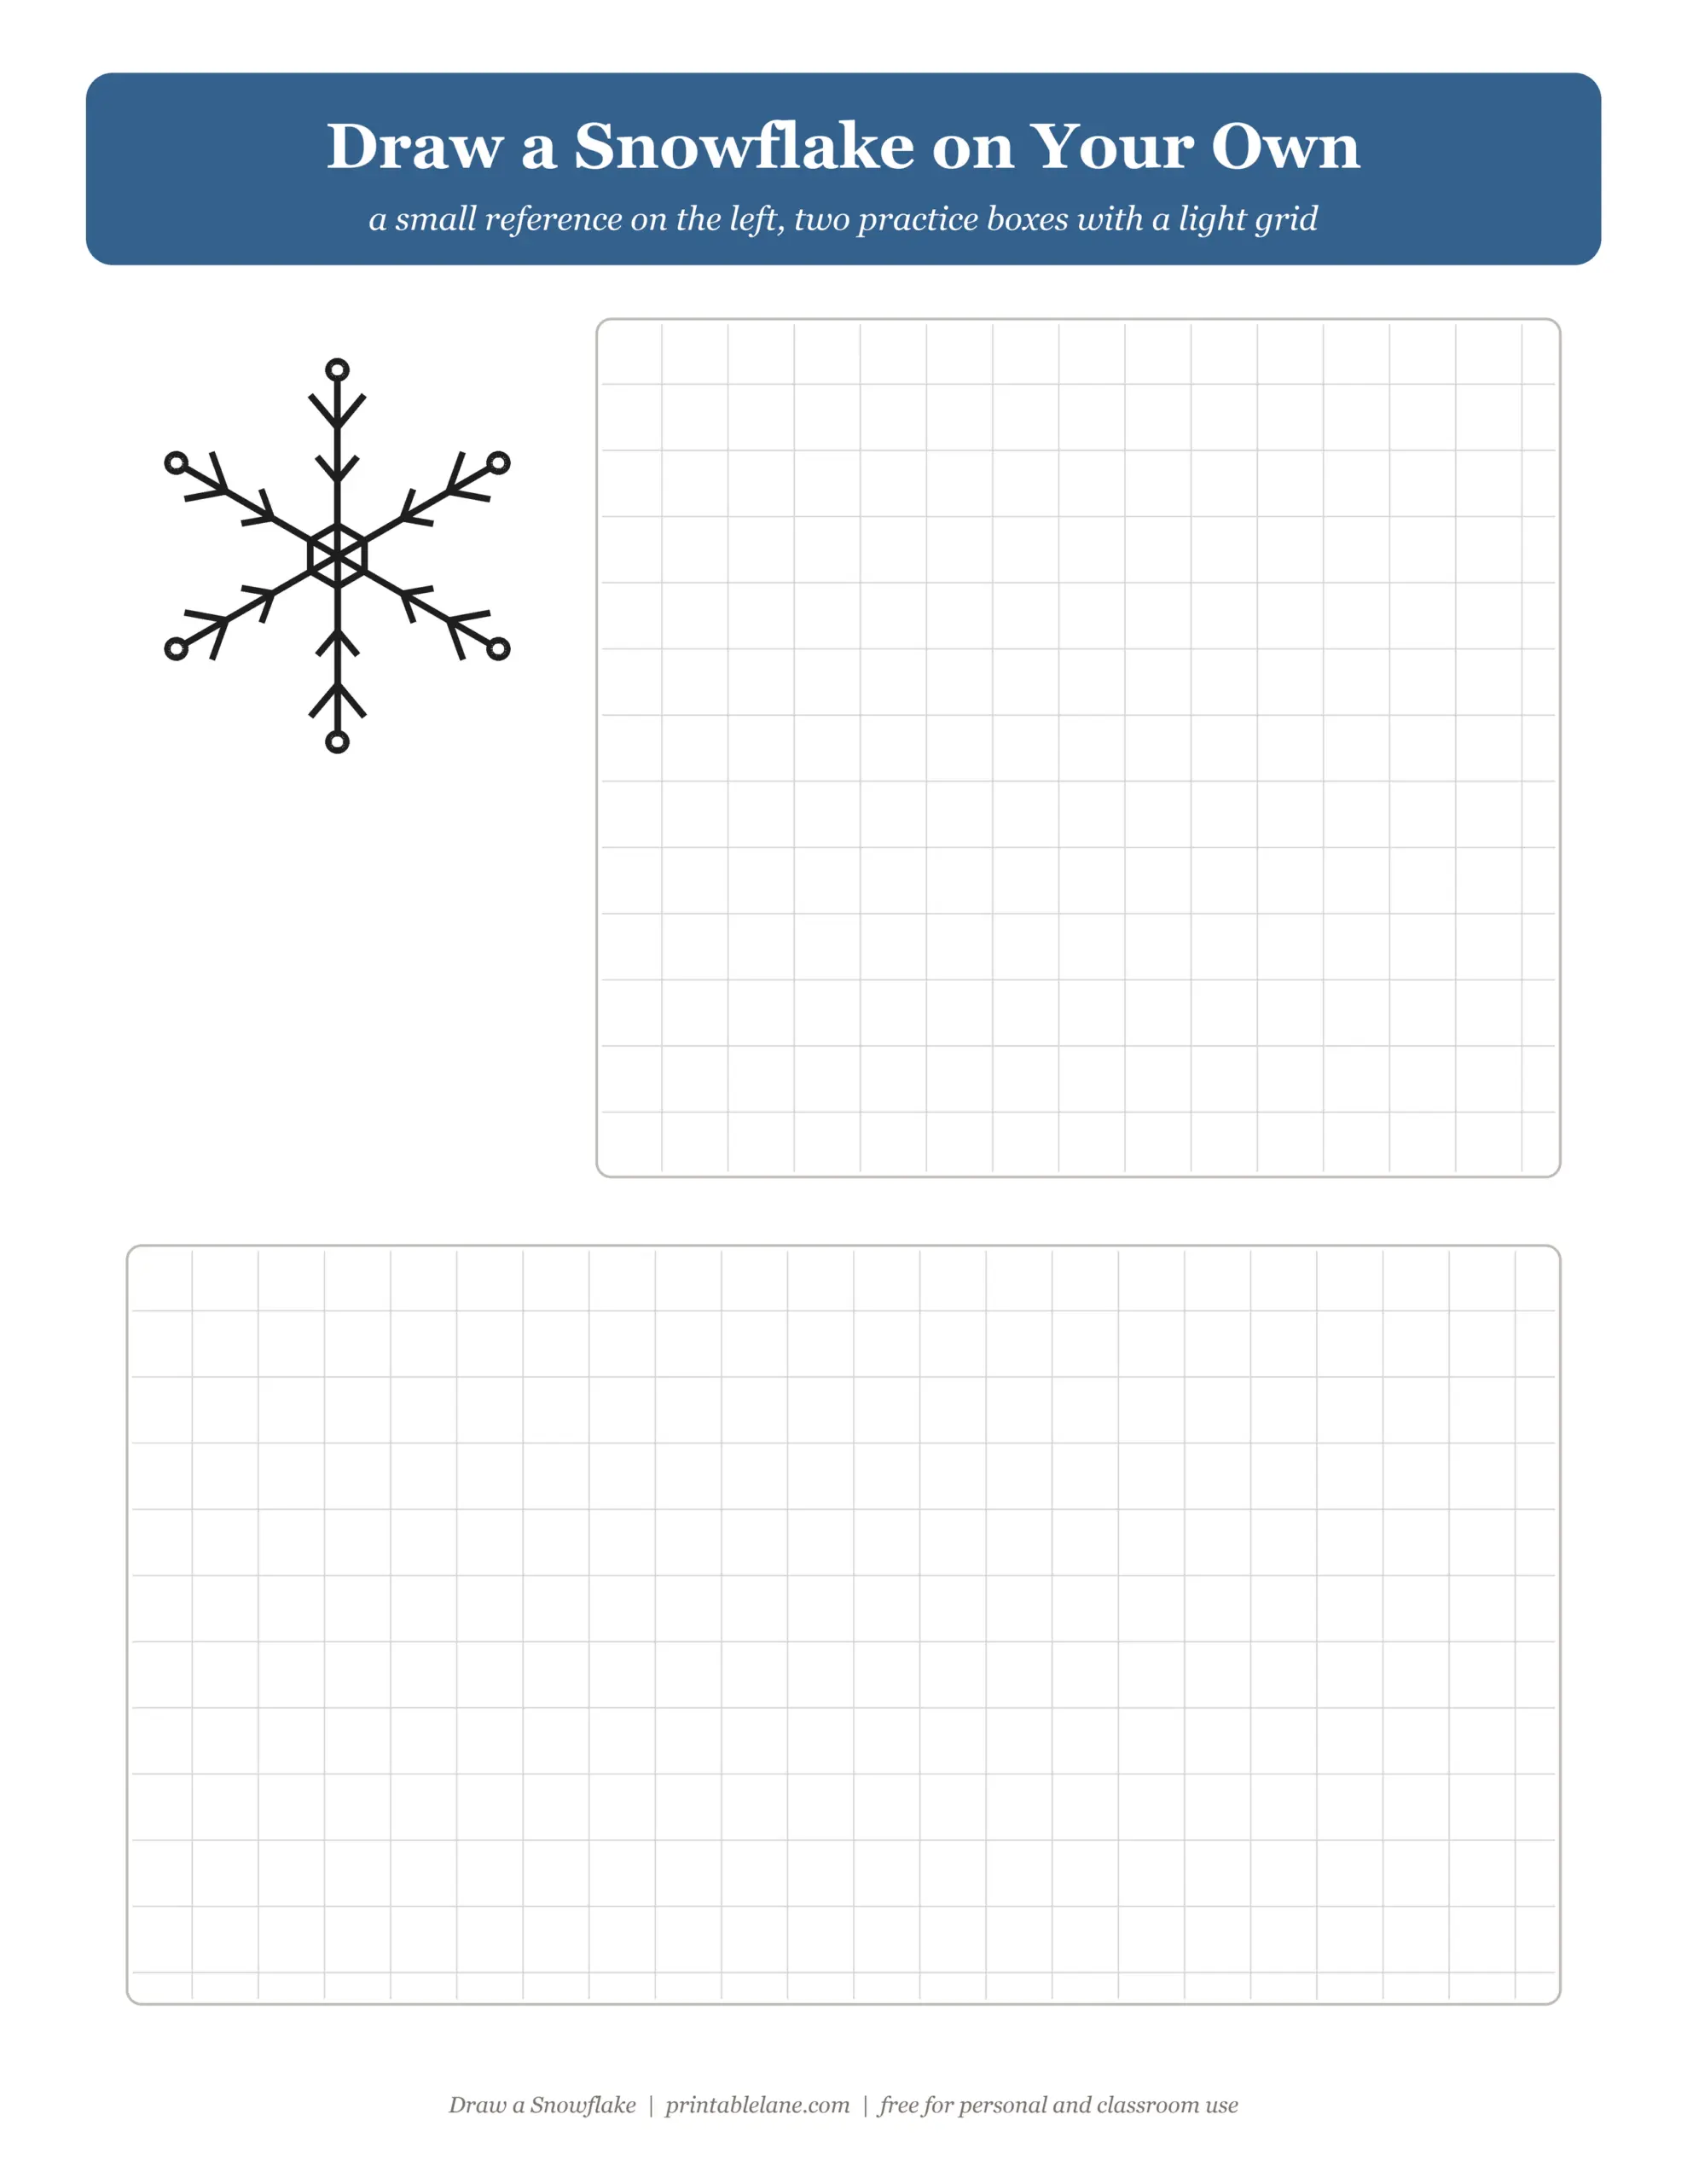
- Practice sheet with a small reference and two boxes with a light grid
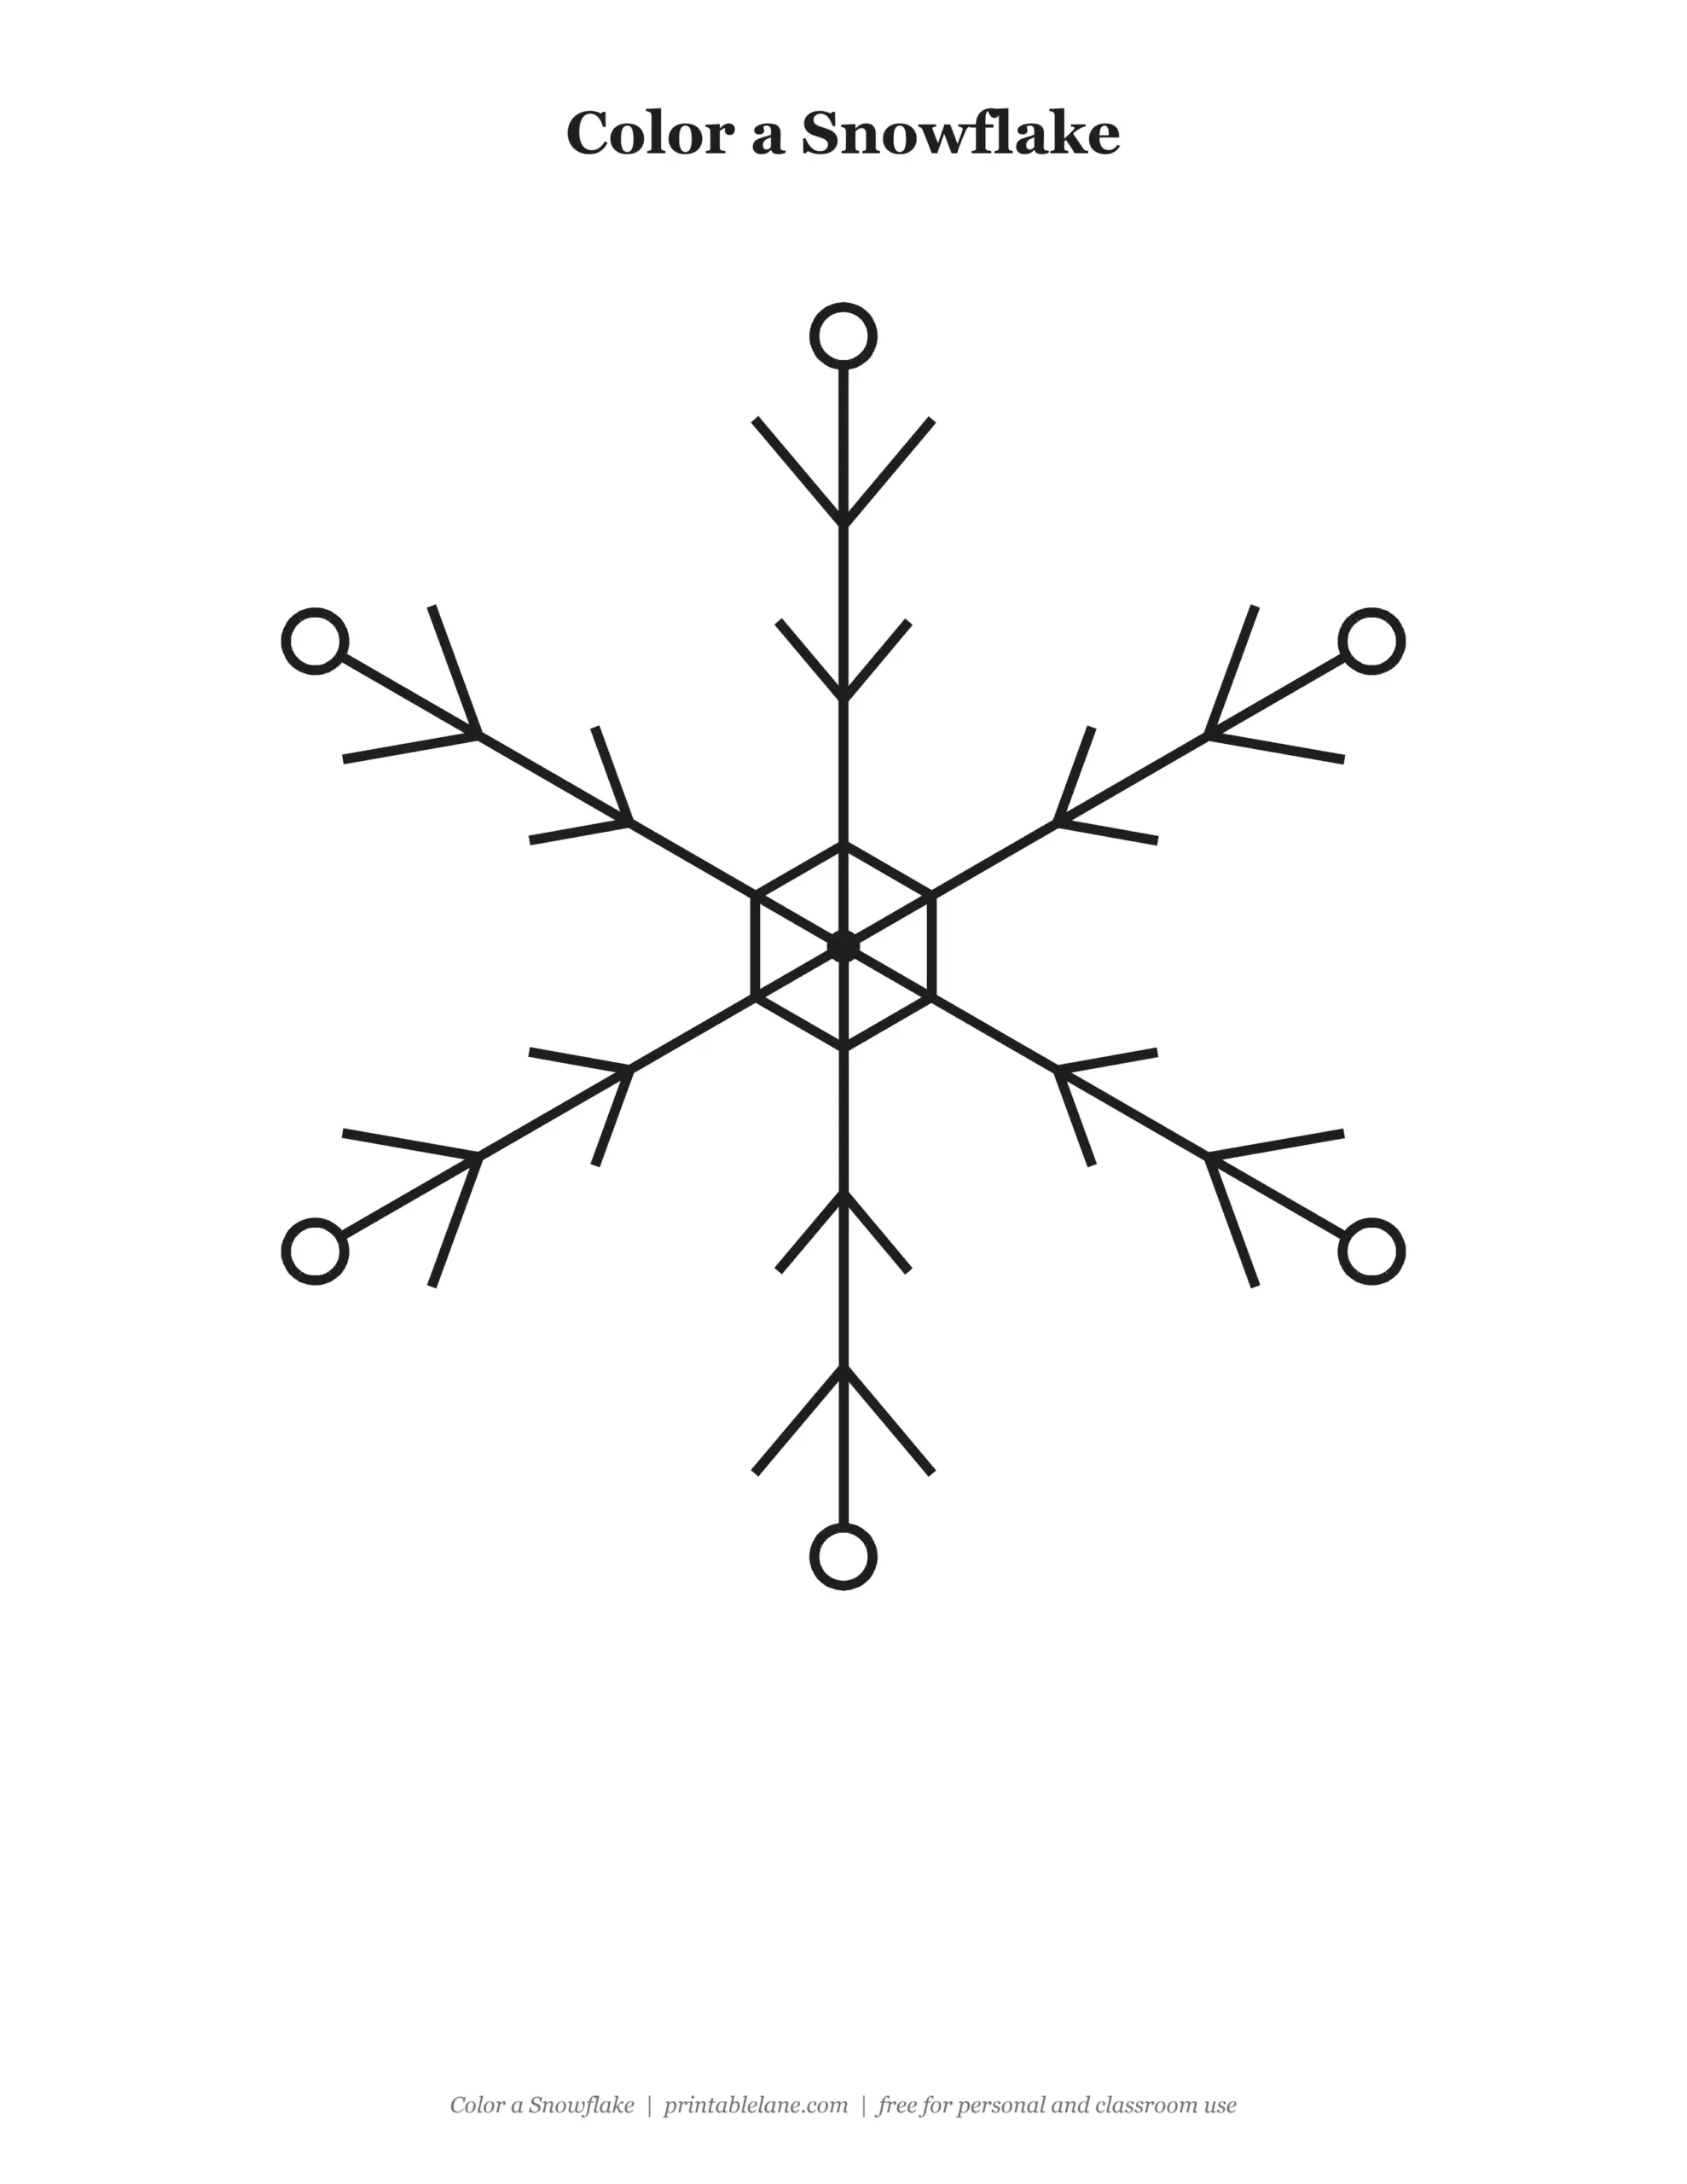
- Coloring page with the finished snowflake in bold outlines
How to draw a snowflake step by step

- Draw a line up and down. A straight vertical line through the middle of the page.
- Make six arms. Add two more lines that cross in the middle, so you have six arms spaced evenly like a star.
- Draw a hexagon in the center. A small six-sided shape where the lines cross.
- Add a V near the end of every arm. Two short lines pointing outward, like an arrow.
- Add a smaller V halfway down each arm.
- Finish with dots. Draw a small circle at the tip of each arm and a dot in the center.
A ruler helps with the long arms. Turn the paper as you add the V shapes so each one is drawn from the same angle.
Trace it first
If drawing freehand feels hard, start with the tracing page. Go over the grey lines with a pencil, pressing lightly, and you will learn the shapes and the order without worrying about mistakes. Then try again on the practice sheet.

Practice on the grid
The practice sheet has a small finished snowflake for reference and two boxes with a faint grid. The grid helps with size and spacing: count how many squares tall the snowflake is in the reference, then draw it the same way.

Color the finished drawing
Snowflakes look great in light blue, silver or purple on white paper. For a winter window, color it, cut it out and tape it to the glass.


Drawing tips for kids
- Use a ruler for the six arms.
- Turn the page while you draw so every arm is drawn the same way.
- Try different branch shapes: hearts, small circles or extra V shapes.
- Draw several snowflakes in different sizes for a winter scene.
Download the pages one by one
Prefer a single page? Click a link to open the full-size PNG, then print it or save it. The full PDF with all pages and a cover is in the download box.
- How to draw a snowflake: step-by-step sheet (PNG)
- a Snowflake tracing page (PNG)
- a Snowflake practice sheet with grid (PNG)
- a Snowflake coloring page (PNG)
Keep the winter theme going with the Christmas tree drawing guide, the Christmas coloring pages and the Winter Wonderland junk journal kit.
FAQ
Why does a snowflake have six arms?
Ice crystals form in a six-sided pattern, so most real snowflakes have six arms. Drawing three crossing lines gives you those six arms right away.
What paper should I print it on?
Plain US Letter printer paper works. Use cardstock if your child will color with markers or wants to keep the drawing.
Can I use it in my classroom?
Yes. The pages are free for personal and classroom use. Print a copy for every student, and link to this page instead of sharing the PDF file.