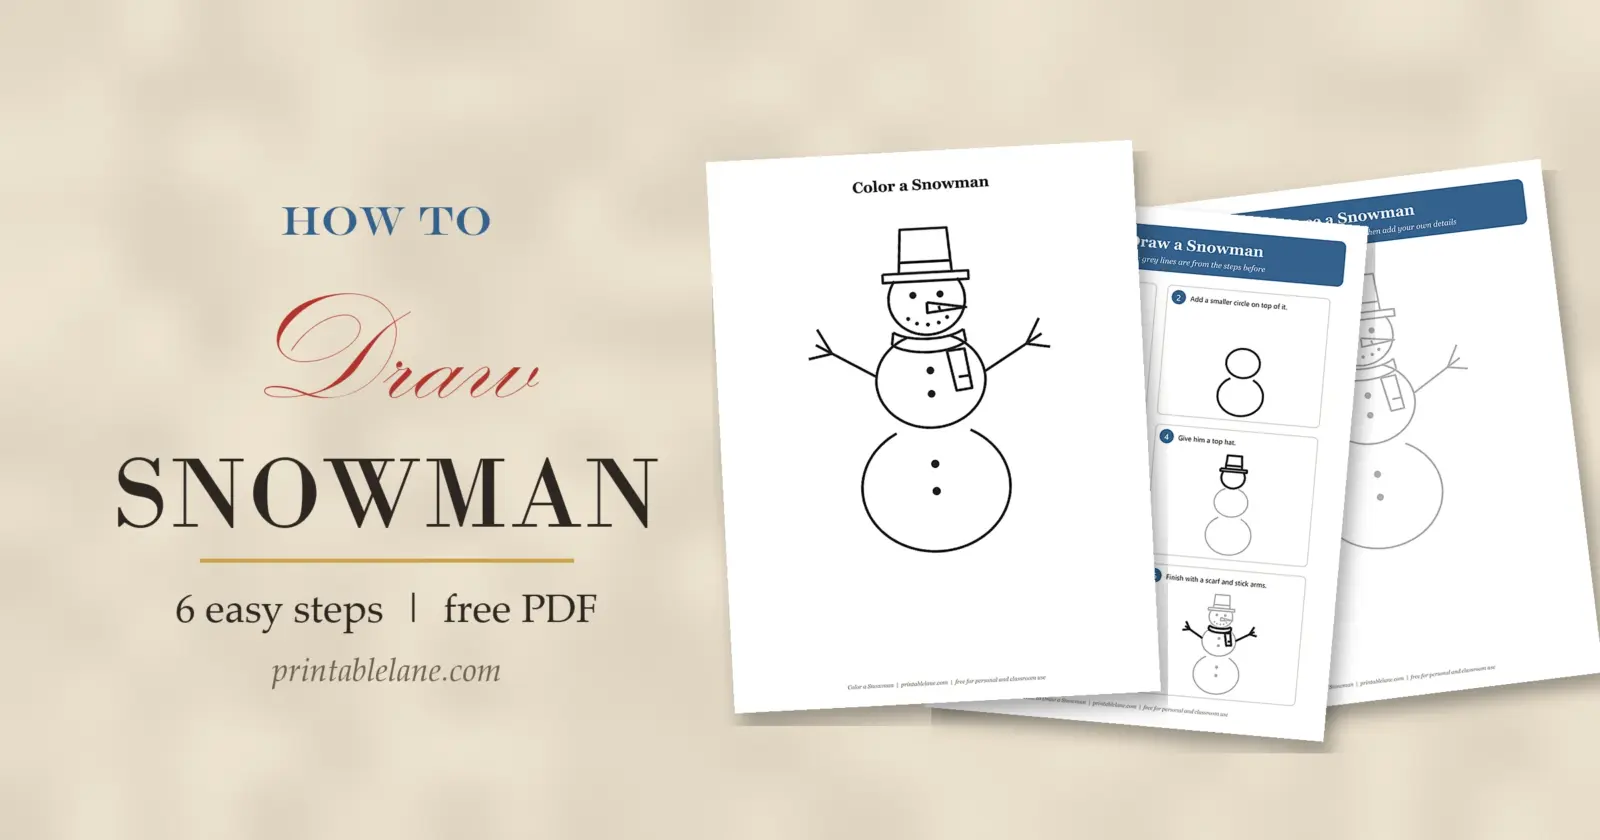
A snowman is one of the first things many kids learn to draw, because it starts with three circles. This guide shows how to draw a snowman in six steps, with a neat trick: erase the small bit of each circle that hides behind the one in front, so the snowman looks round and solid.
The free PDF has a step-by-step sheet, a tracing page, a practice sheet with a grid and a coloring page. It is a great snow-day activity, even when there is no snow outside.

What’s in the PDF
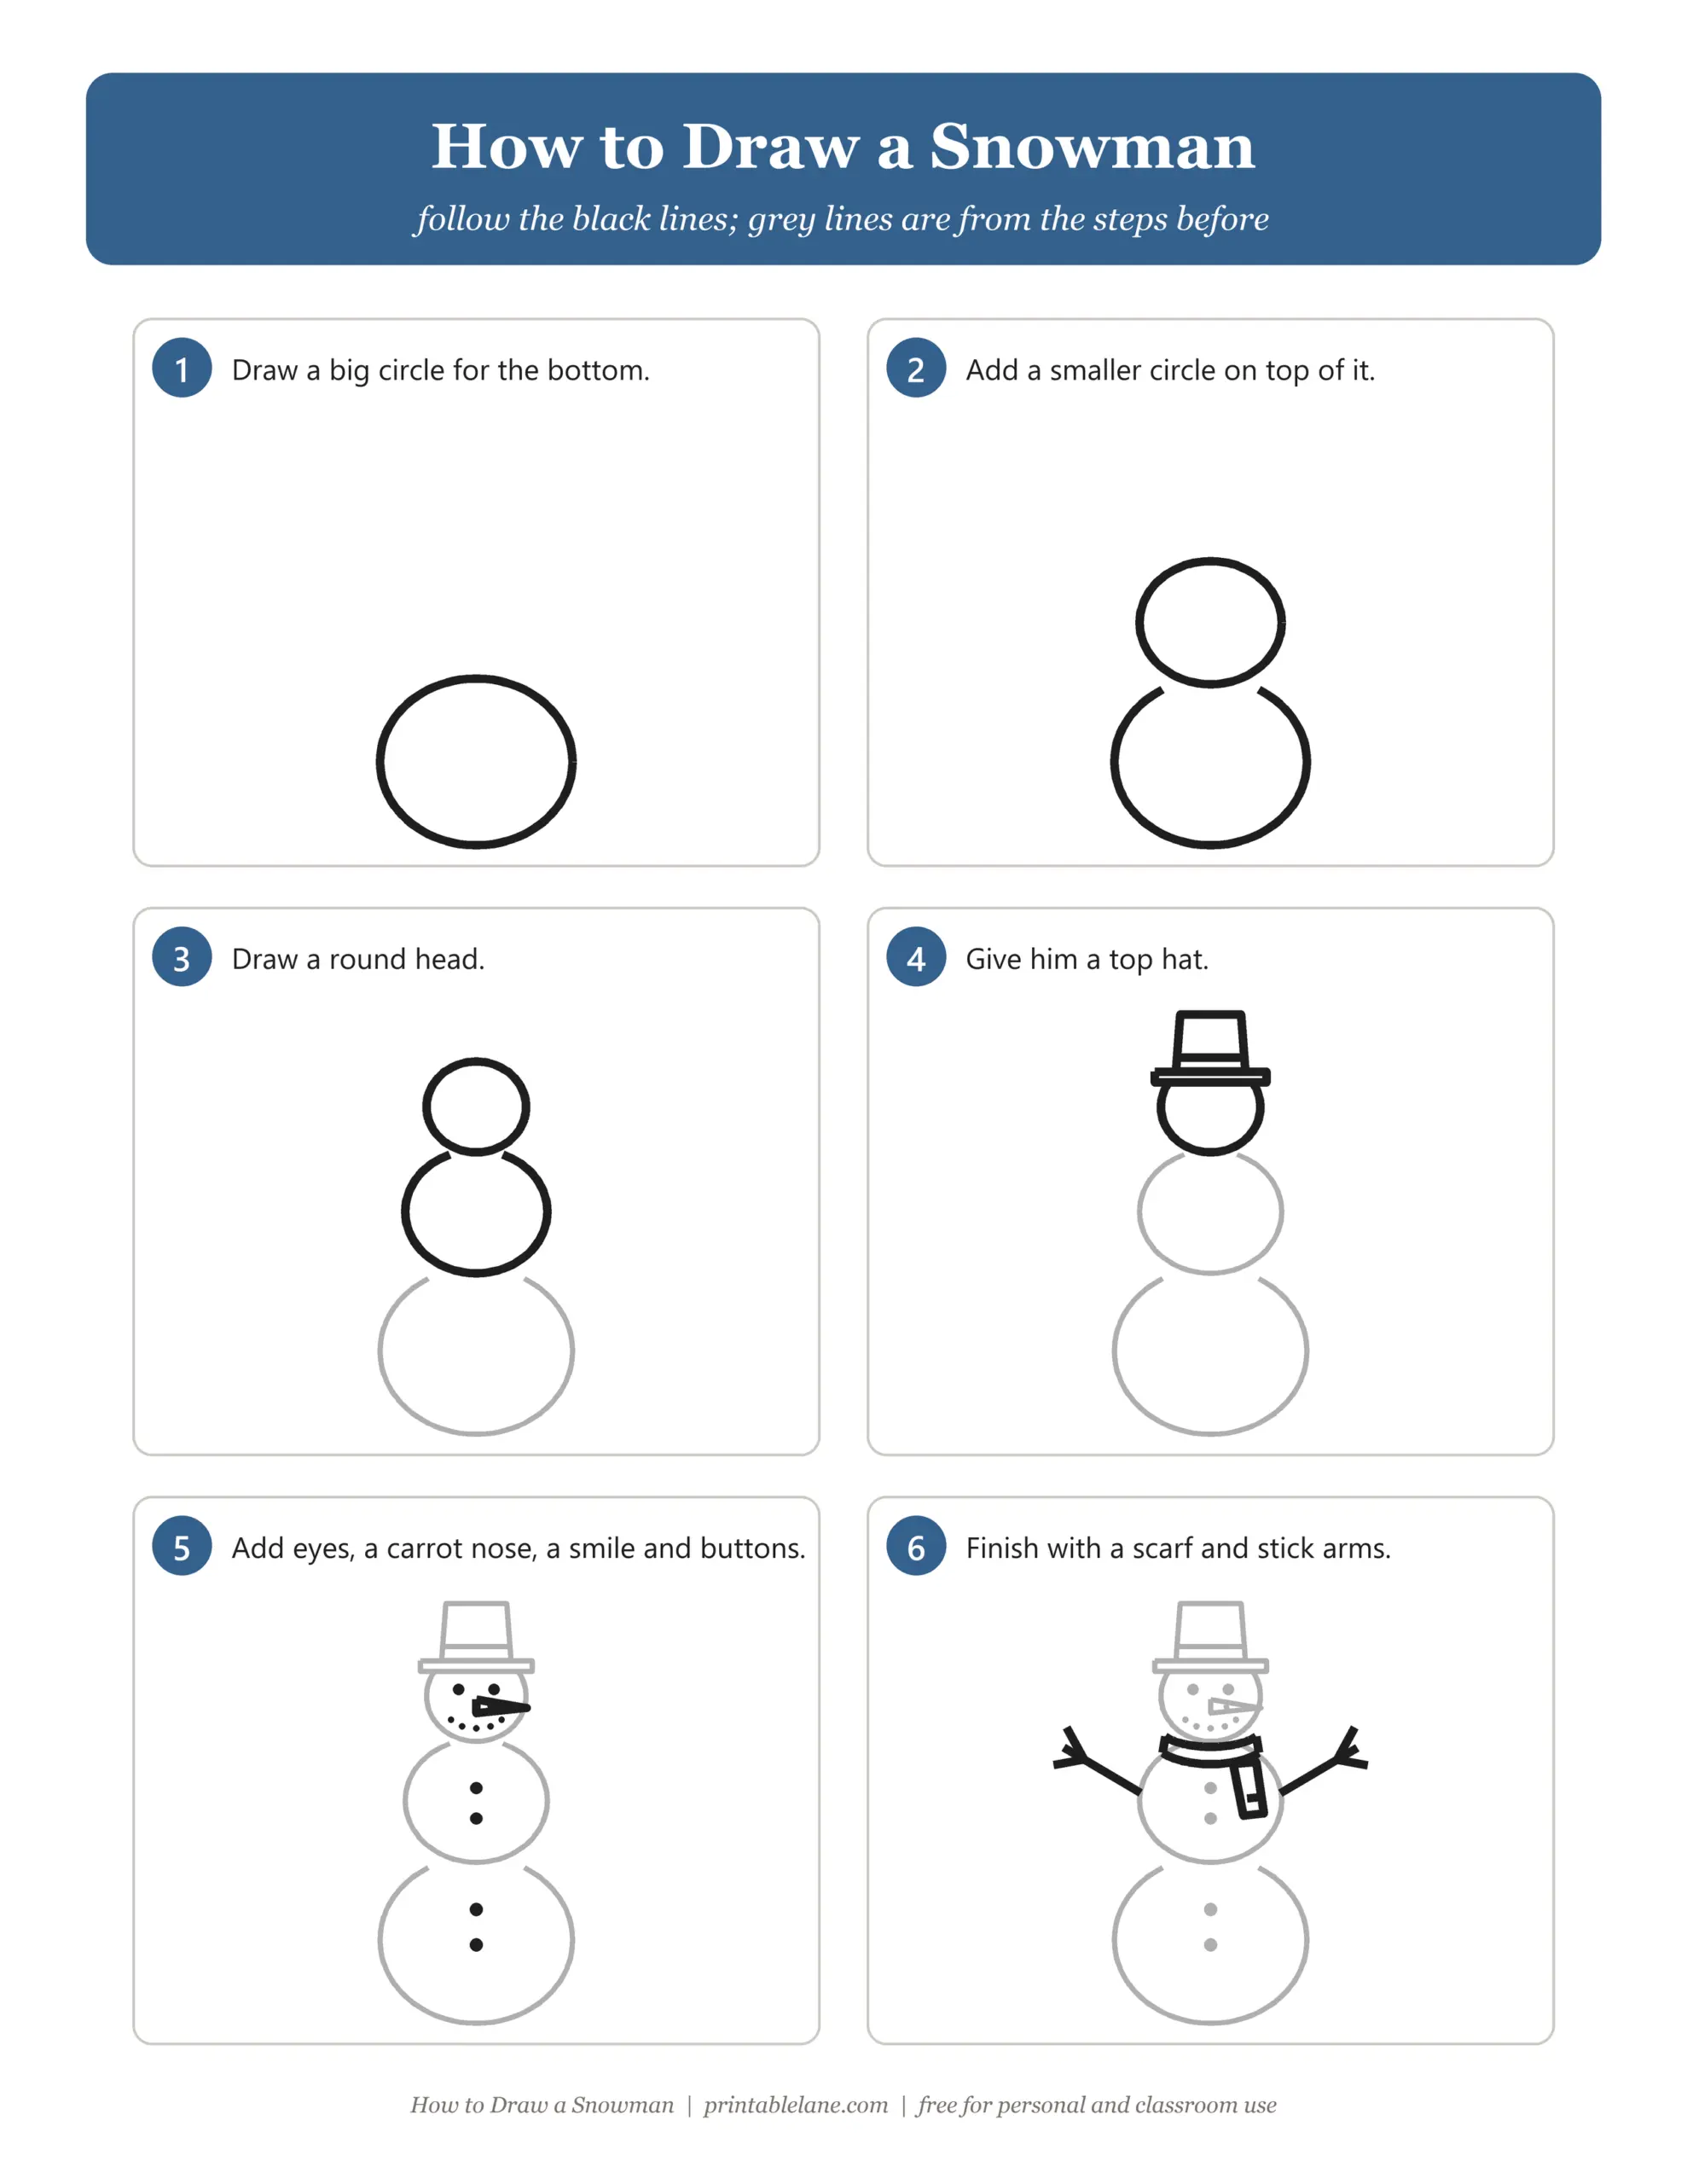
- Step-by-step sheet with 6 numbered steps; new lines are black, earlier lines are grey
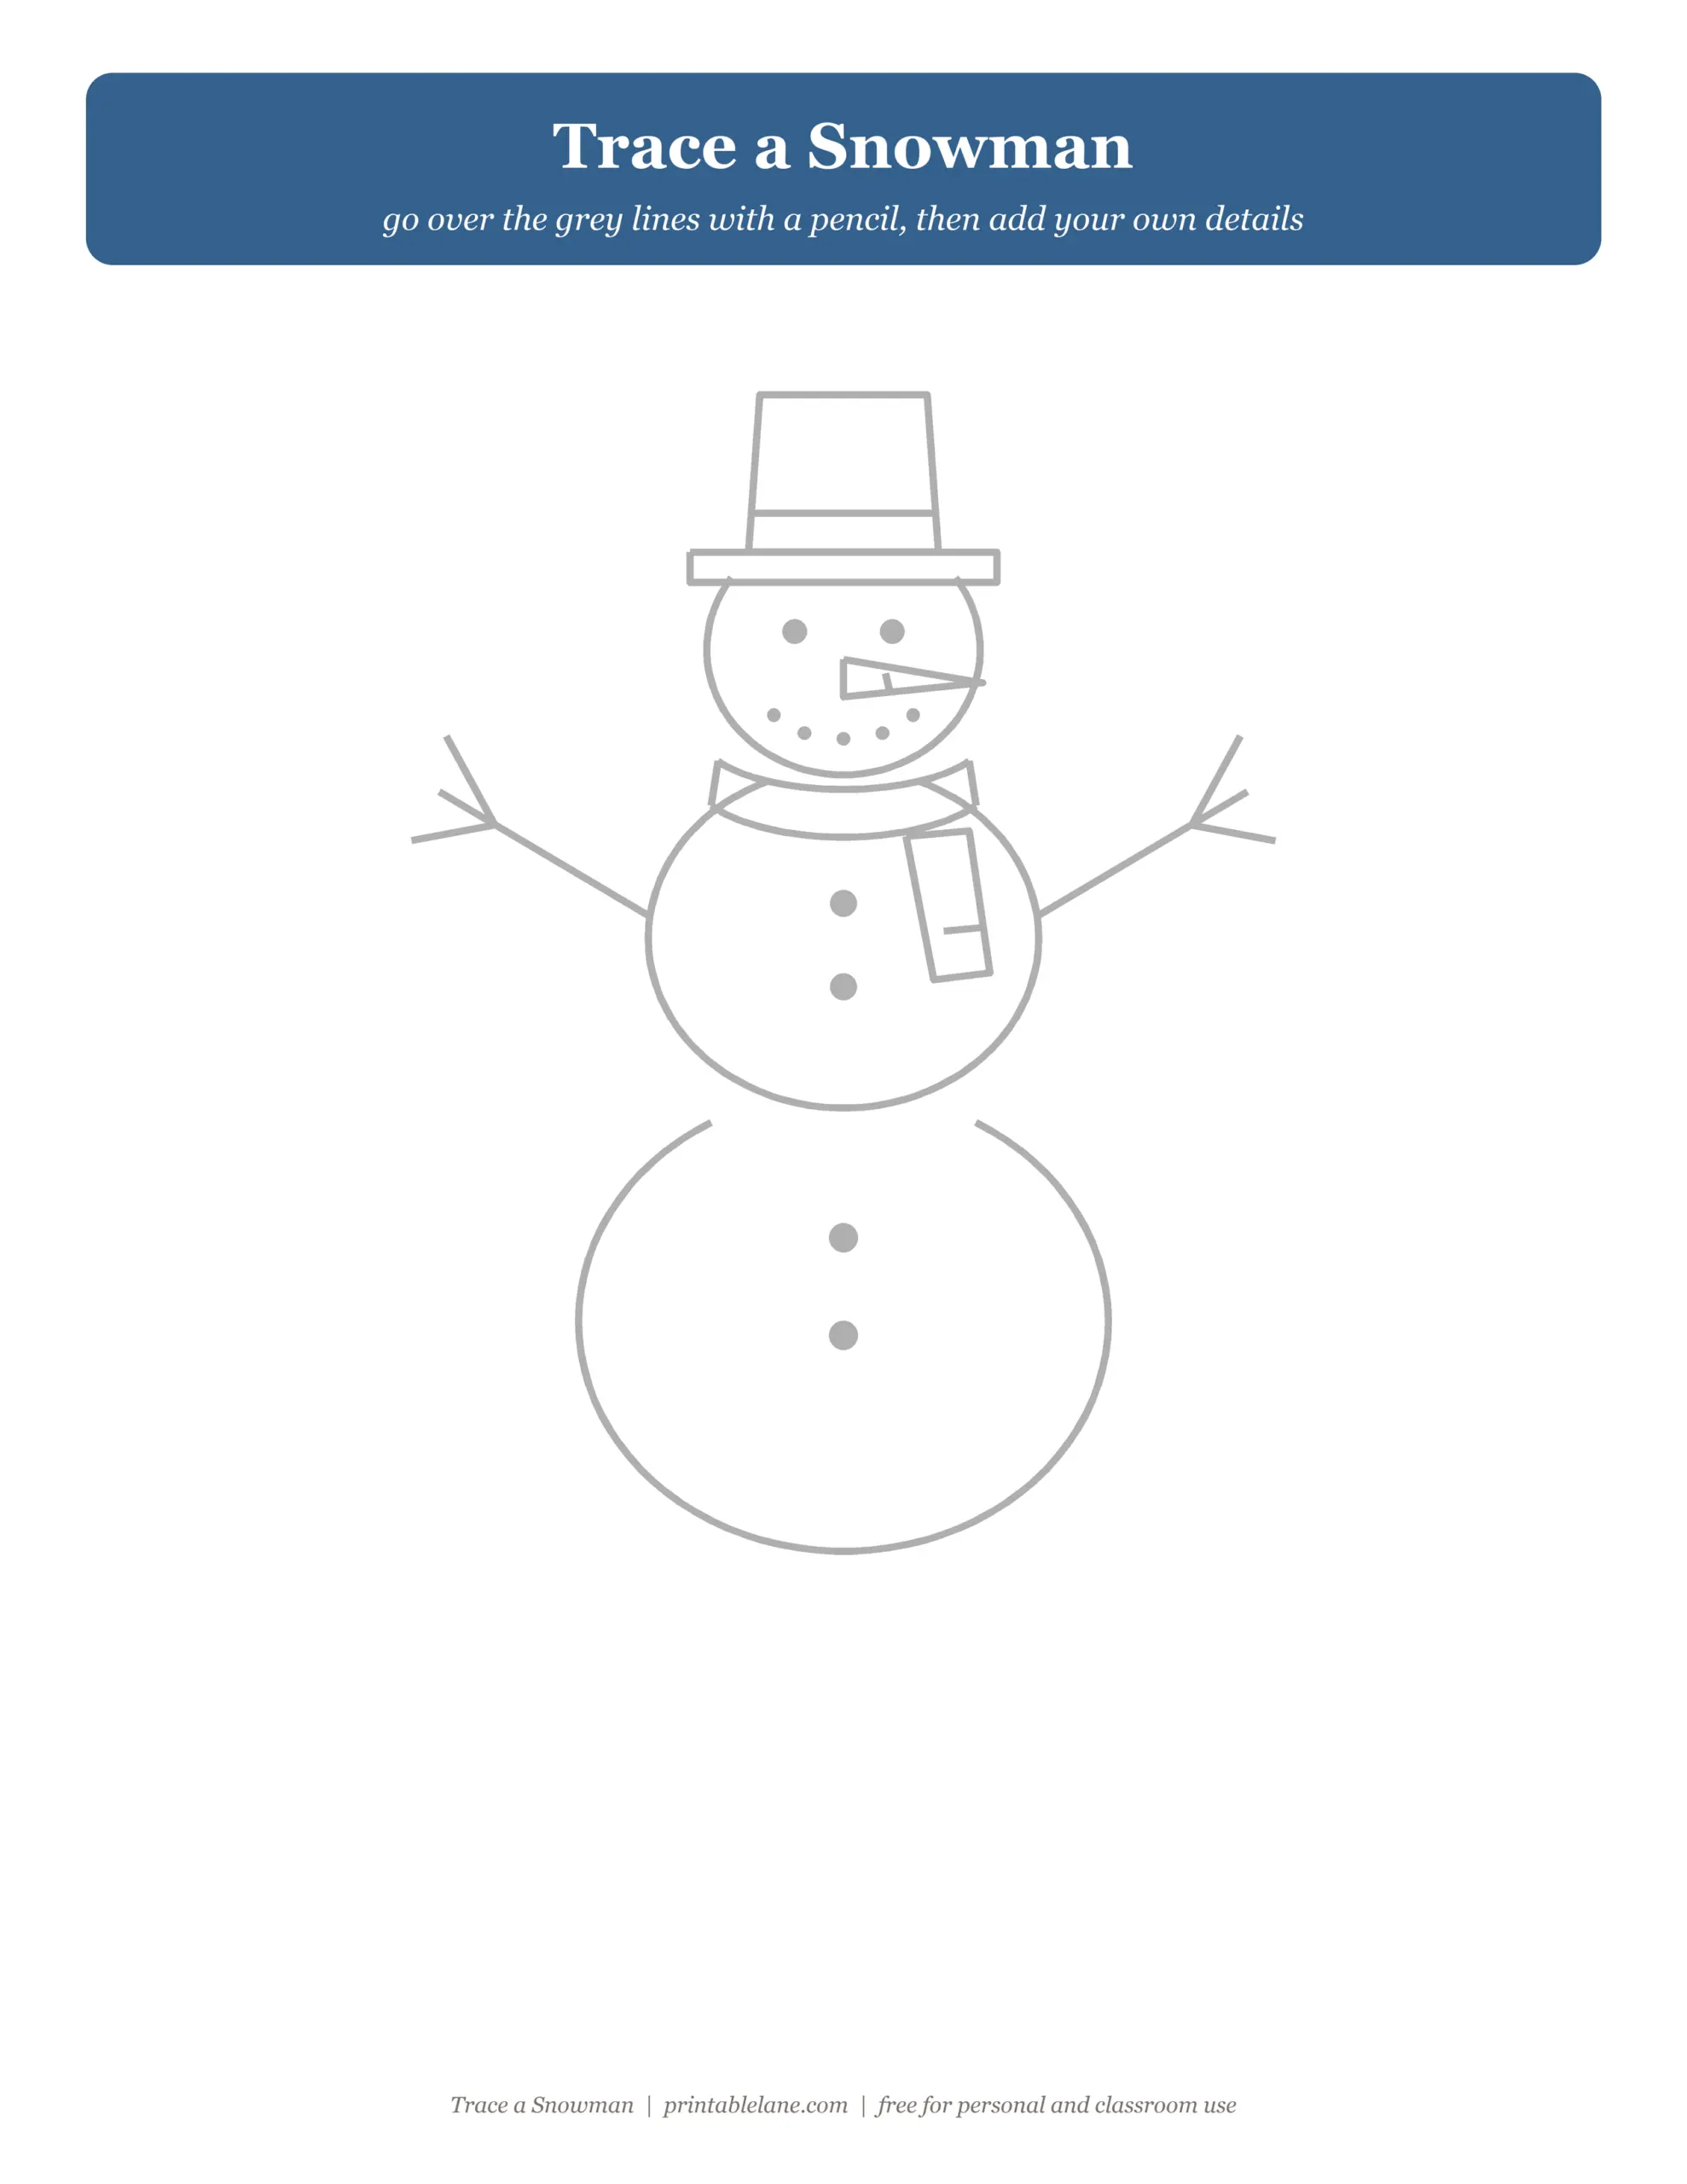
- Tracing page with a large snowman in light grey to trace over
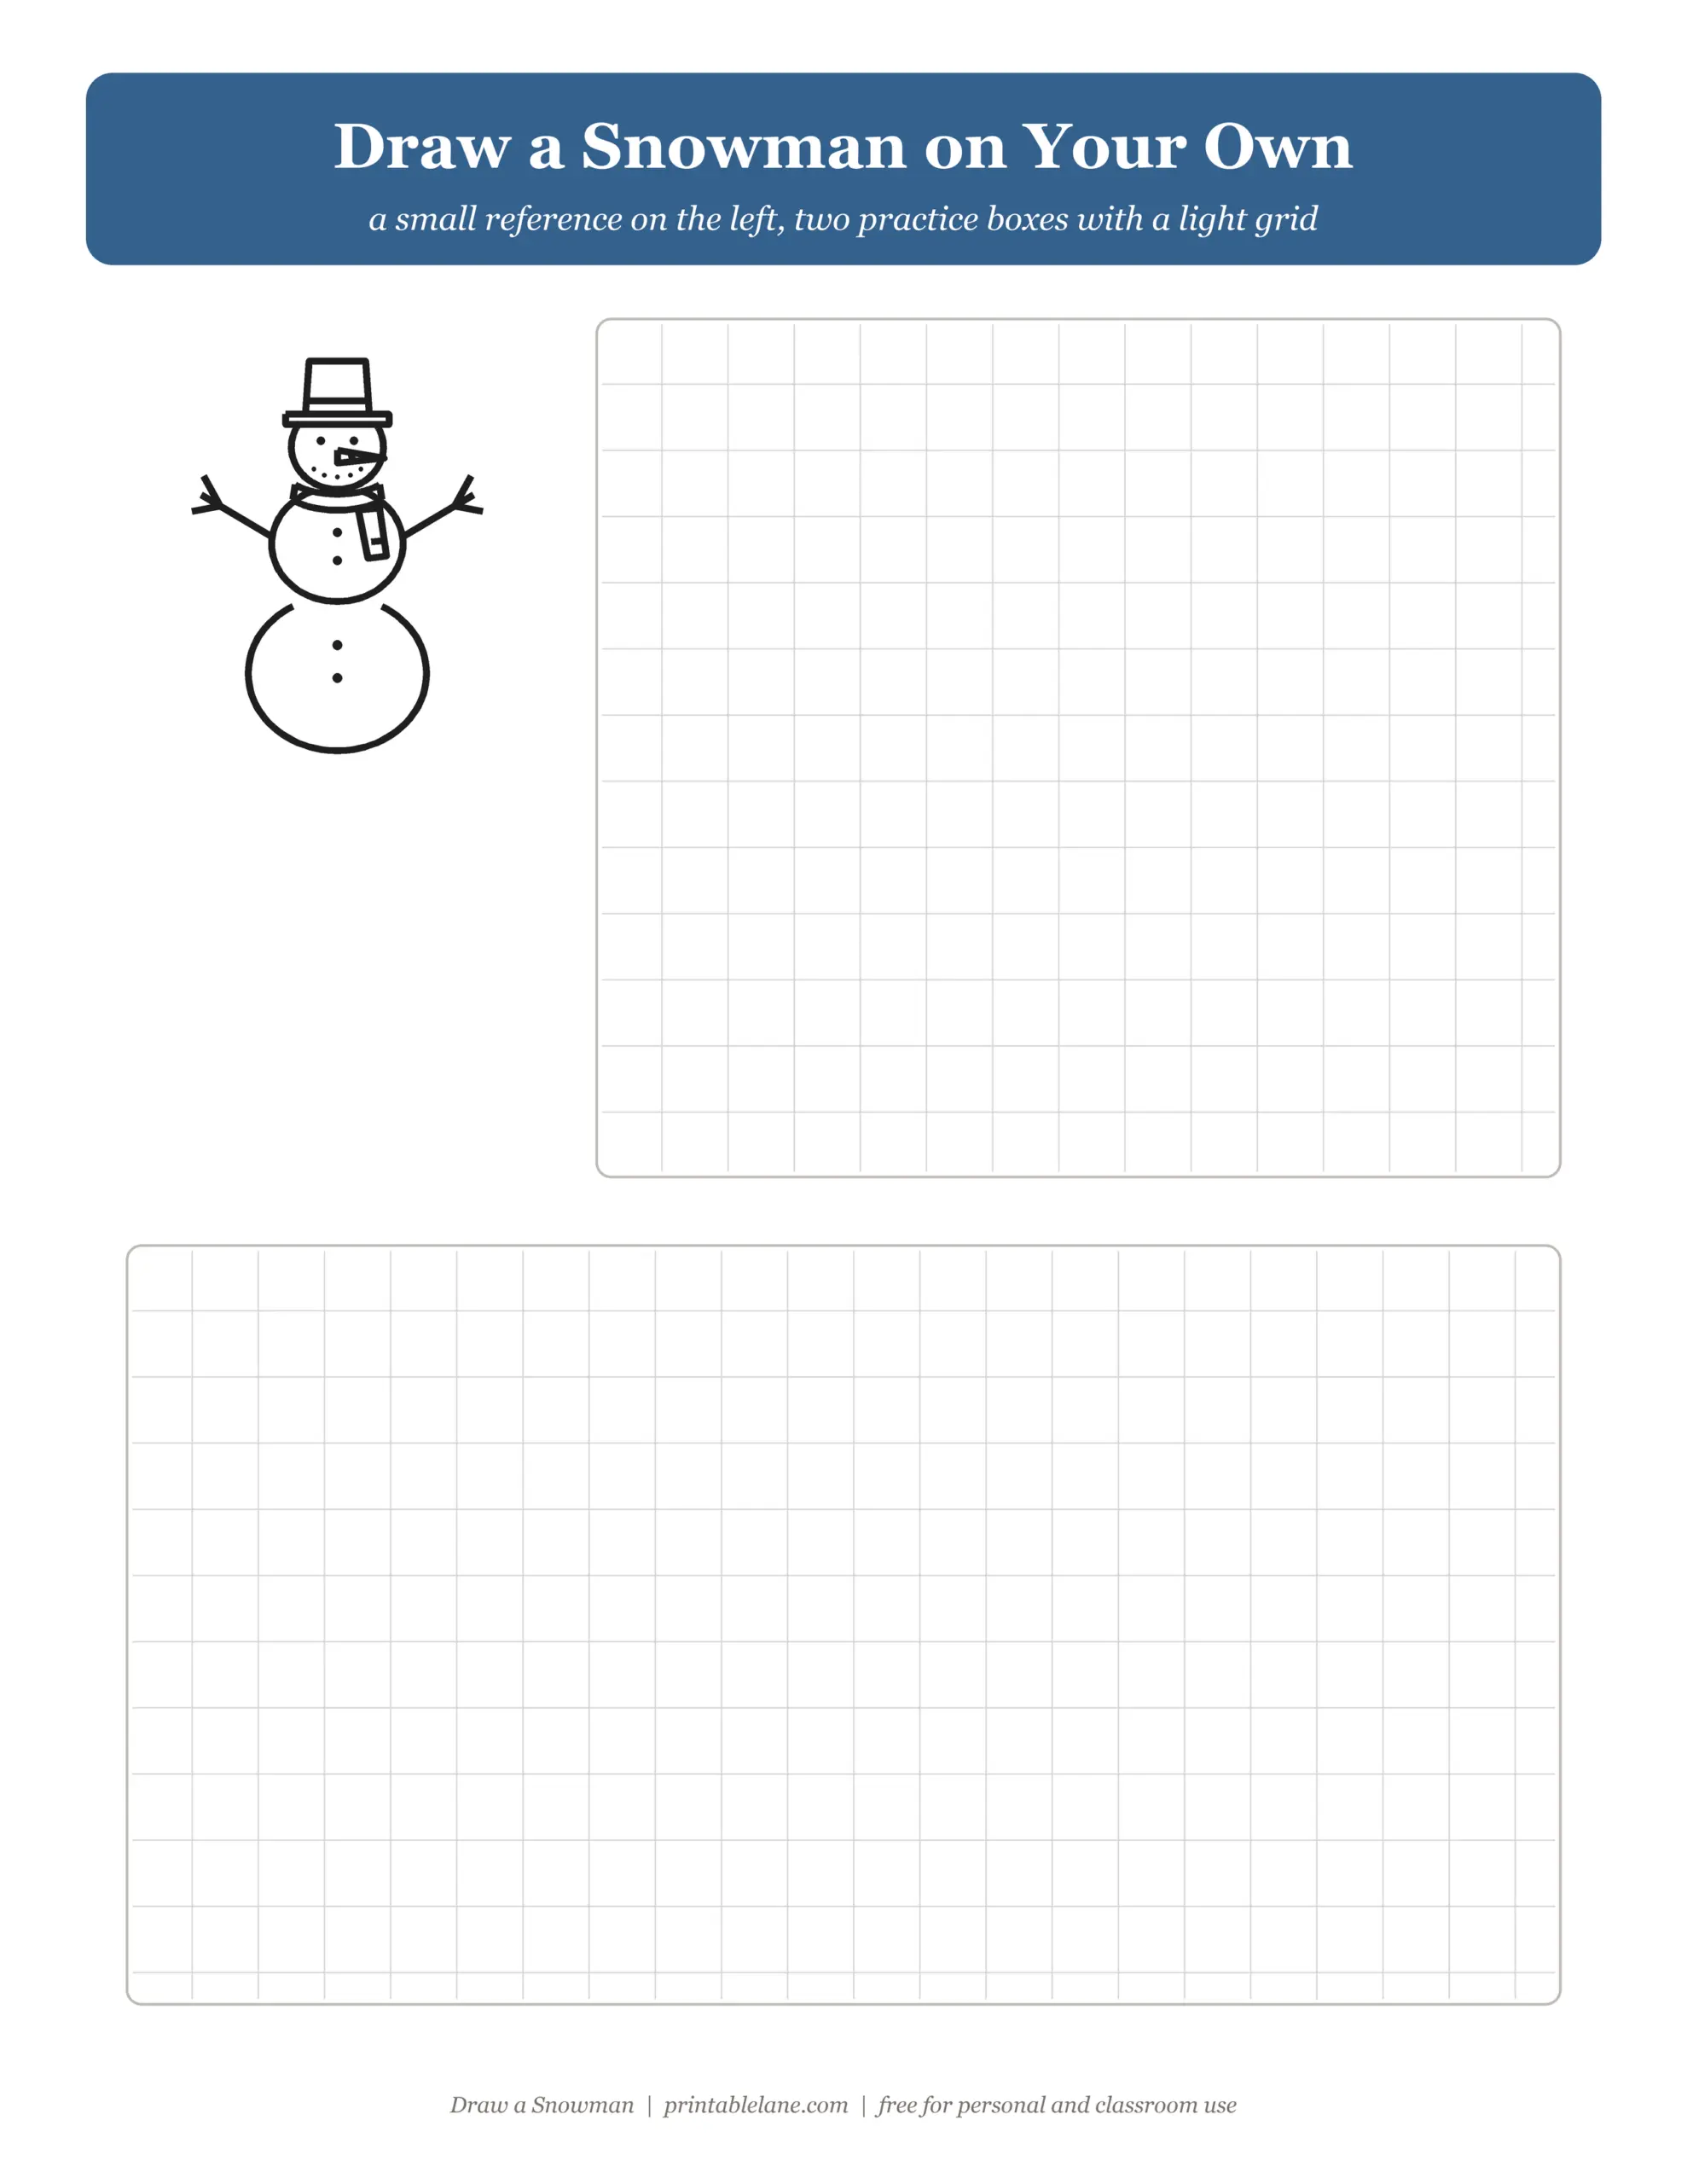
- Practice sheet with a small reference and two boxes with a light grid
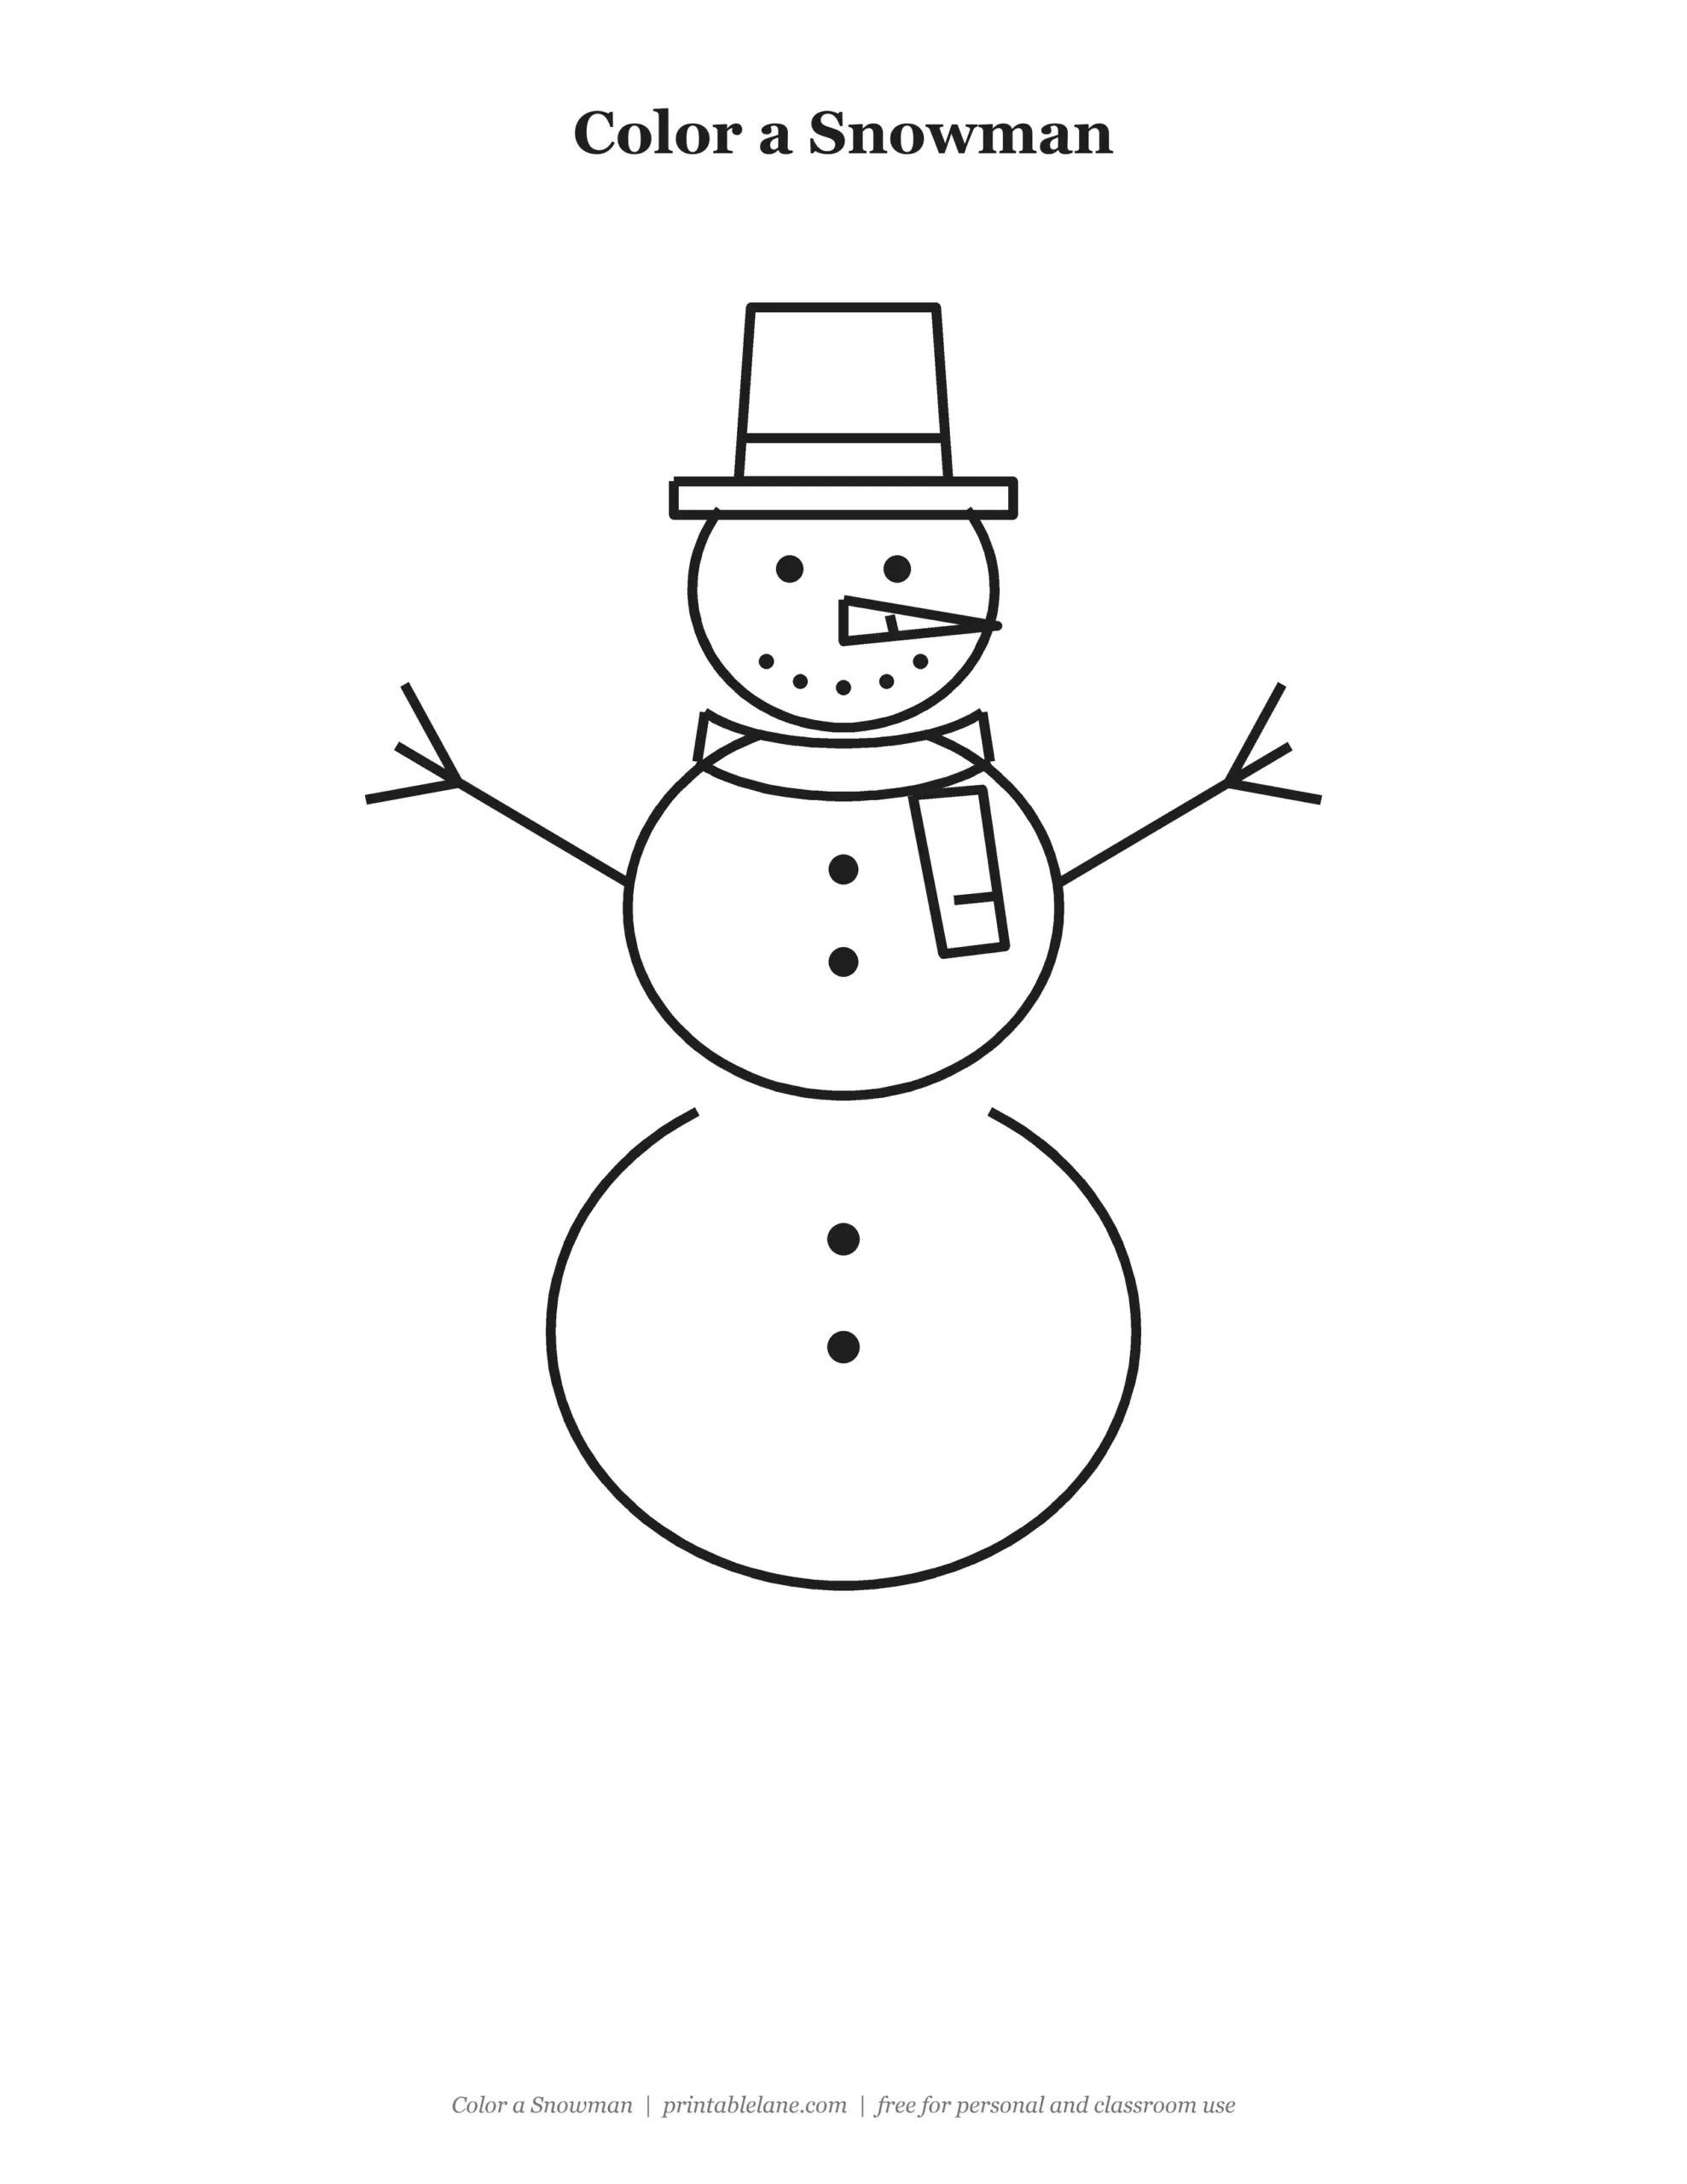
- Coloring page with the finished snowman in bold outlines
How to draw a snowman step by step

- Draw the bottom. A big circle near the bottom of the page.
- Add the middle. A smaller circle on top that overlaps the first one a little. Erase the top of the big circle where they overlap.
- Draw the head. An even smaller circle on top. Erase the top of the middle circle where the head sits.
- Add a top hat. A flat rectangle for the brim and a tall one for the hat, with a band. Erase the top of the head under the hat.
- Draw the face and buttons. Two dot eyes, a carrot nose pointing to the side, a smile of small dots and buttons down the front.
- Finish with a scarf and arms. A band around the neck with one end hanging down, and two stick arms with little twig fingers.
Keep each circle a bit smaller than the one below it. If the snowman leans, check that all three circles are centered on the same line.
Trace it first
If drawing freehand feels hard, start with the tracing page. Go over the grey lines with a pencil, pressing lightly, and you will learn the shapes and the order without worrying about mistakes. Then try again on the practice sheet.

Practice on the grid
The practice sheet has a small finished snowman for reference and two boxes with a faint grid. The grid helps with size and spacing: count how many squares tall the snowman is in the reference, then draw it the same way.

Color the finished drawing
Leave the snowman white or shade the edges with light blue so it looks round. Orange for the carrot nose, brown for the arms and a bright red, green or blue scarf.

Drawing tips for kids
- Draw the circles lightly first and fix their shape before erasing the overlaps.
- A coin, a cup and a jar lid can help you trace three neat circles.
- Change the hat: try a beanie with a pom-pom or earmuffs.
- Add falling snowflakes and a snowy ground line around him.
Download the pages one by one
Prefer a single page? Click a link to open the full-size PNG, then print it or save it. The full PDF with all pages and a cover is in the download box.
- How to draw a snowman: step-by-step sheet (PNG)
- a Snowman tracing page (PNG)
- a Snowman practice sheet with grid (PNG)
- a Snowman coloring page (PNG)
More winter fun: snowman coloring pages, how to draw a snowflake and how to draw a penguin.
FAQ
How old should kids be for this snowman drawing?
Most kids from about age 4 can follow the steps, especially with the tracing page first. Younger kids can just color the finished snowman.
Why erase the overlapping lines?
The bits of circle that are hidden behind the next snowball would not be seen in real life. Erasing them makes the snowman look solid and three-dimensional.
What paper should I print it on?
Plain US Letter printer paper works. Use cardstock if your child will color with markers or wants to keep the drawing.
Can I use it in my classroom?
Yes. The pages are free for personal and classroom use. Print a copy for every student, and link to this page instead of sharing the PDF file.